
At the end of Part 1 of our custom food trailer build, the two trailers had their equipment, curved bodies and brand displays in place. They looked finished. From where I was standing, there was still a fair bit of work between that moment and having everything packed for dispatch.
We had lights and connections to check, branding to finish and photographs to take. Then several of the parts we had just fitted had to come off again for transport. Those two sheep sculptures were wonderful attention-grabbers, but they certainly made us think hard about packaging.
This is the second half of the job: food trailer checks and shipping preparation, from opening the cabinets to making the last pieces fit inside the container.
Before the finished photos, we checked the towing connections and lights
At this stage, it was tempting to stand back and admire the trailers. I enjoyed doing that as much as anyone, but I did not want the less visible details to get lost in the excitement. Rear lights, the coupling and safety chains all needed their own attention. A walk around the outside would not tell us enough.
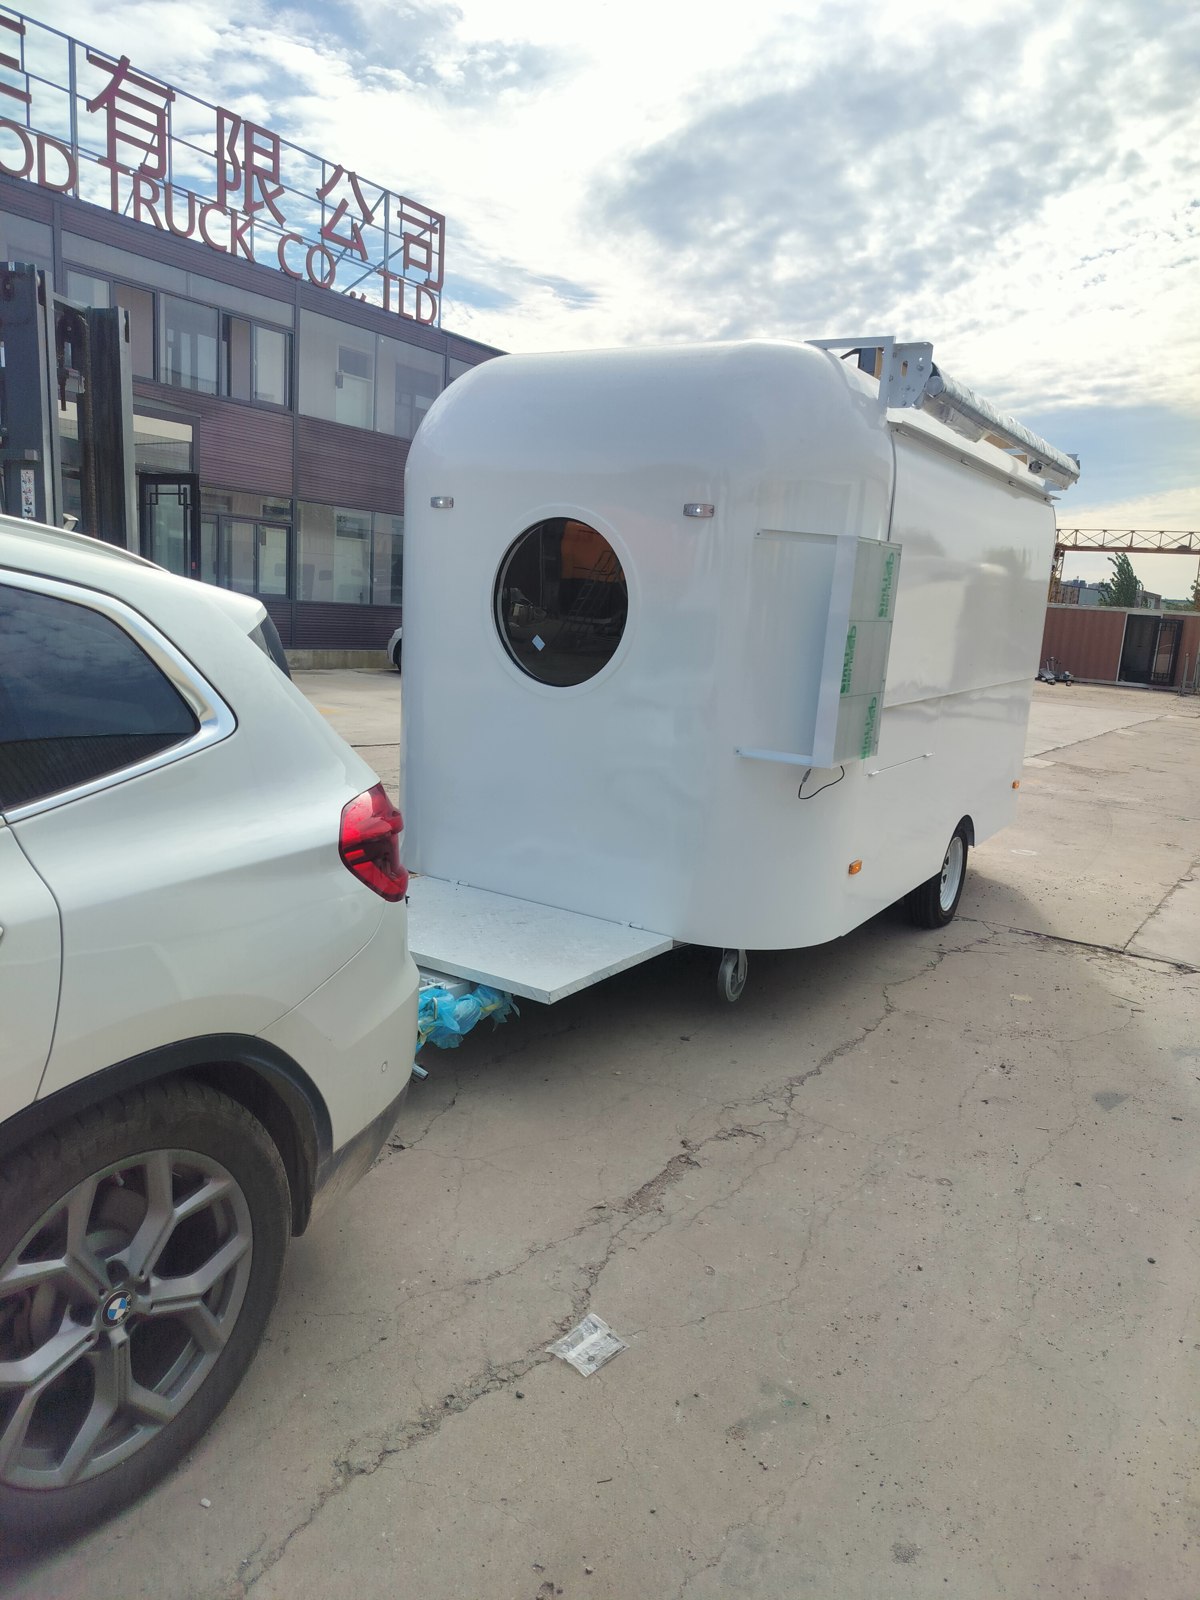
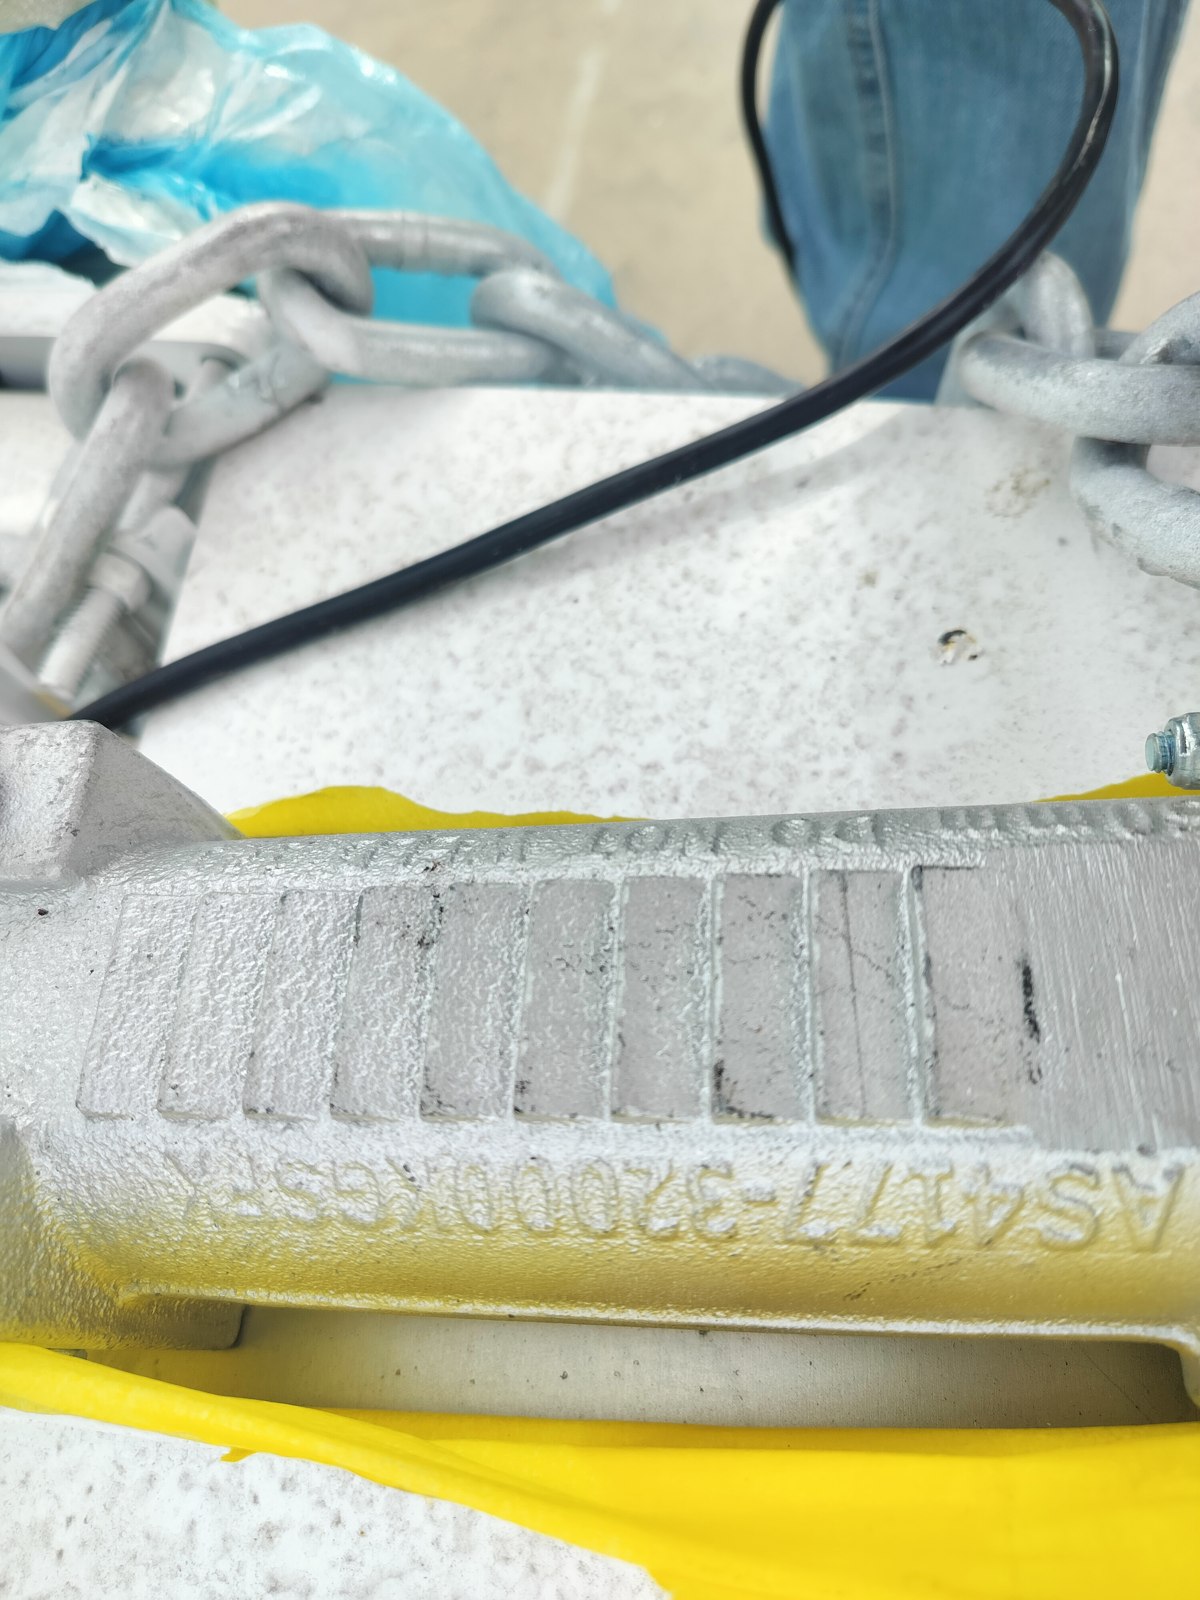
As part of our food trailer pre-shipment inspection, we connected the trailer to a tow vehicle, checked the rear lights and photographed the towing connections up close. Overall photographs show the appearance. Close-up checks help us look properly at the individual parts. We needed both.
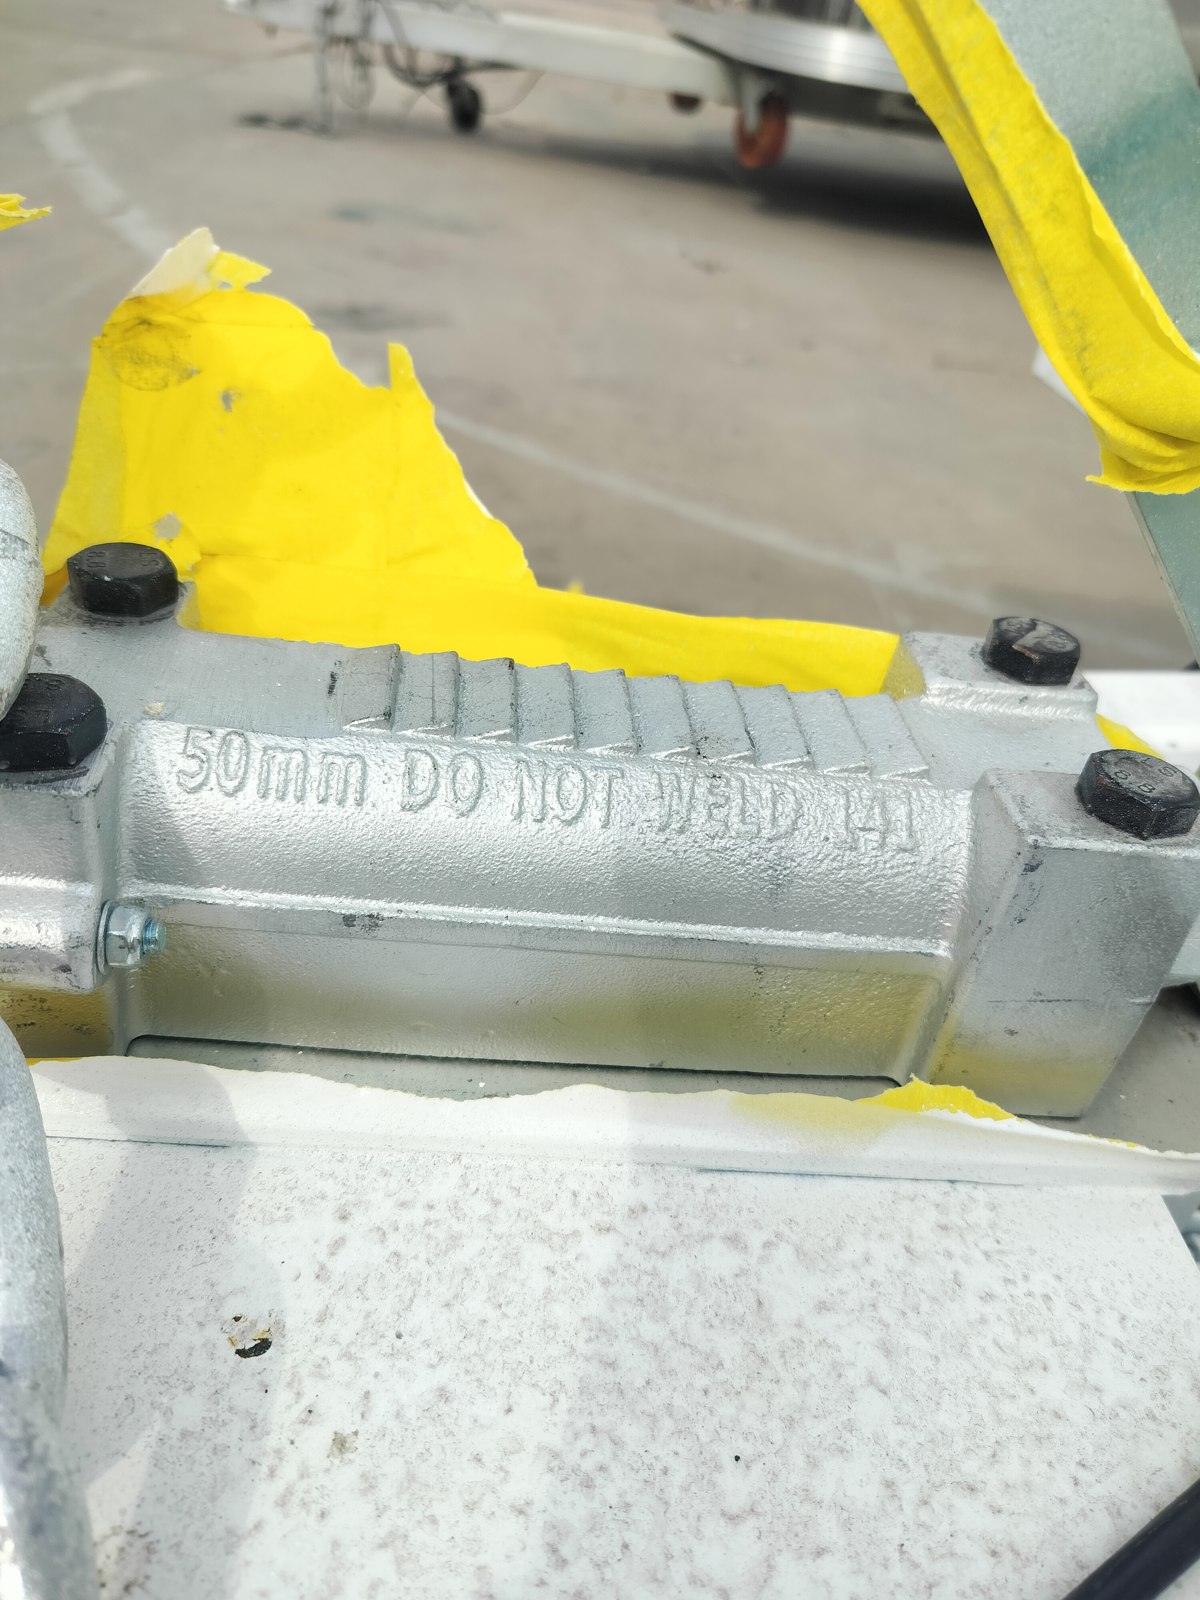
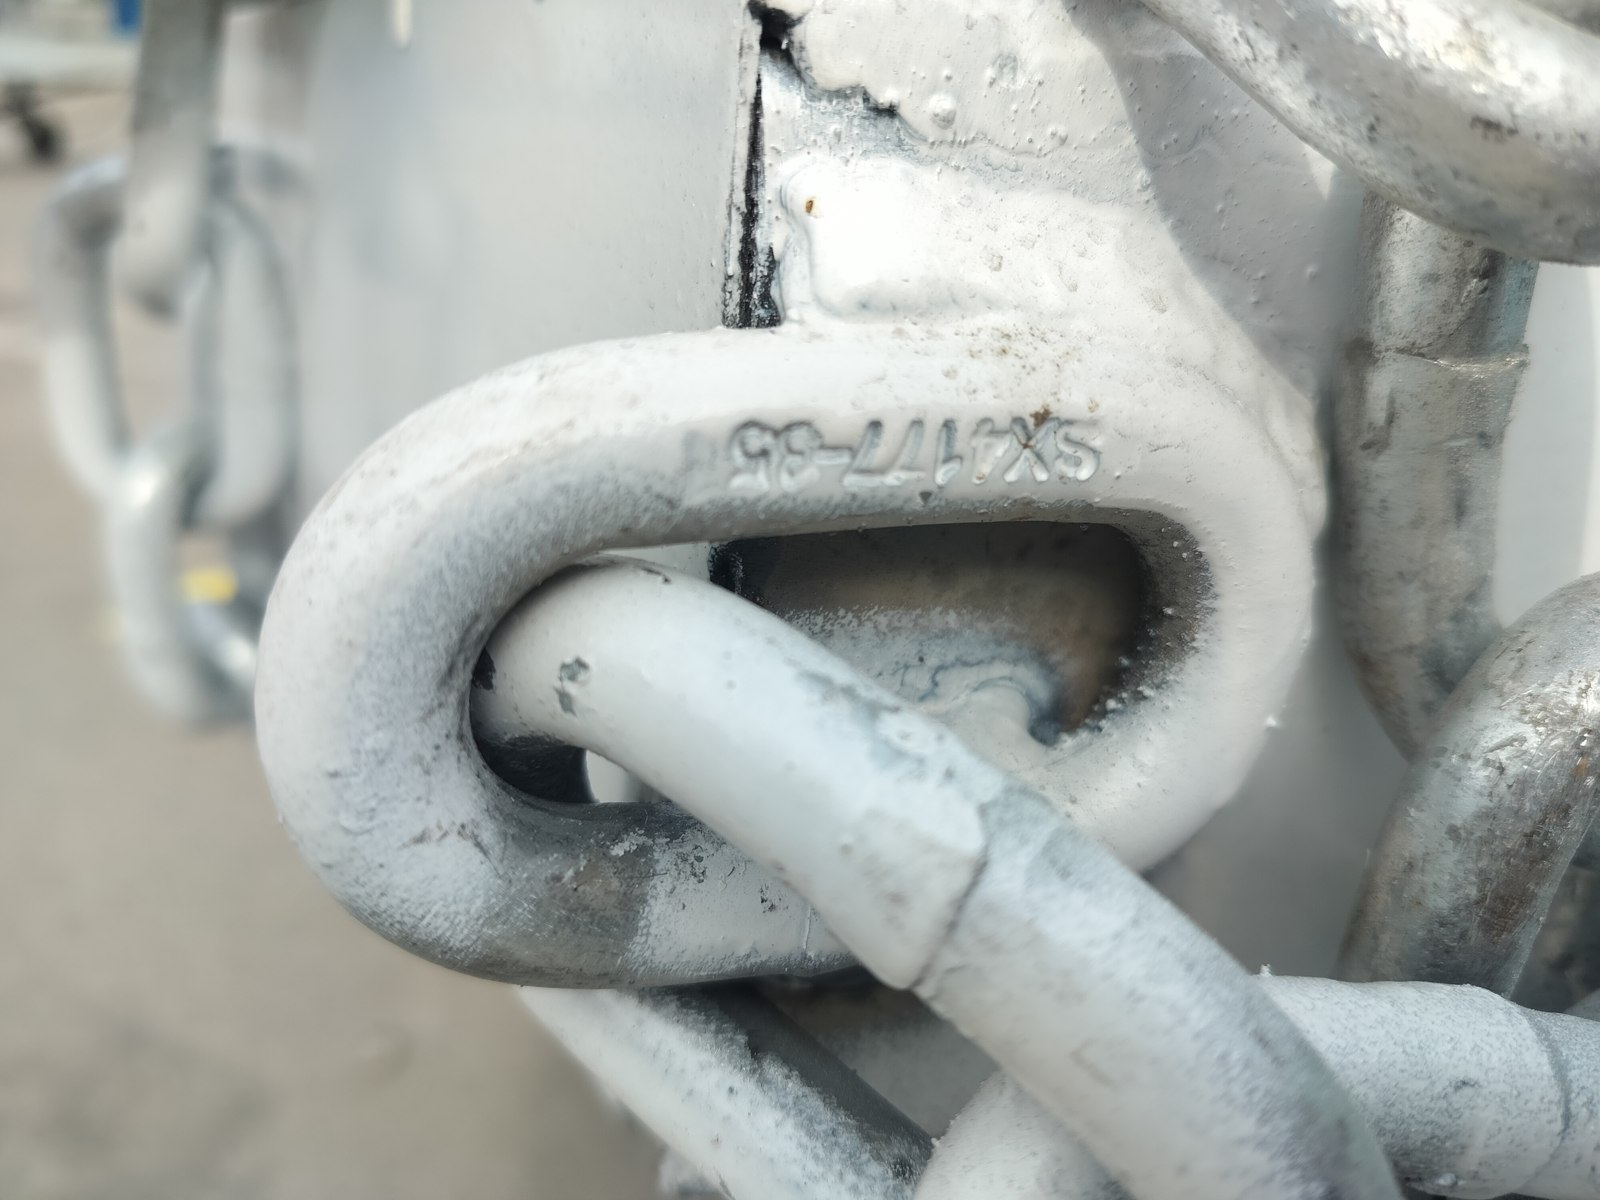
We split the lighting checks by function, with one person operating the controls and another watching at the rear, then noted the results item by item. At the towing end, we went back over the connections to check they were in position. When the workshop gets busy, a simple routine helps keep small details from being overlooked.
We opened the cupboards and checked the things customers do not usually see
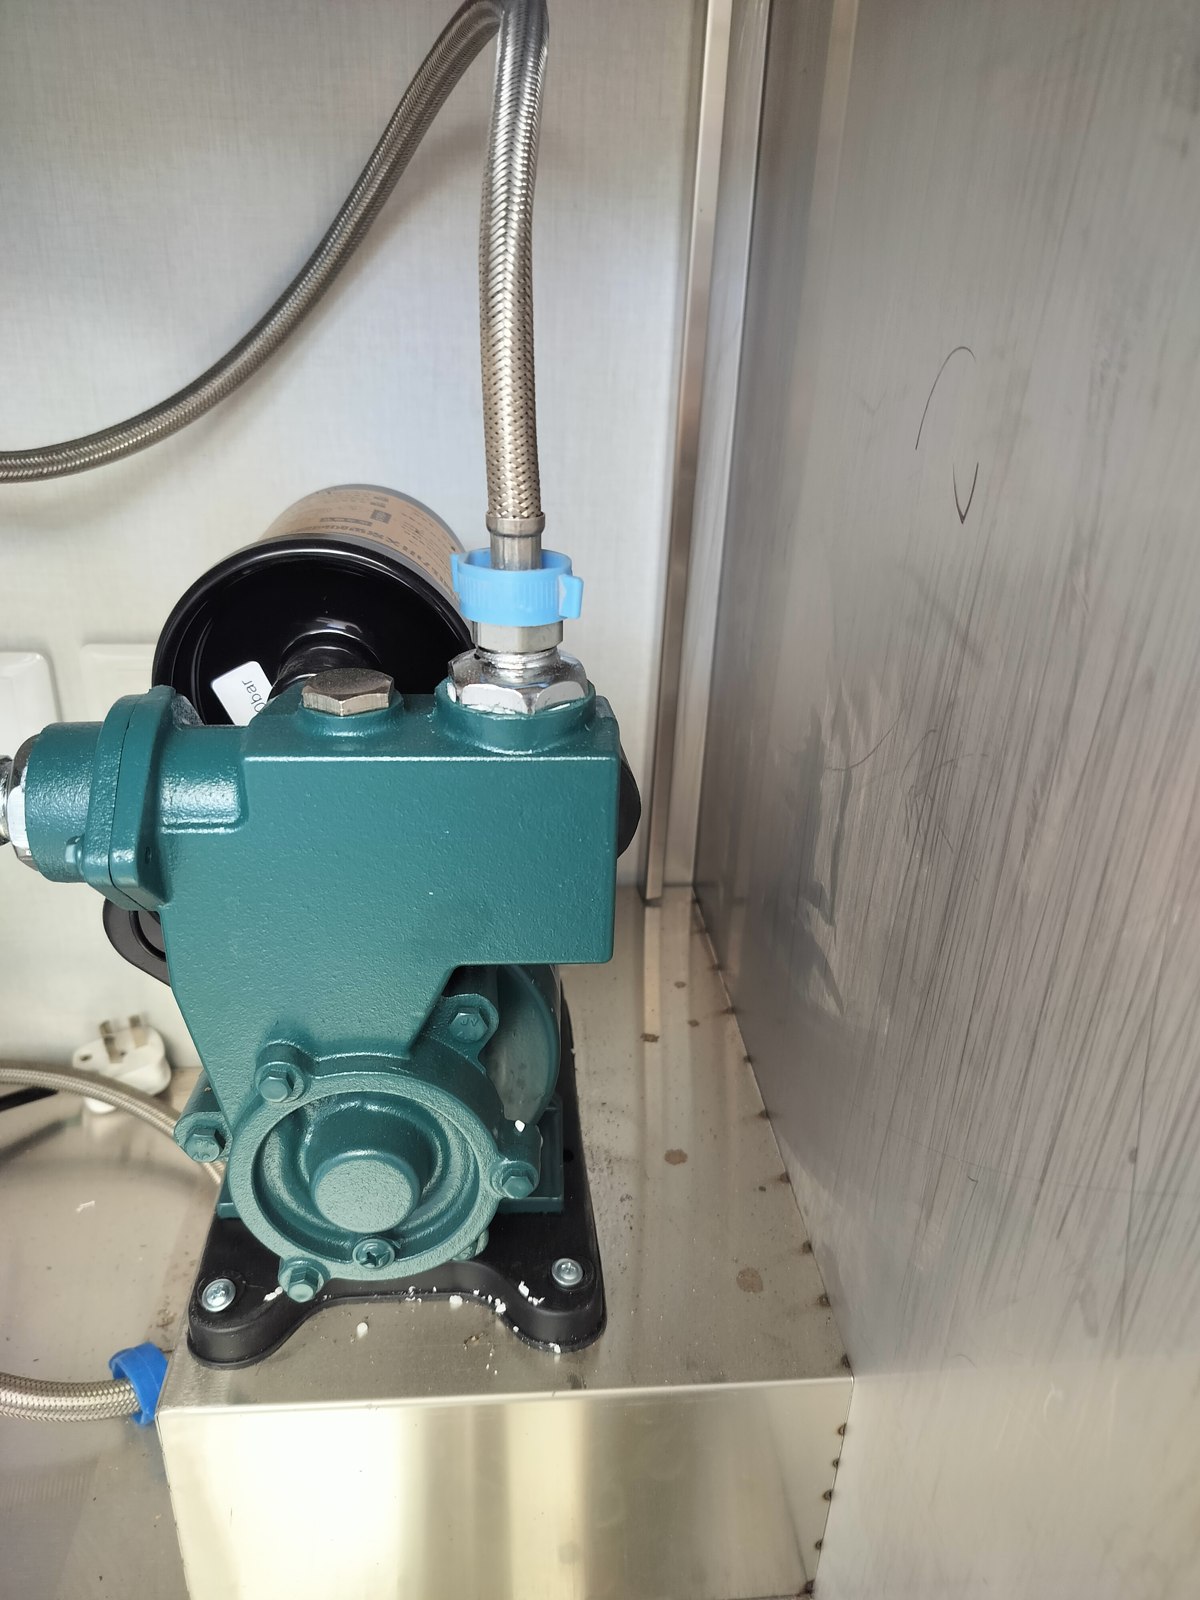
Wipe the worktops and close the doors, and the interior looks beautifully tidy. But the pump, pipework and plenty of connections are hidden inside those cupboards. We opened them up, inspected the individual areas and took close-up photographs of the distribution board, sockets and fitted equipment.
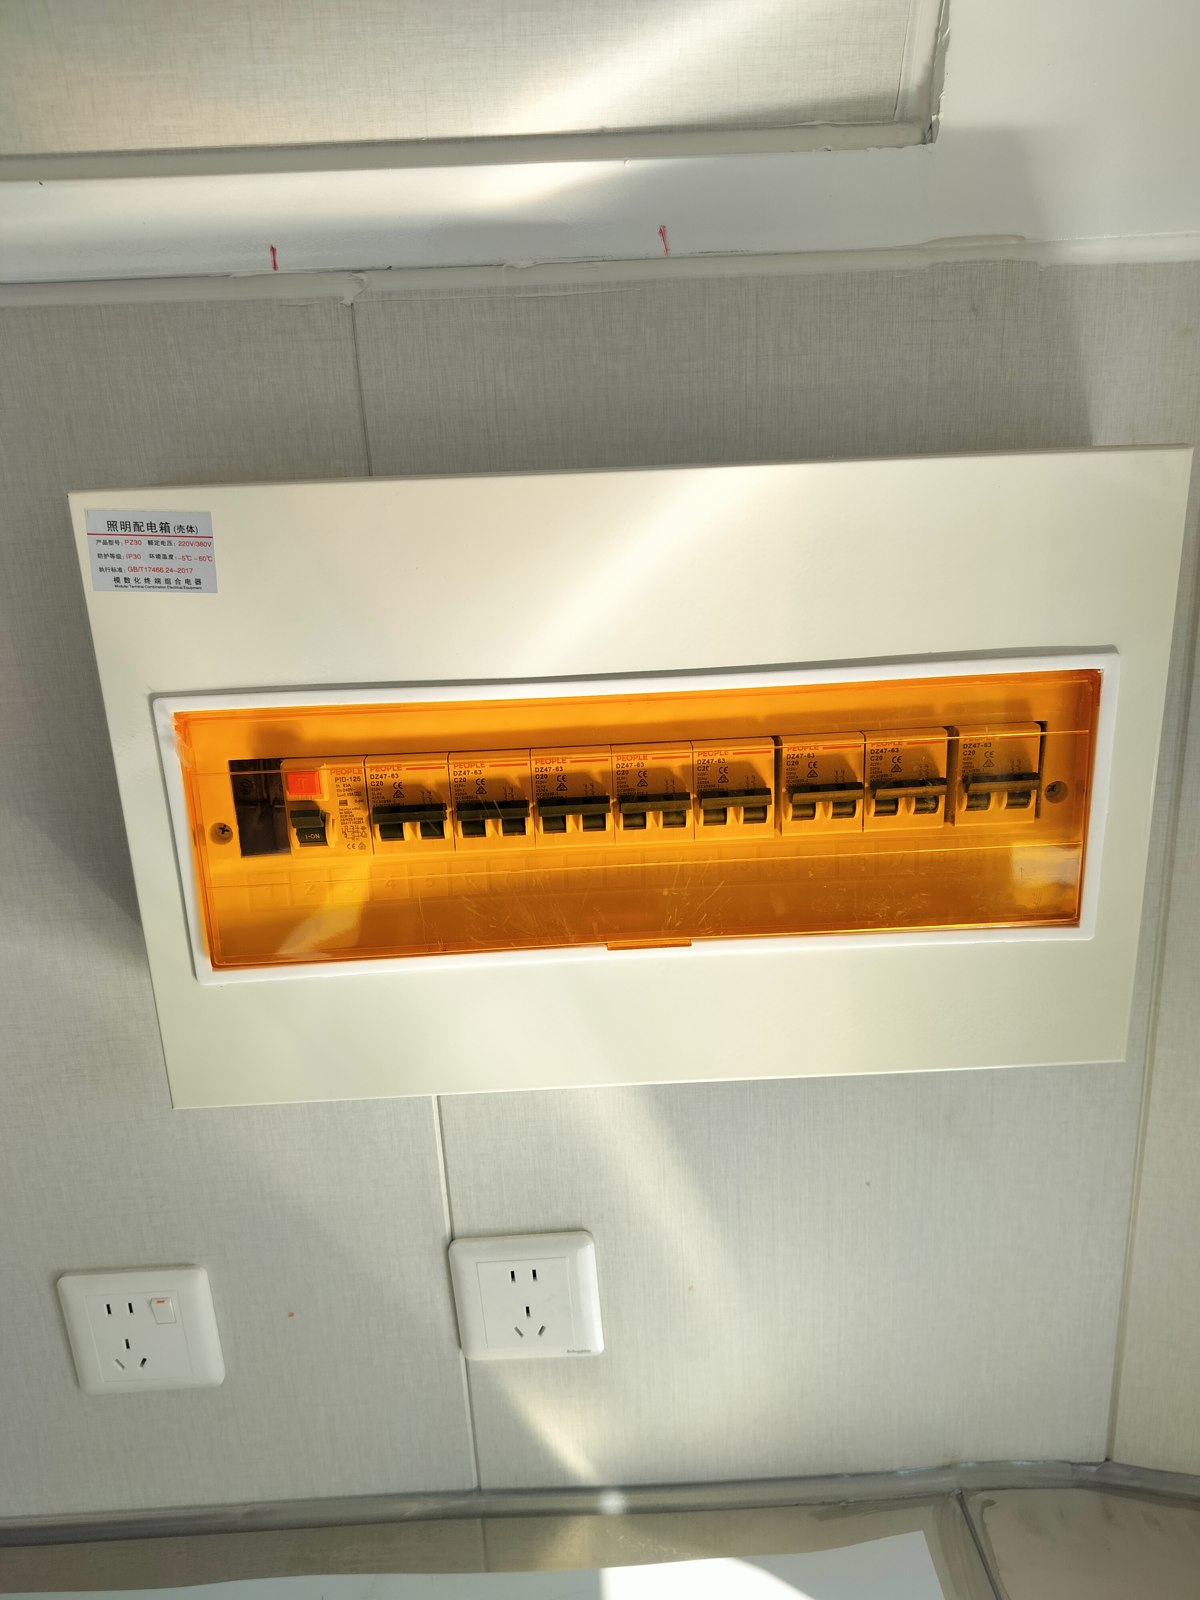
We also powered the illuminated roof signs to see how they looked when lit. On a mobile beverage trailer, the signs, screens, counters and lighting all come together in the space the customer will actually use. A finished sign on the bench is one thing; seeing it lit up on the trailer is another.
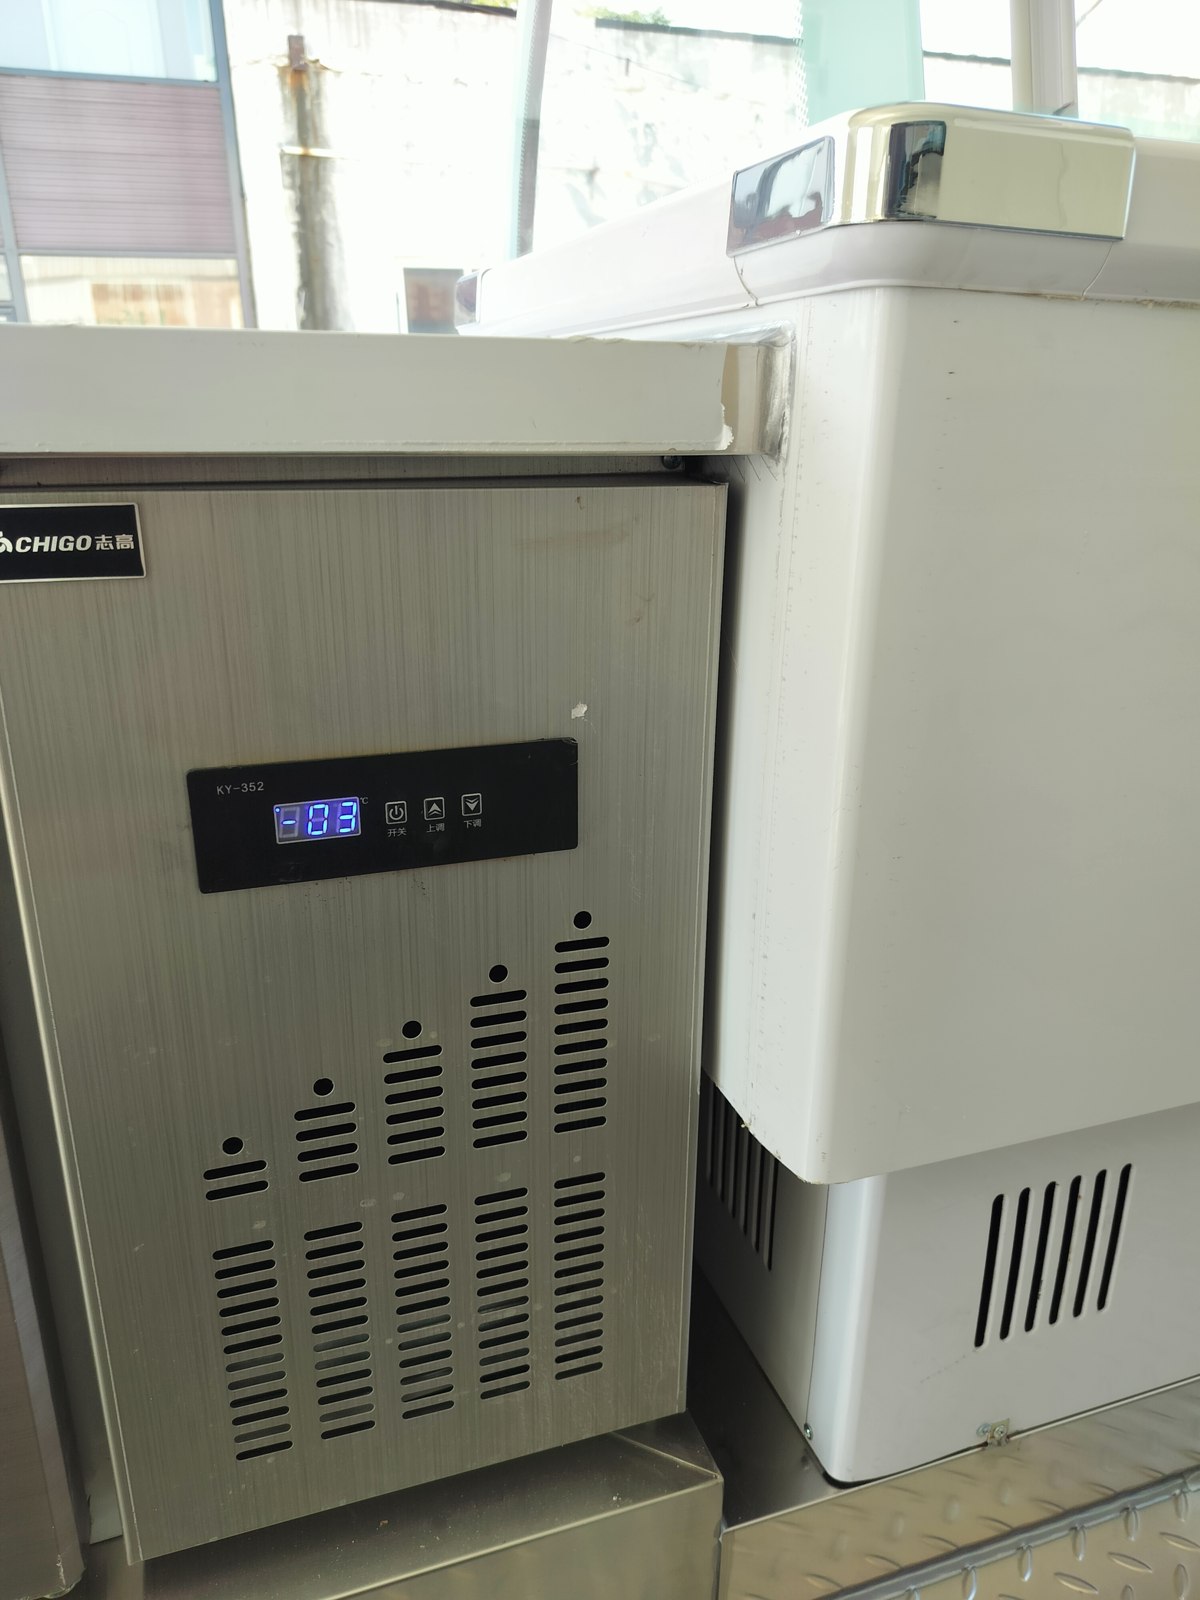
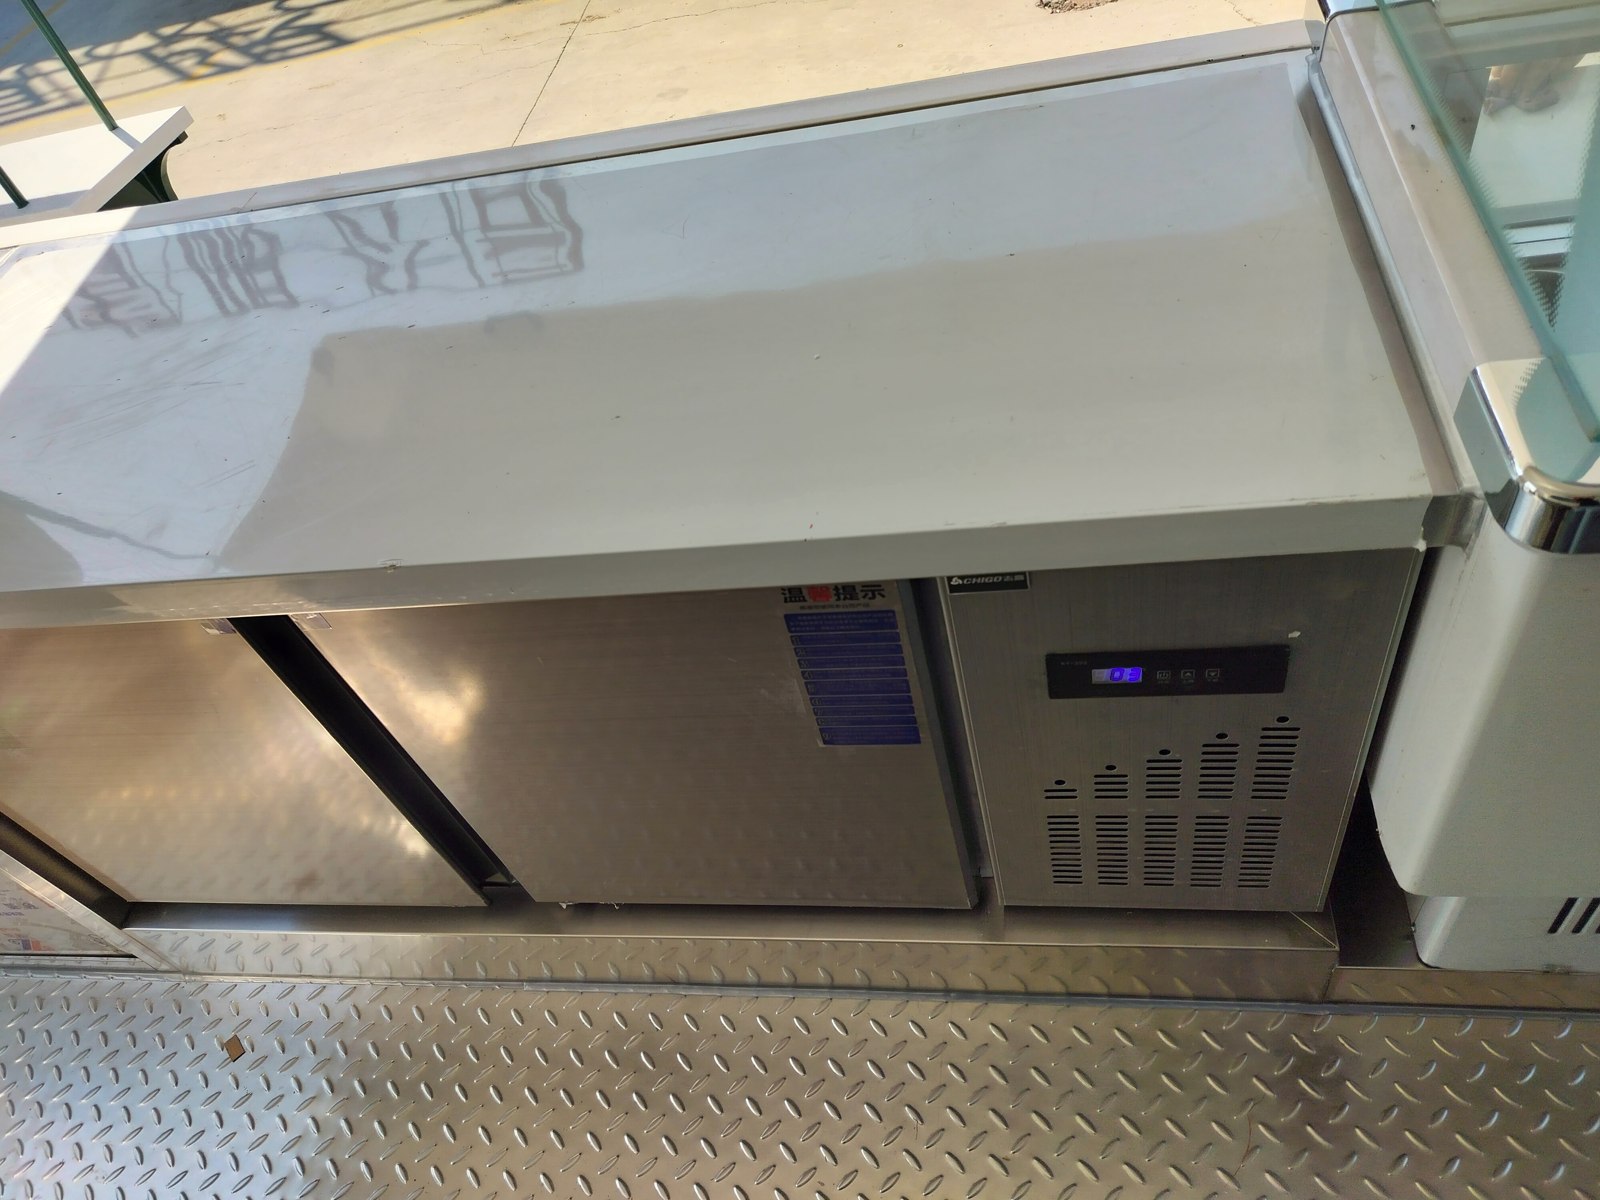
For the water system, we let the tap run for a while and then checked around the fittings for moisture. One connection needed more attention, so we took it apart, adjusted it and checked it again. I would much rather deal with a small plumbing job in our workshop than let it travel halfway around the world and become someone else's headache.
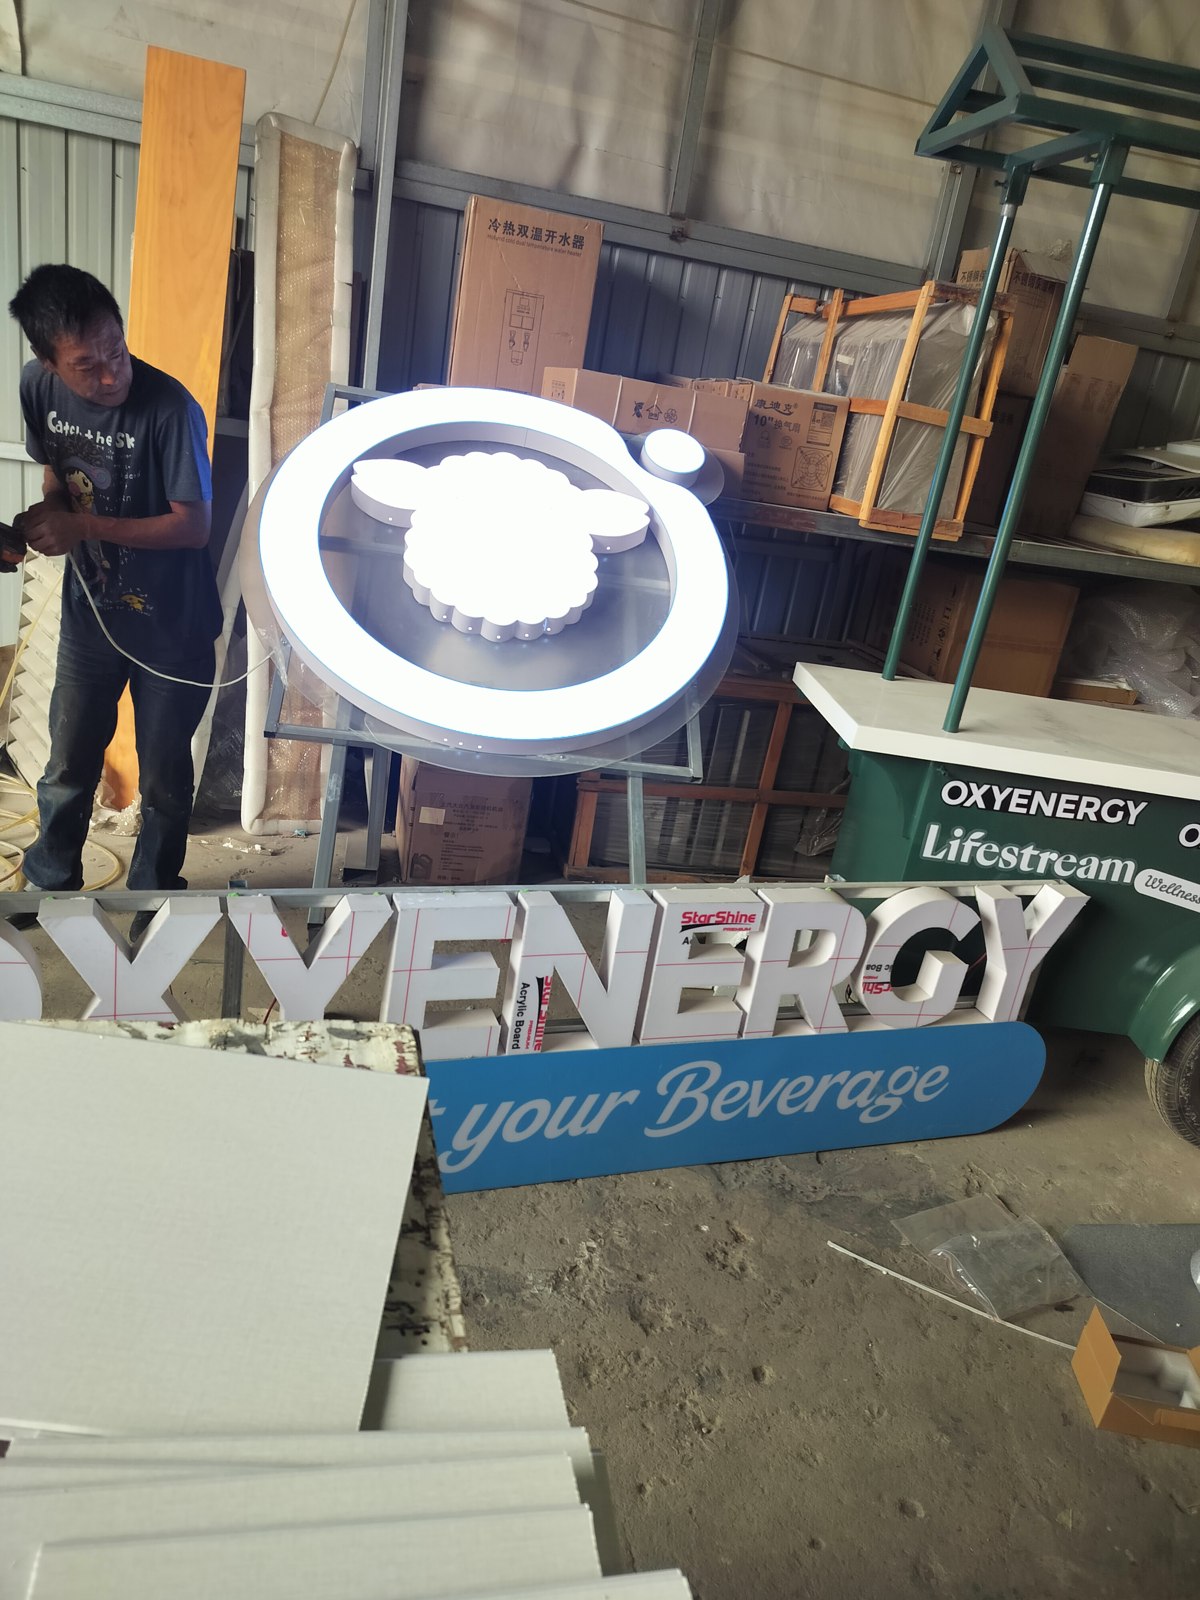
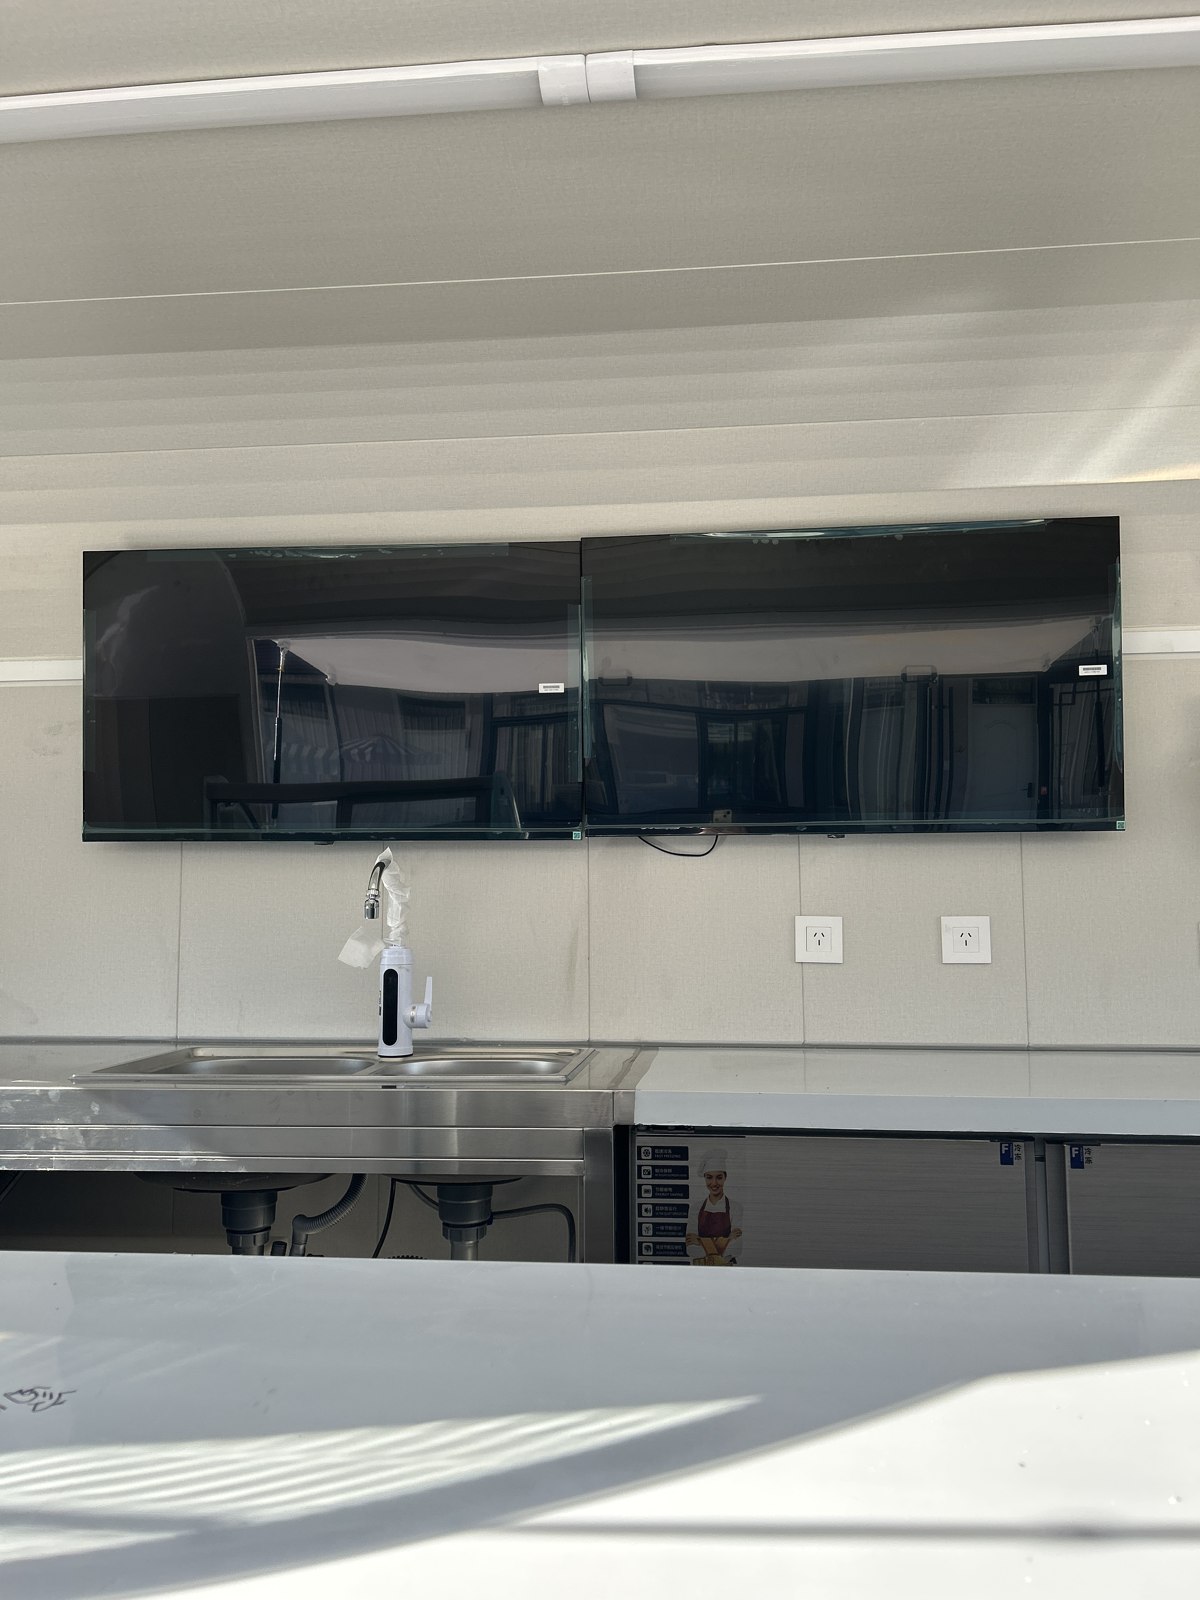
The branding, sampling carts and seating brought the whole idea to life
The customer wanted magnetic graphics, so we had to take that into account when choosing the body material. The graphics needed a suitable surface to attach to. It is the sort of requirement that is easy to agree to in a conversation and expensive to remember only after the body has been built.
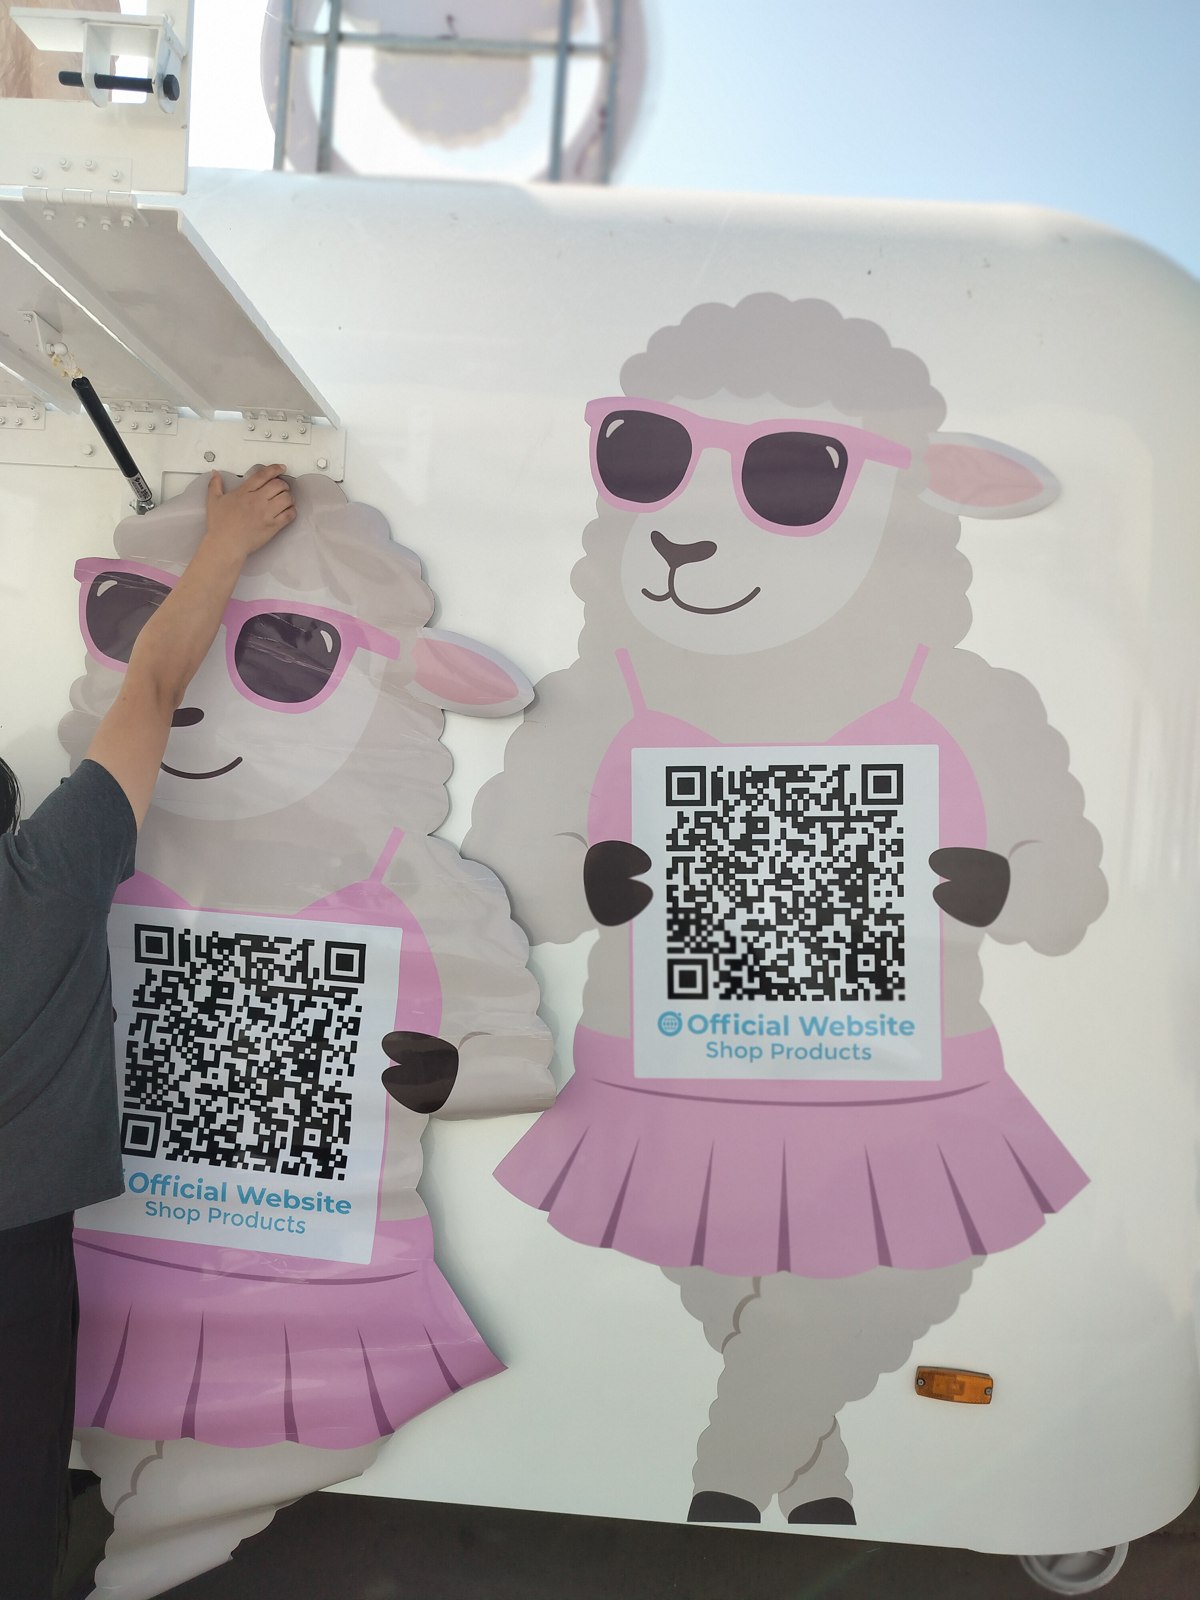
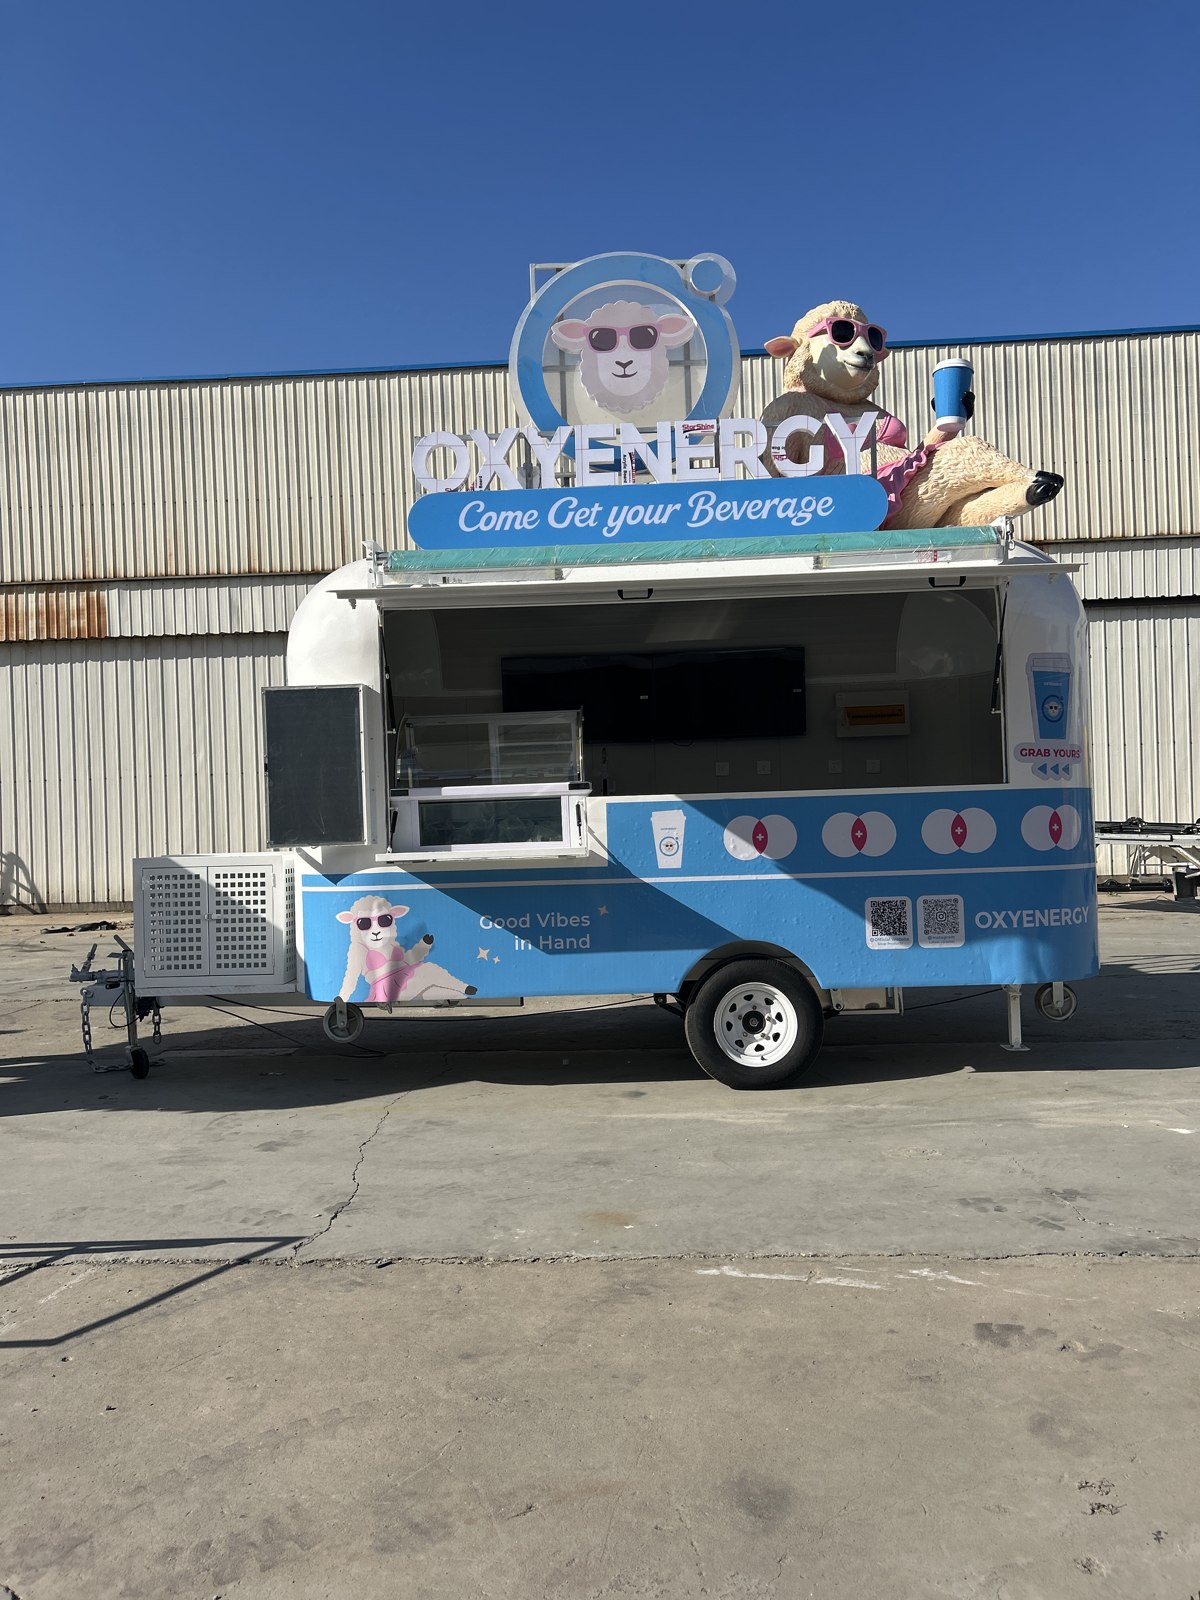
With the graphics, signs and sculptures in place, the two white trailers suddenly had very different personalities. We set out the sampling carts, tables and shade equipment alongside them. That was the moment I could really see the customer's brand activation trailer project coming together.
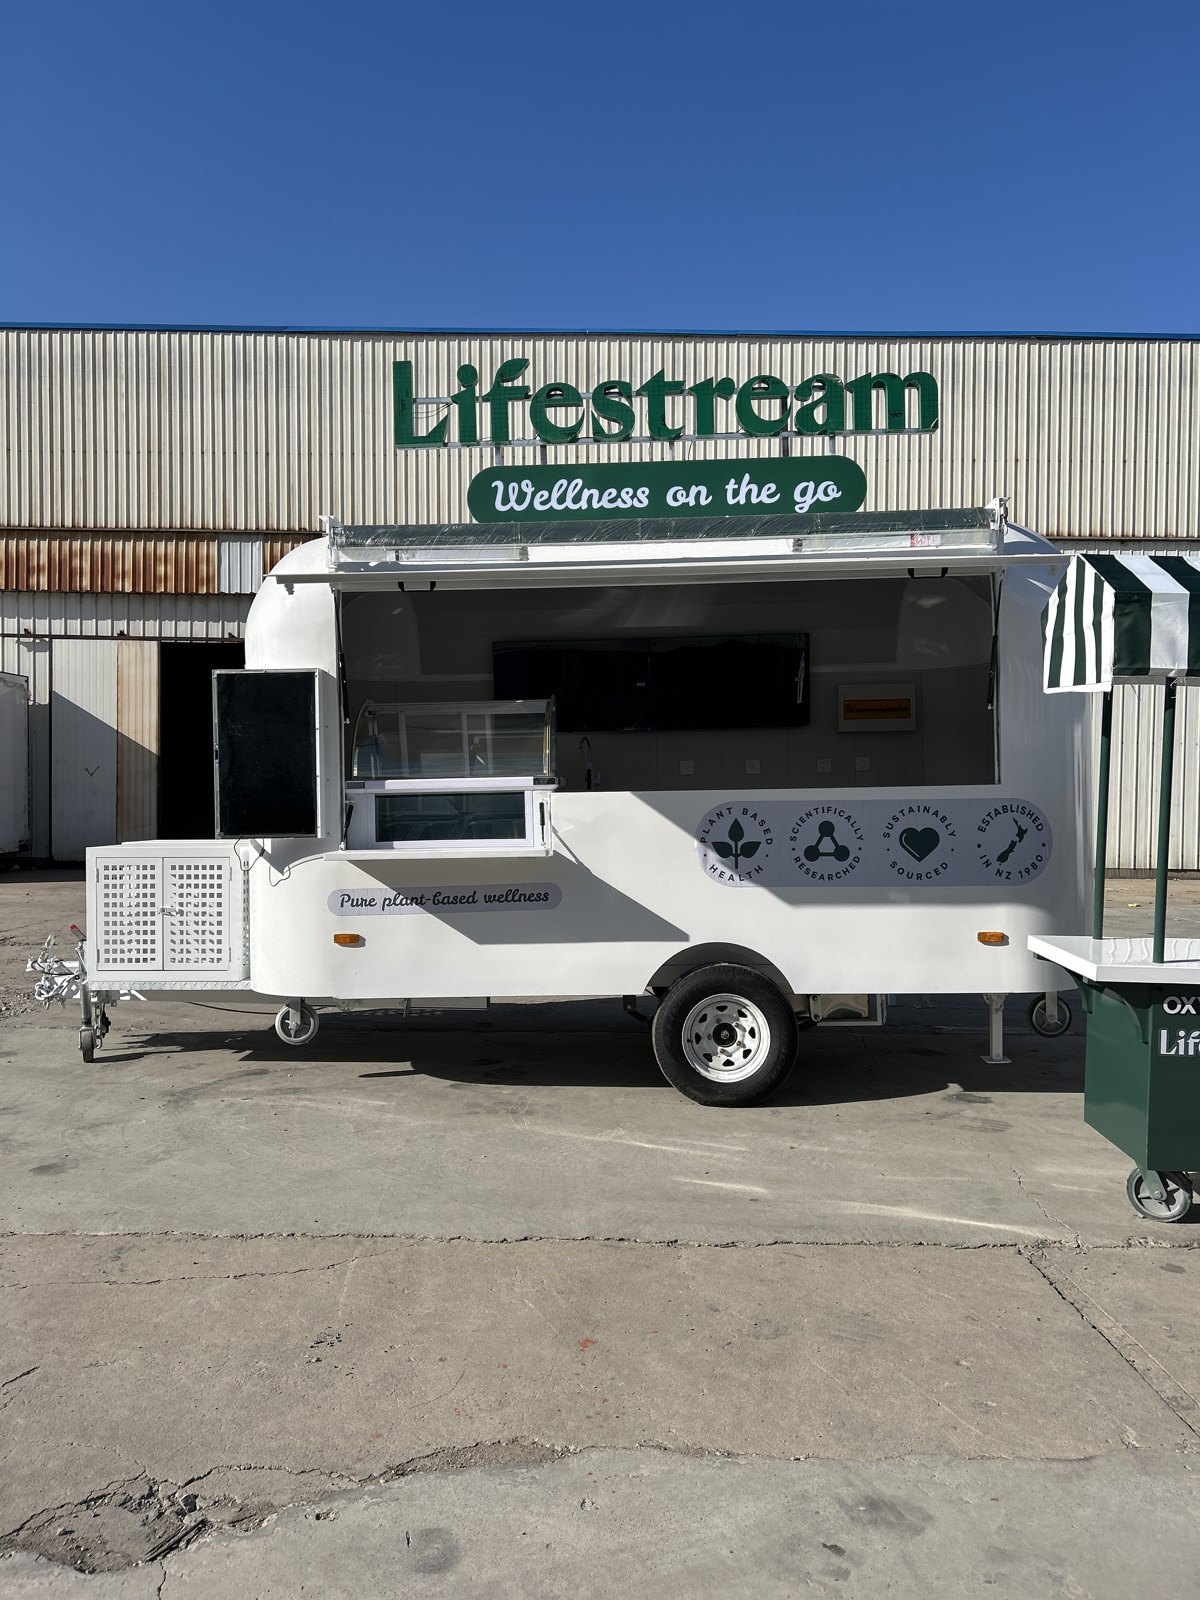
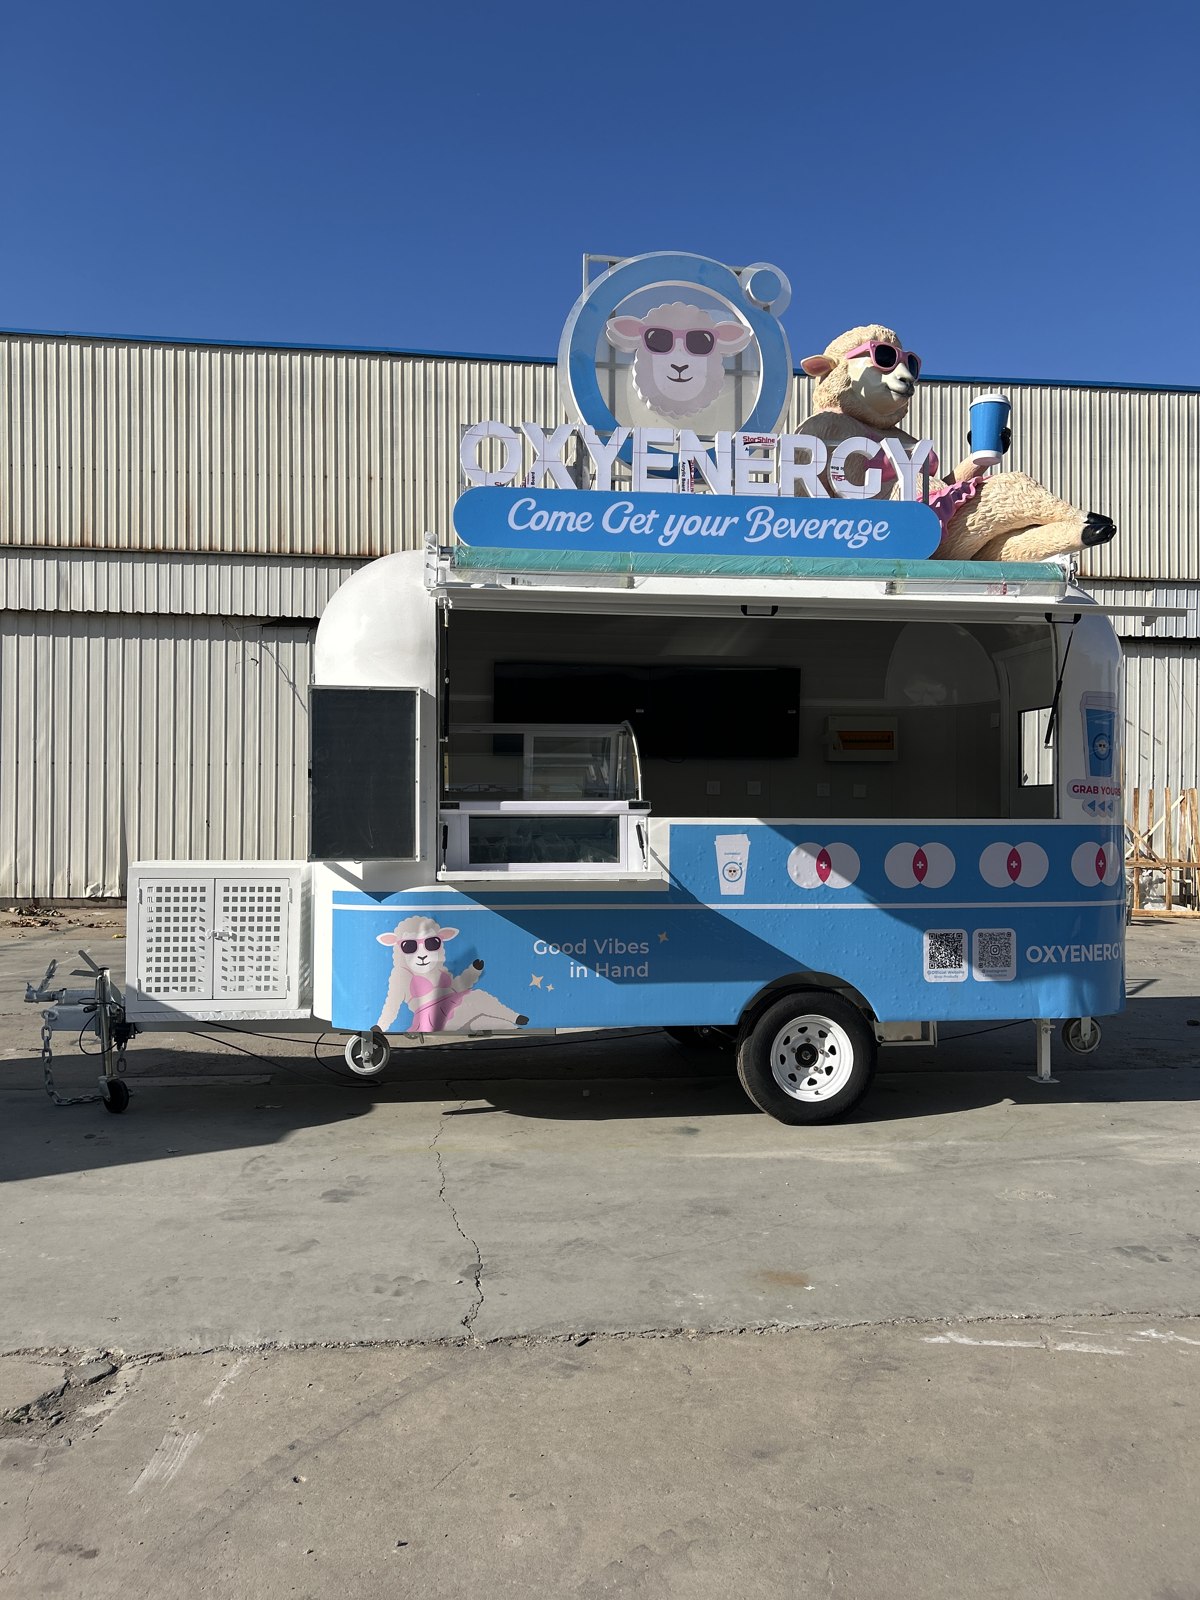
We temporarily positioned the body graphics, stepped back and looked at the whole side before settling on the placement. One design sat a little too close to the edge of an opening, so we moved it. Something can look neatly aligned from half a metre away and still feel wrong when you see the whole trailer.
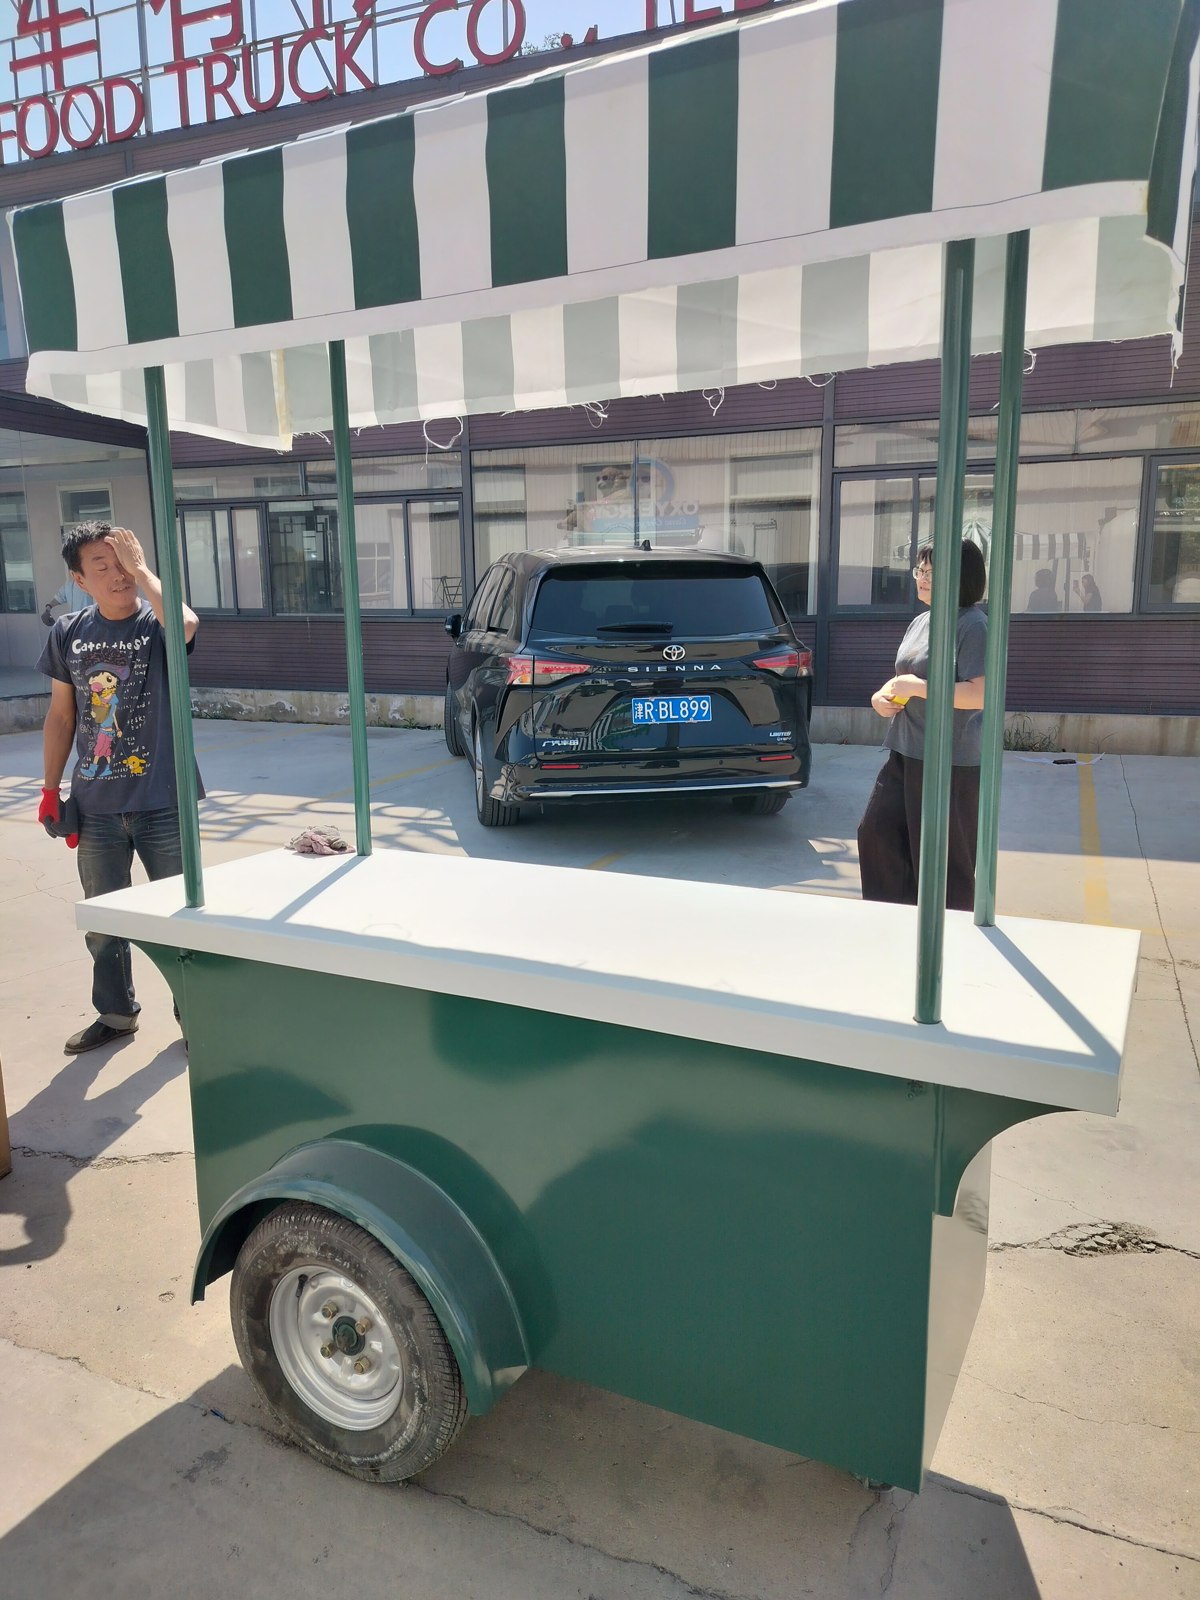
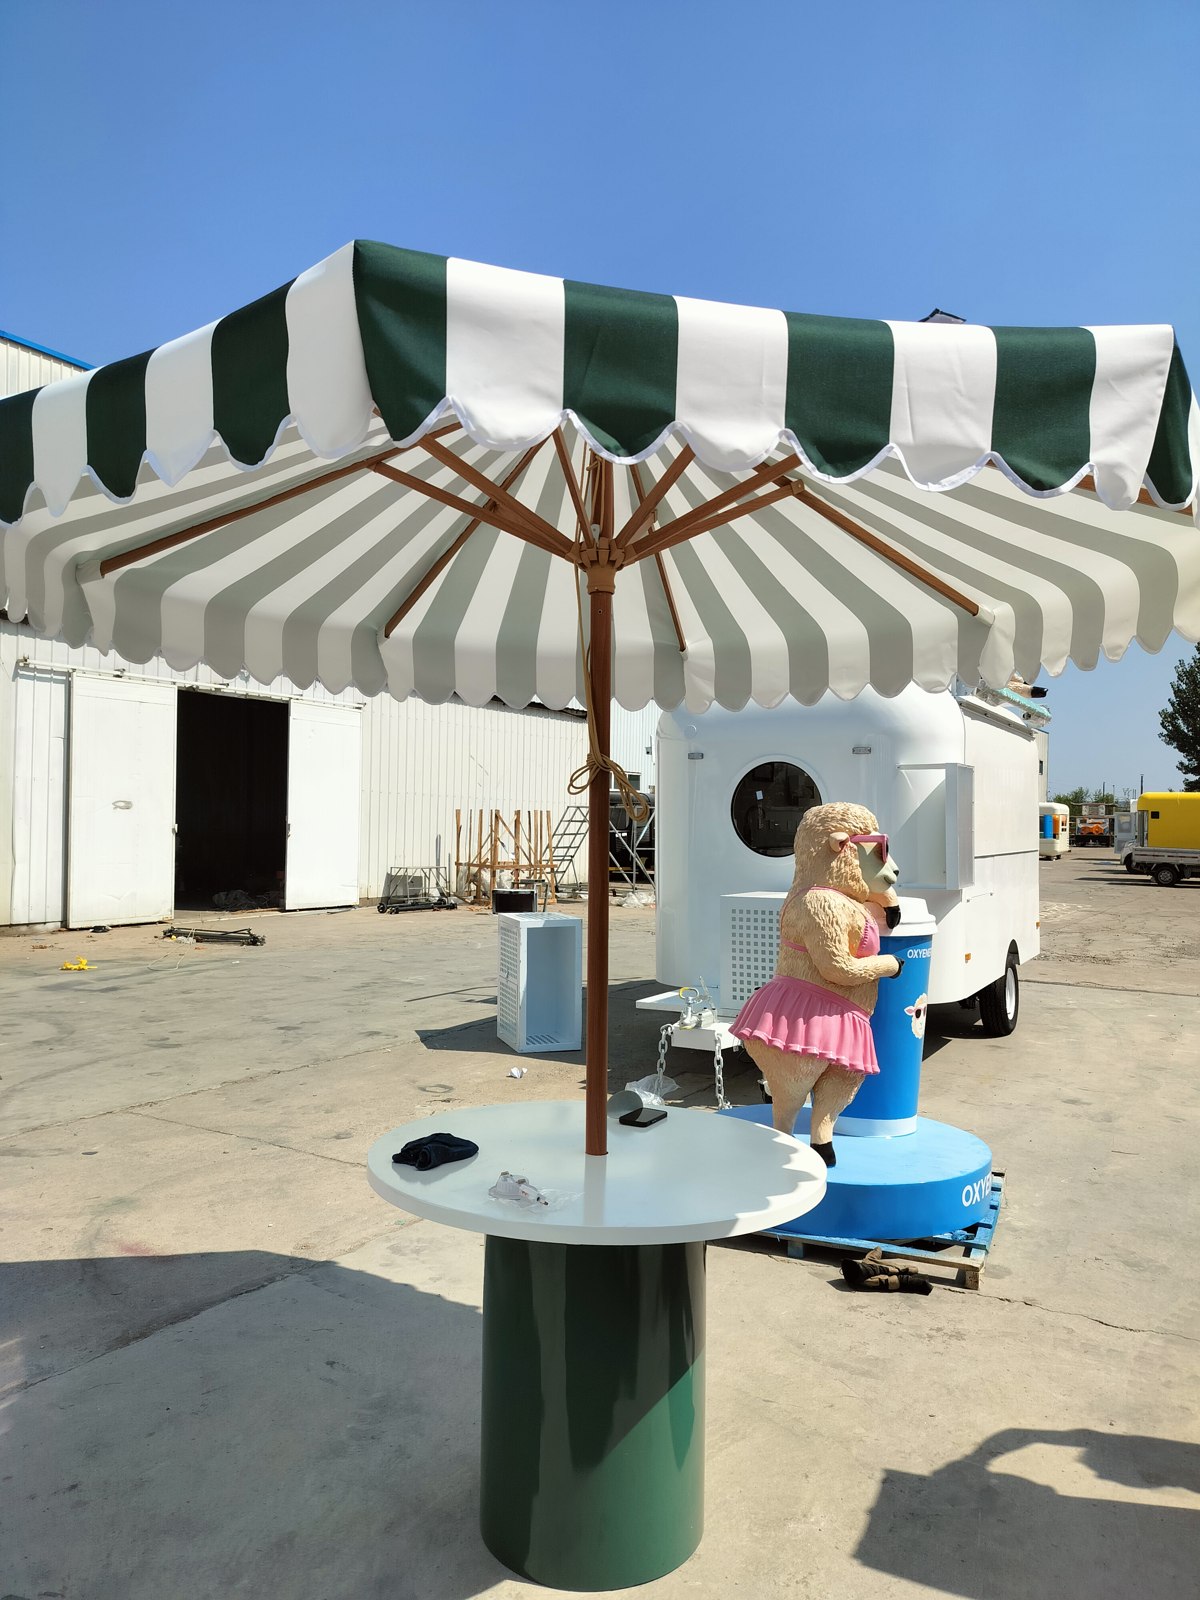
For a mobile catering trailer used at events, I like looking at the complete setup. The main trailer serves the products, the sampling cart starts conversations, and the seating gives people a reason to stay for a moment. All those pieces belong in the same picture.
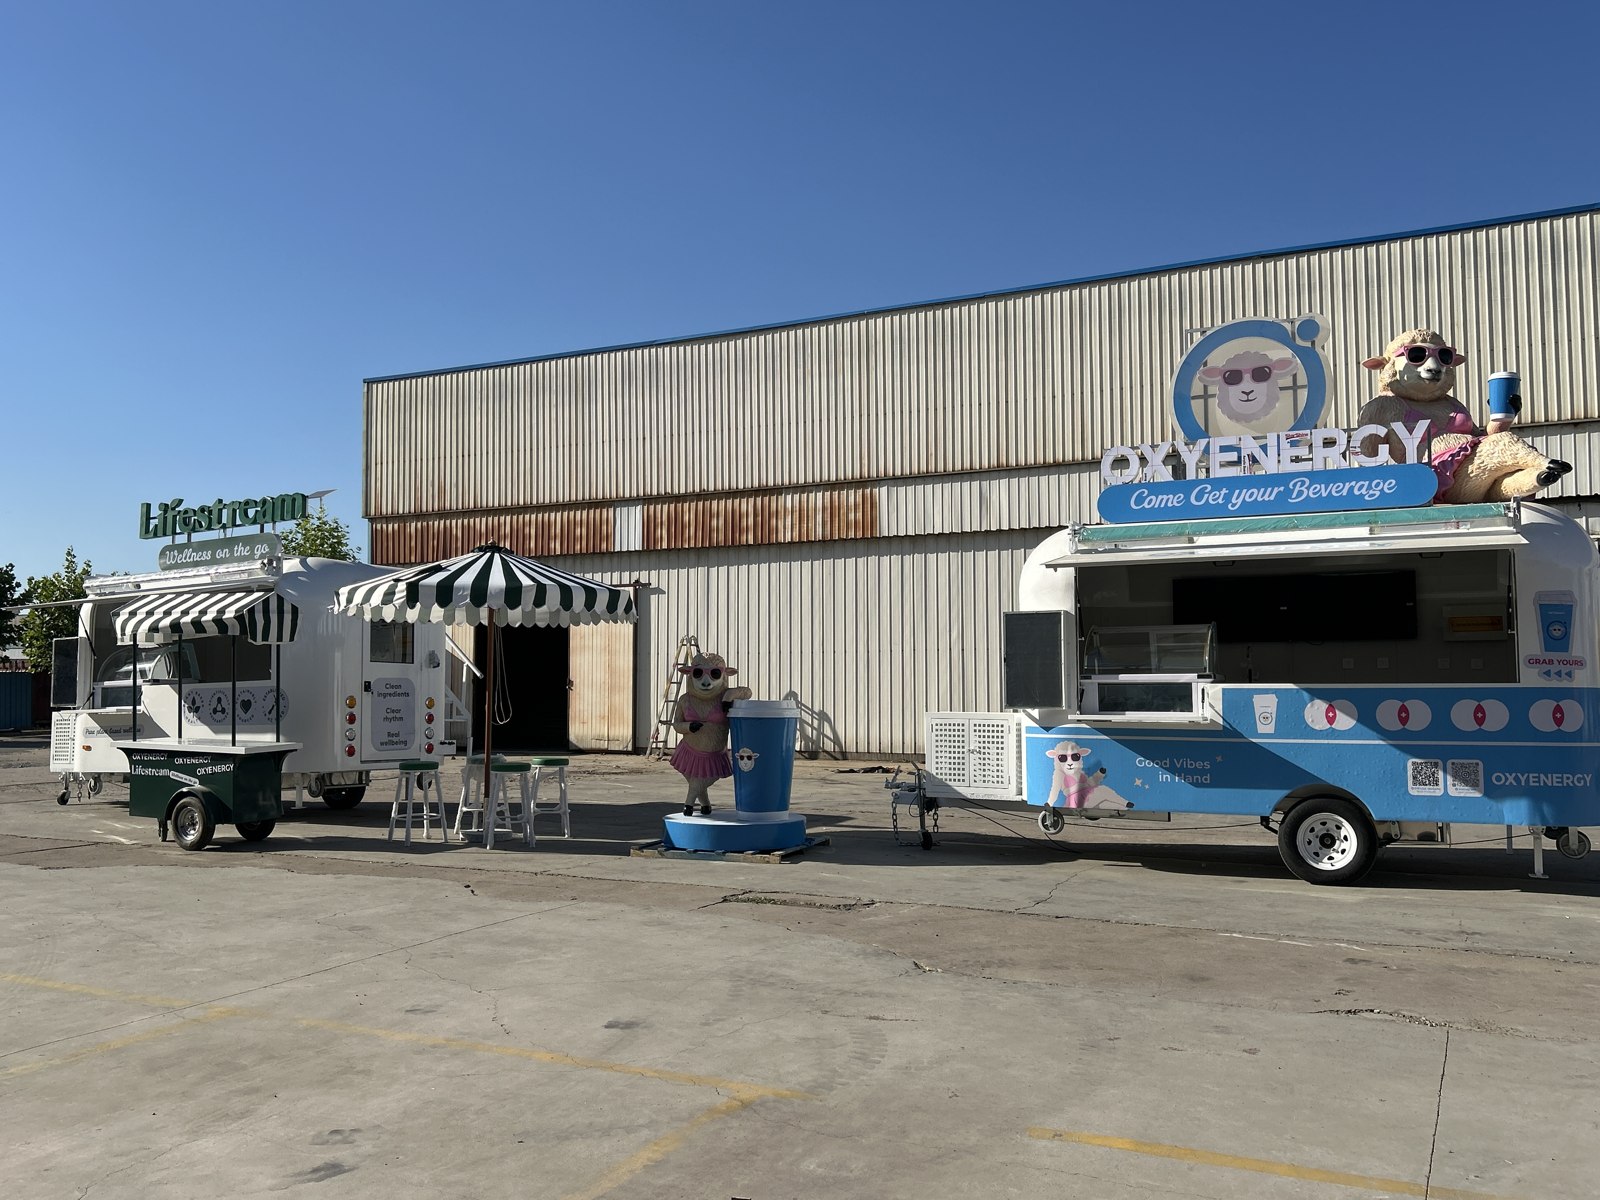
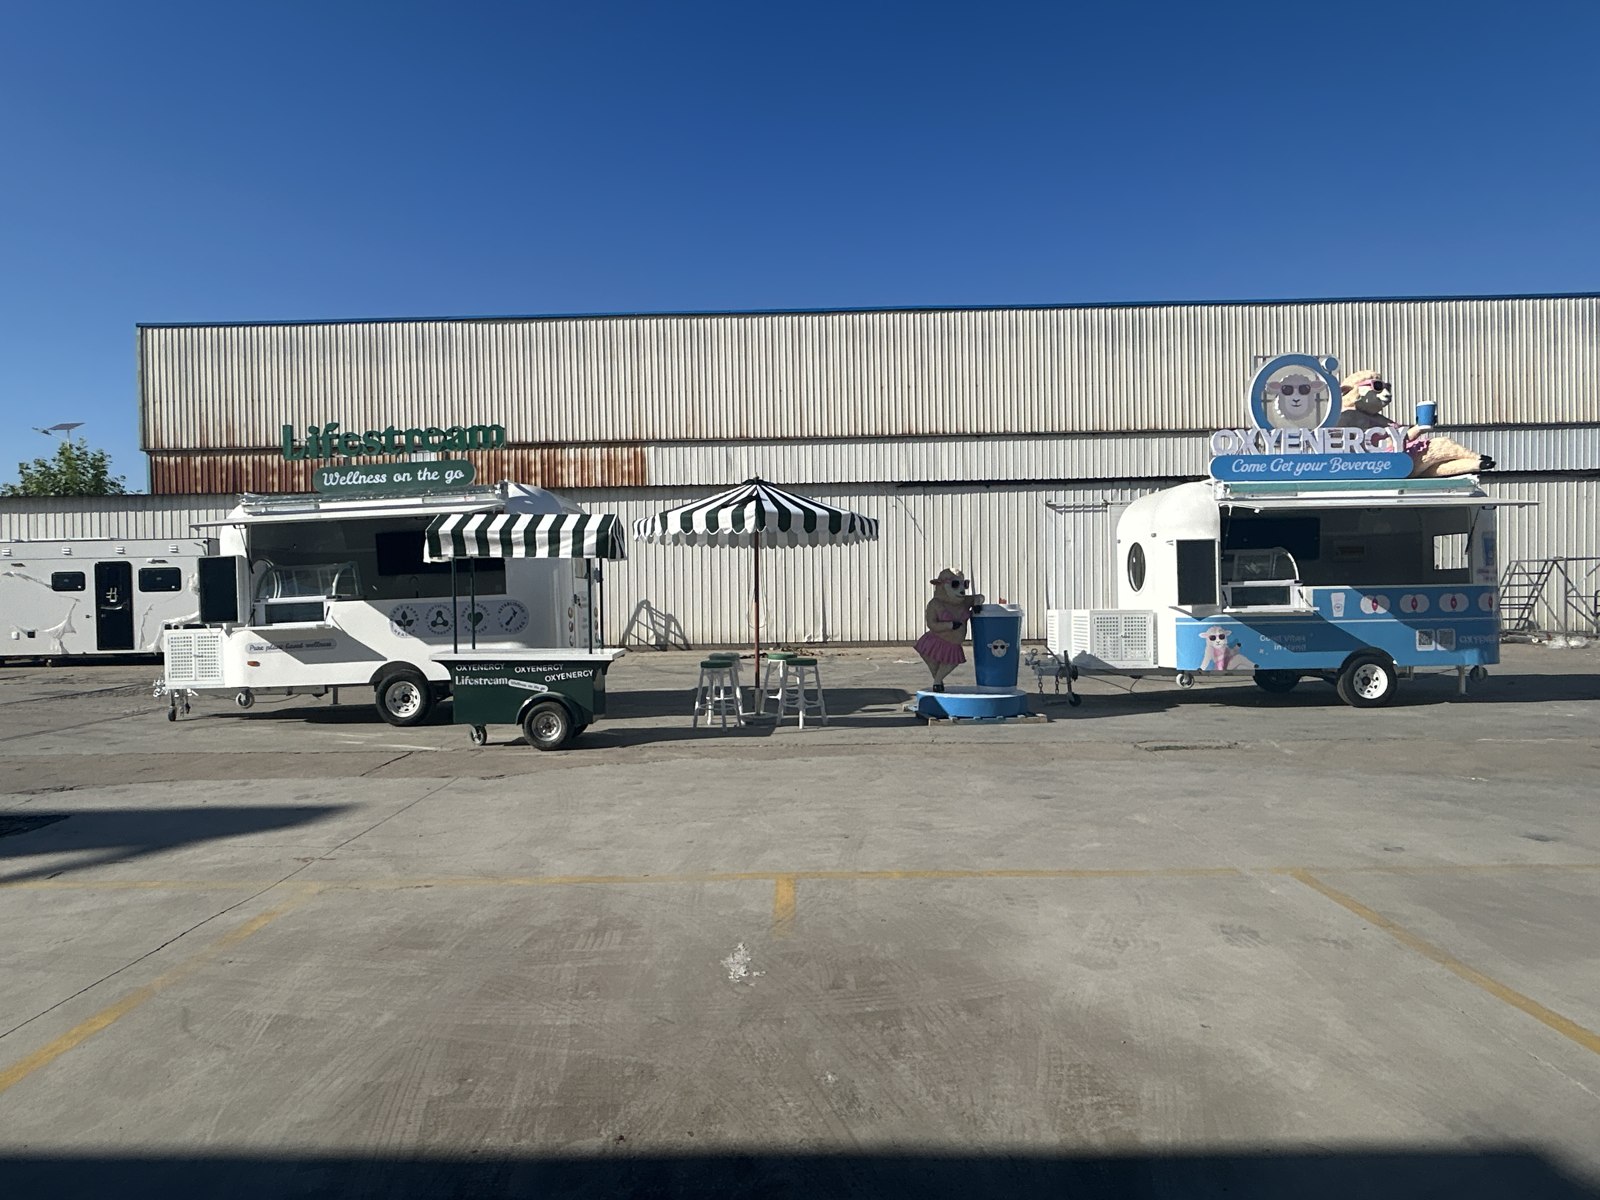
We had just finished fitting the signs. Now they had to come off again
Seeing the finished trailers set up was satisfying. Then, before loading, the signs, sculptures and ladders had to come off again. It sounds like doing the same job twice, but this was exactly why we had planned removable fittings. The trailers needed one arrangement for display and another for transport.
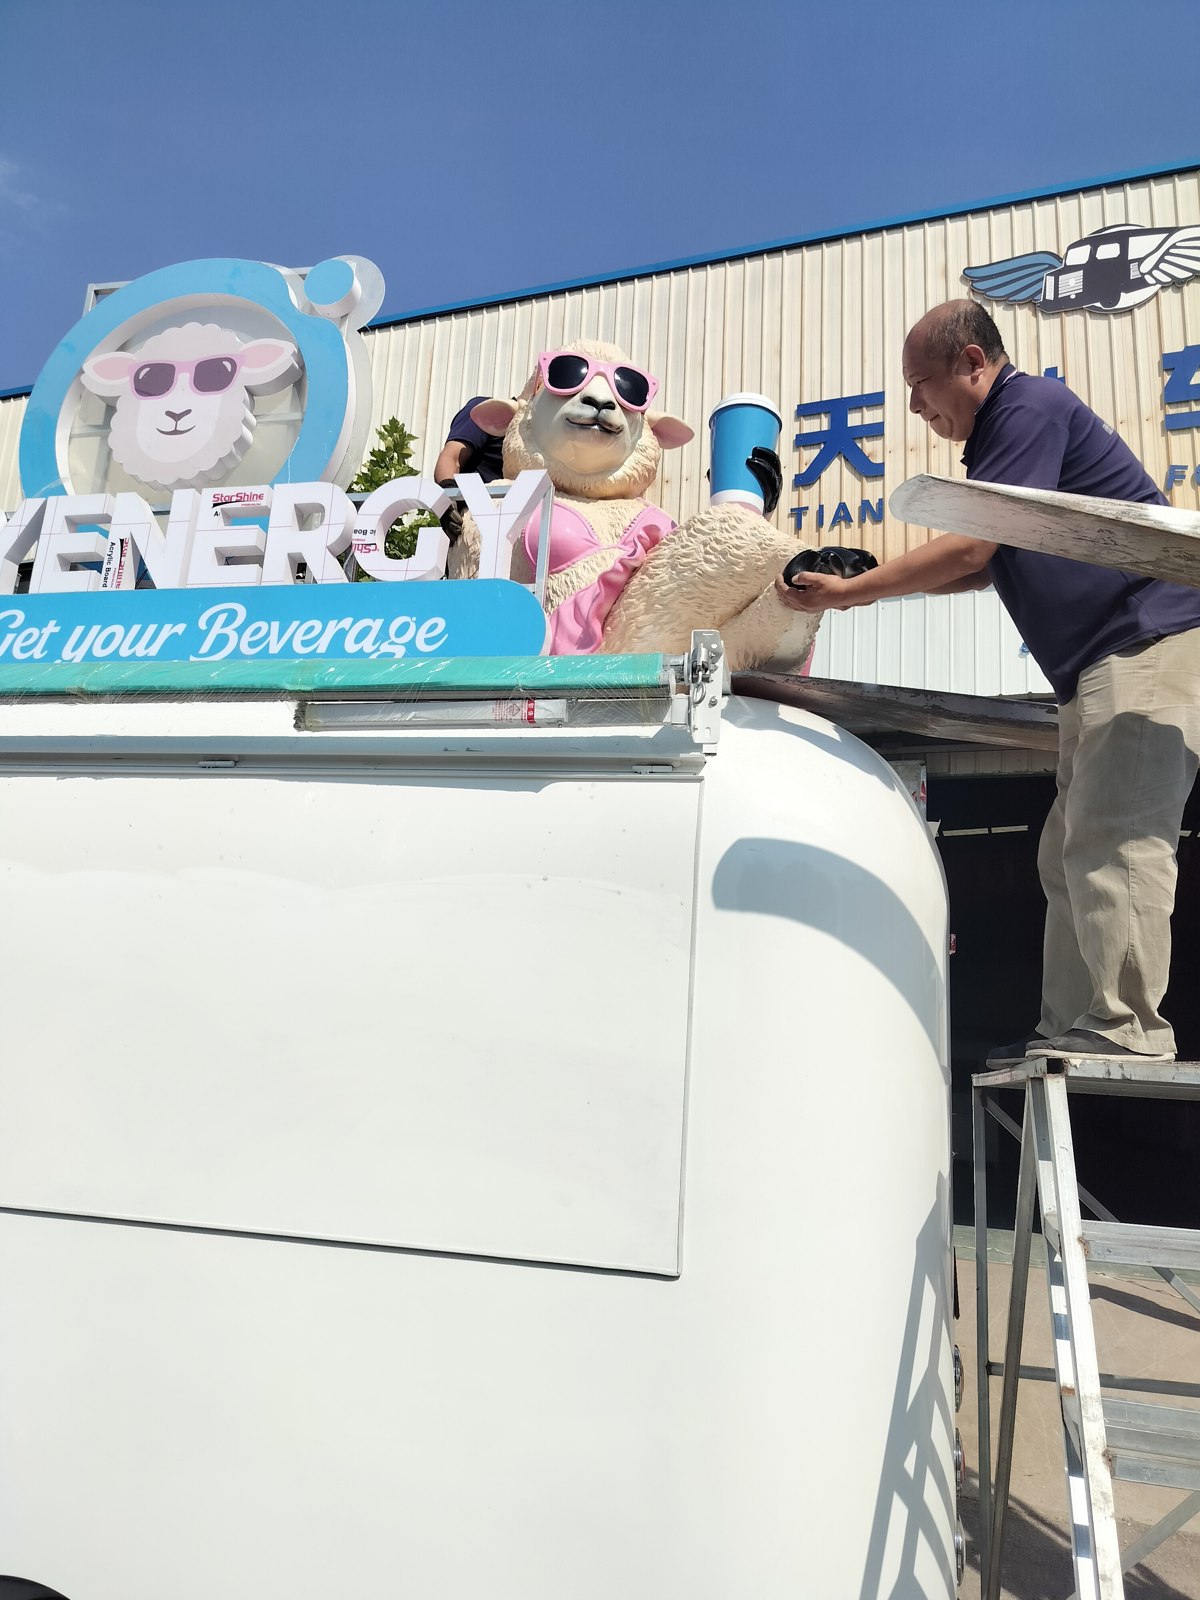
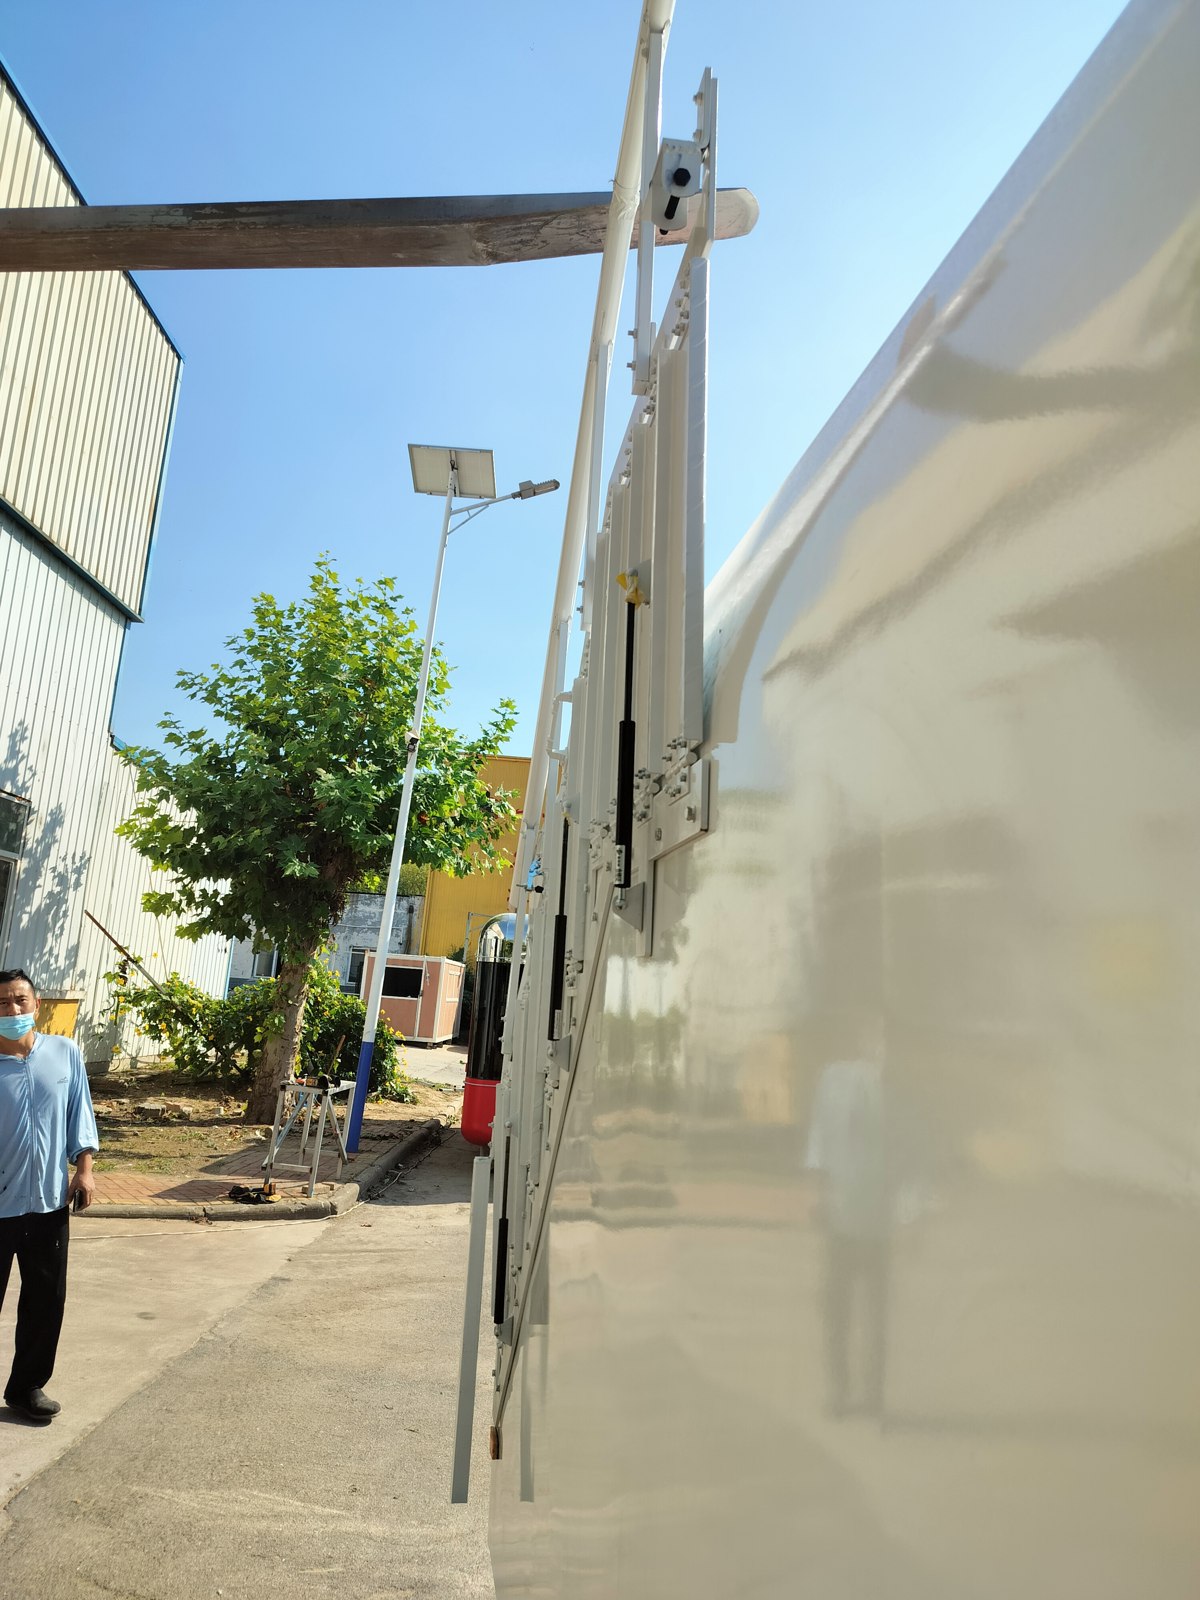
For food trailer export packing, we dealt separately with projecting parts and anything needing its own protection. We returned the roofs to their transport arrangement and wrapped the removed boxes and accessories individually. Taking something off is only the first step. It still has to be protected, secured and put back on at the other end.
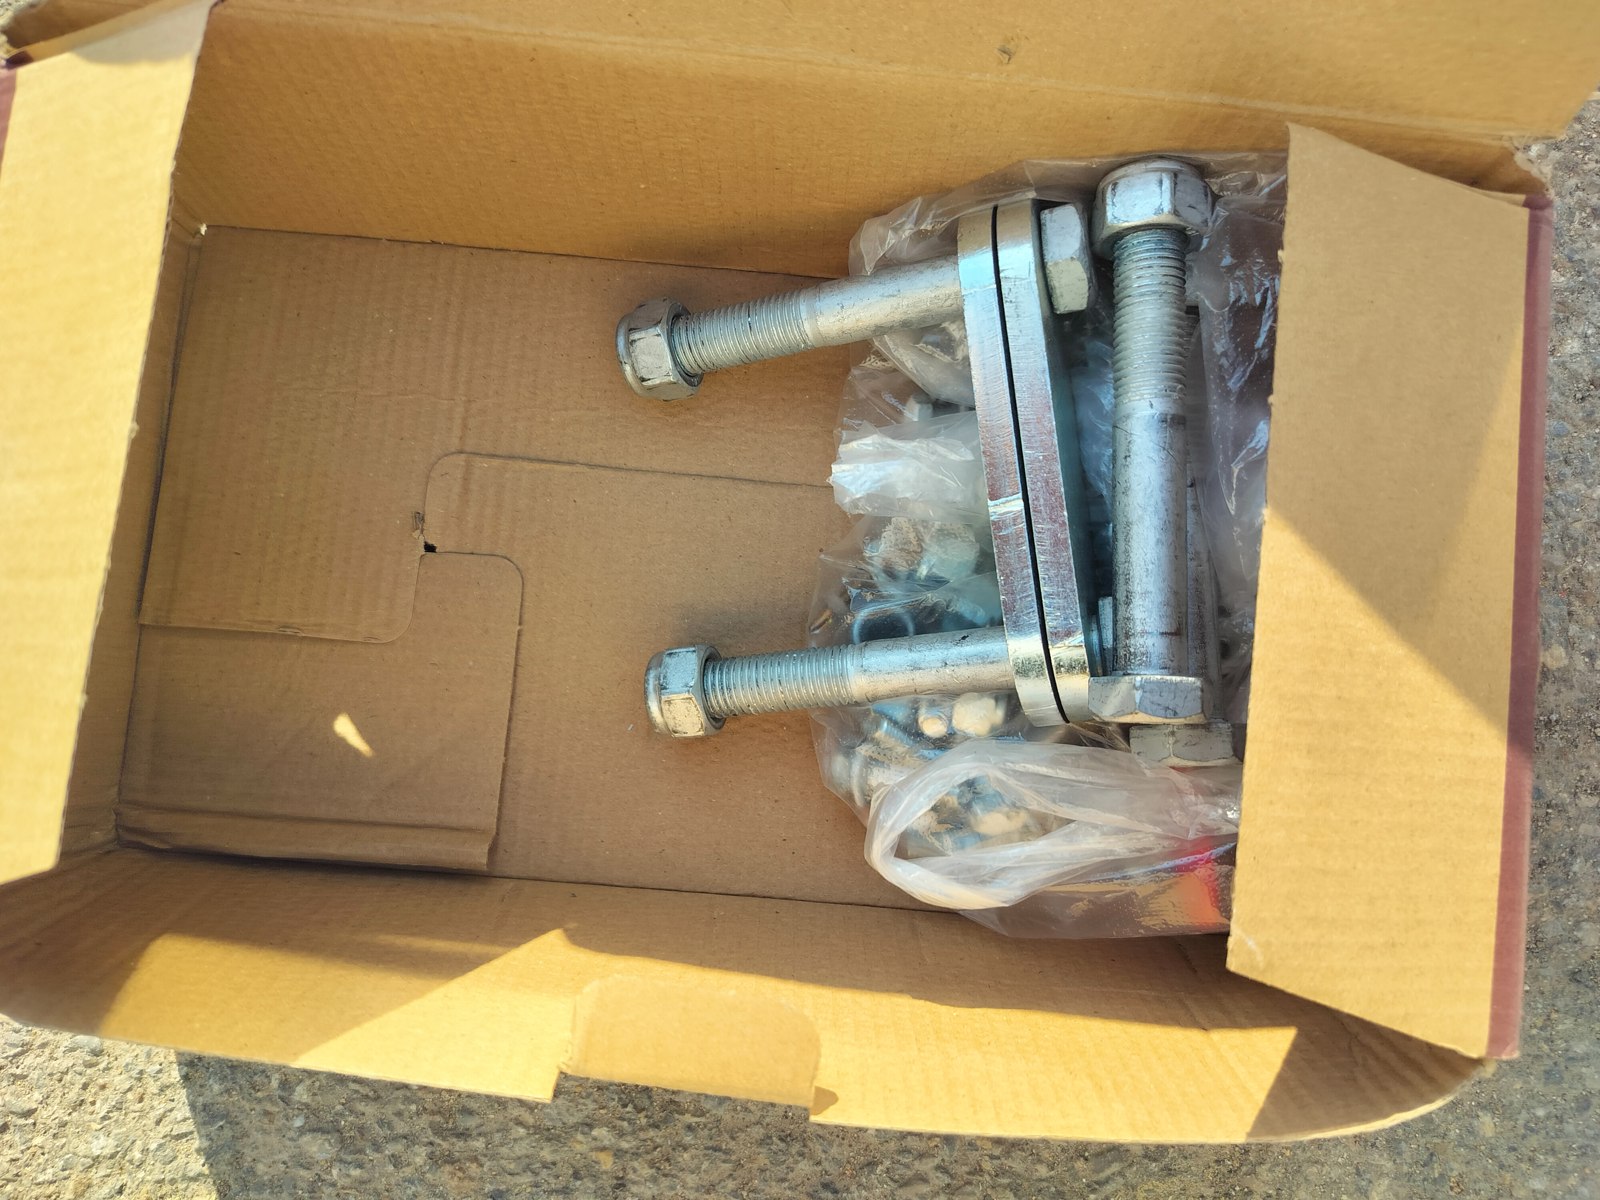
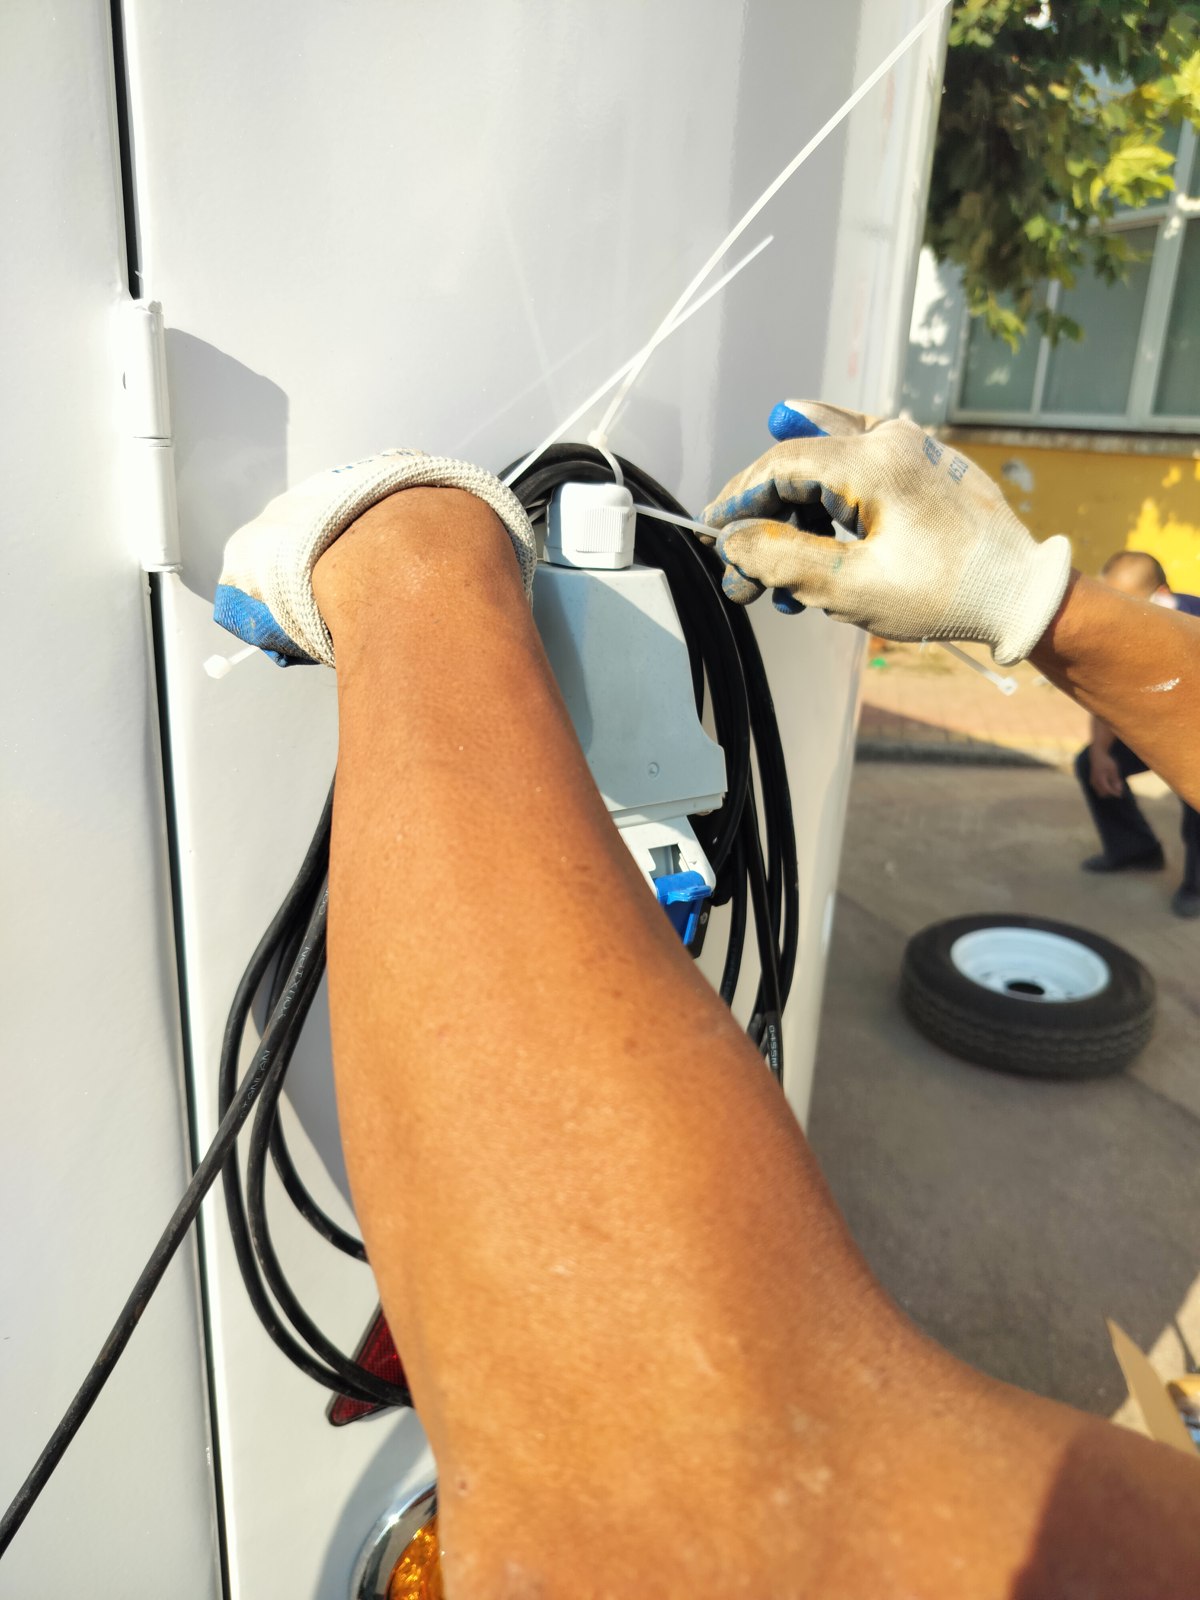
Some of the connectors looked very similar once removed. Rather than leave a pile of mystery parts, we bagged them by installation position, labelled the bags and photographed where they belonged before removal. A few minutes spent doing that could save a lot of head-scratching during reassembly.
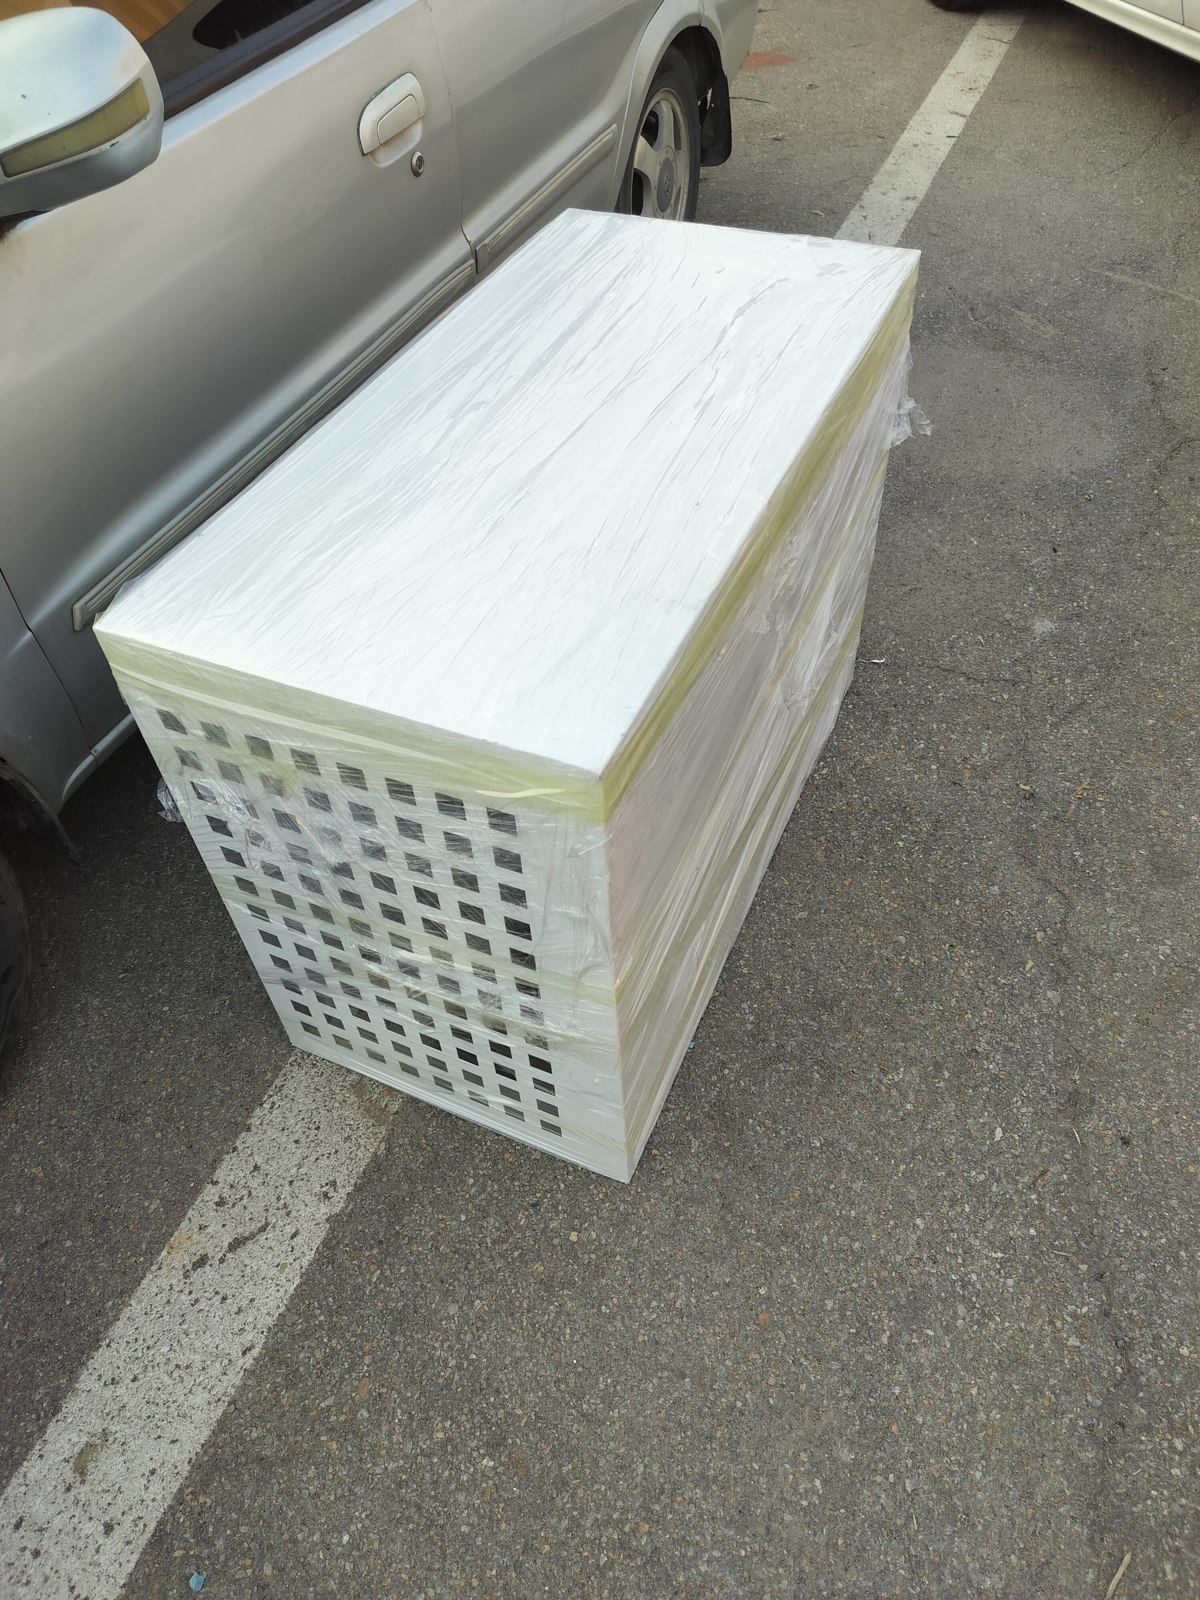
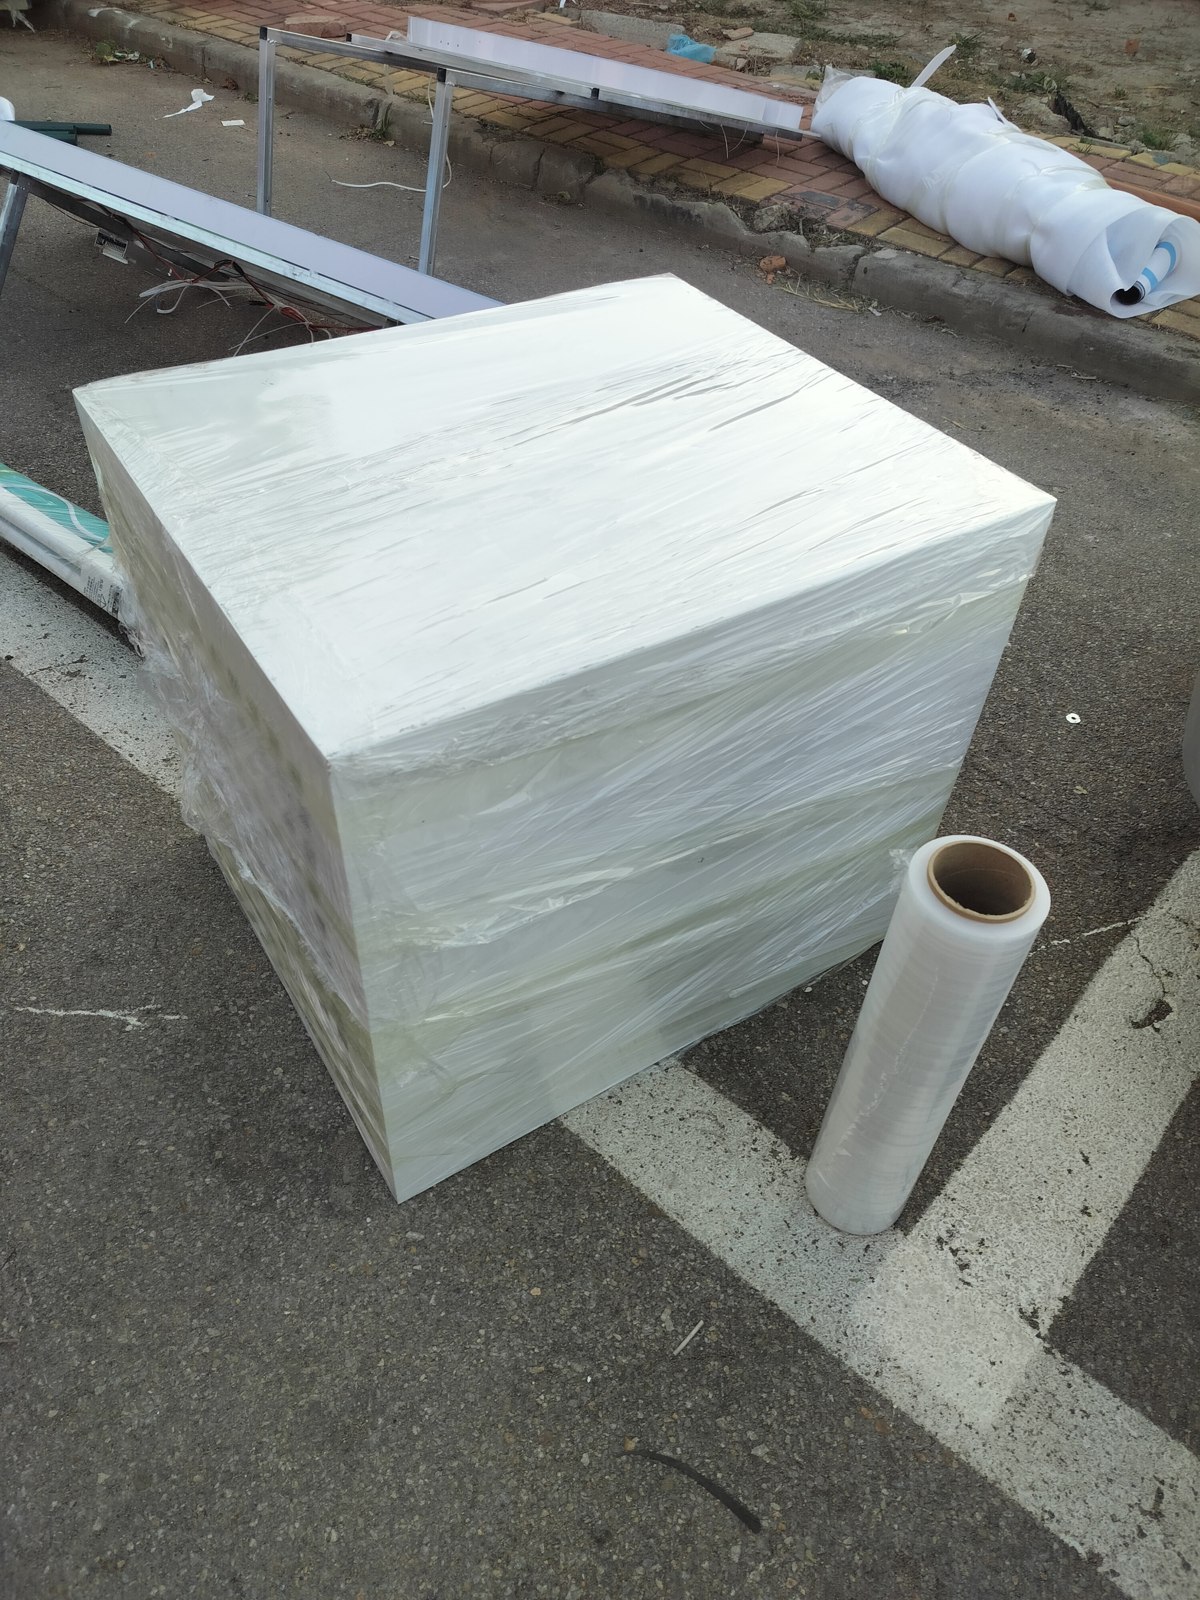
The sheep sculptures needed their own steel frames
A plain rectangular box is fairly easy to pack. A sculpture with ears, arms and awkward corners sticking out is another matter entirely. Every time we moved these, I was watching the projecting parts. The stars of the display had become the parts we were most anxious to protect.
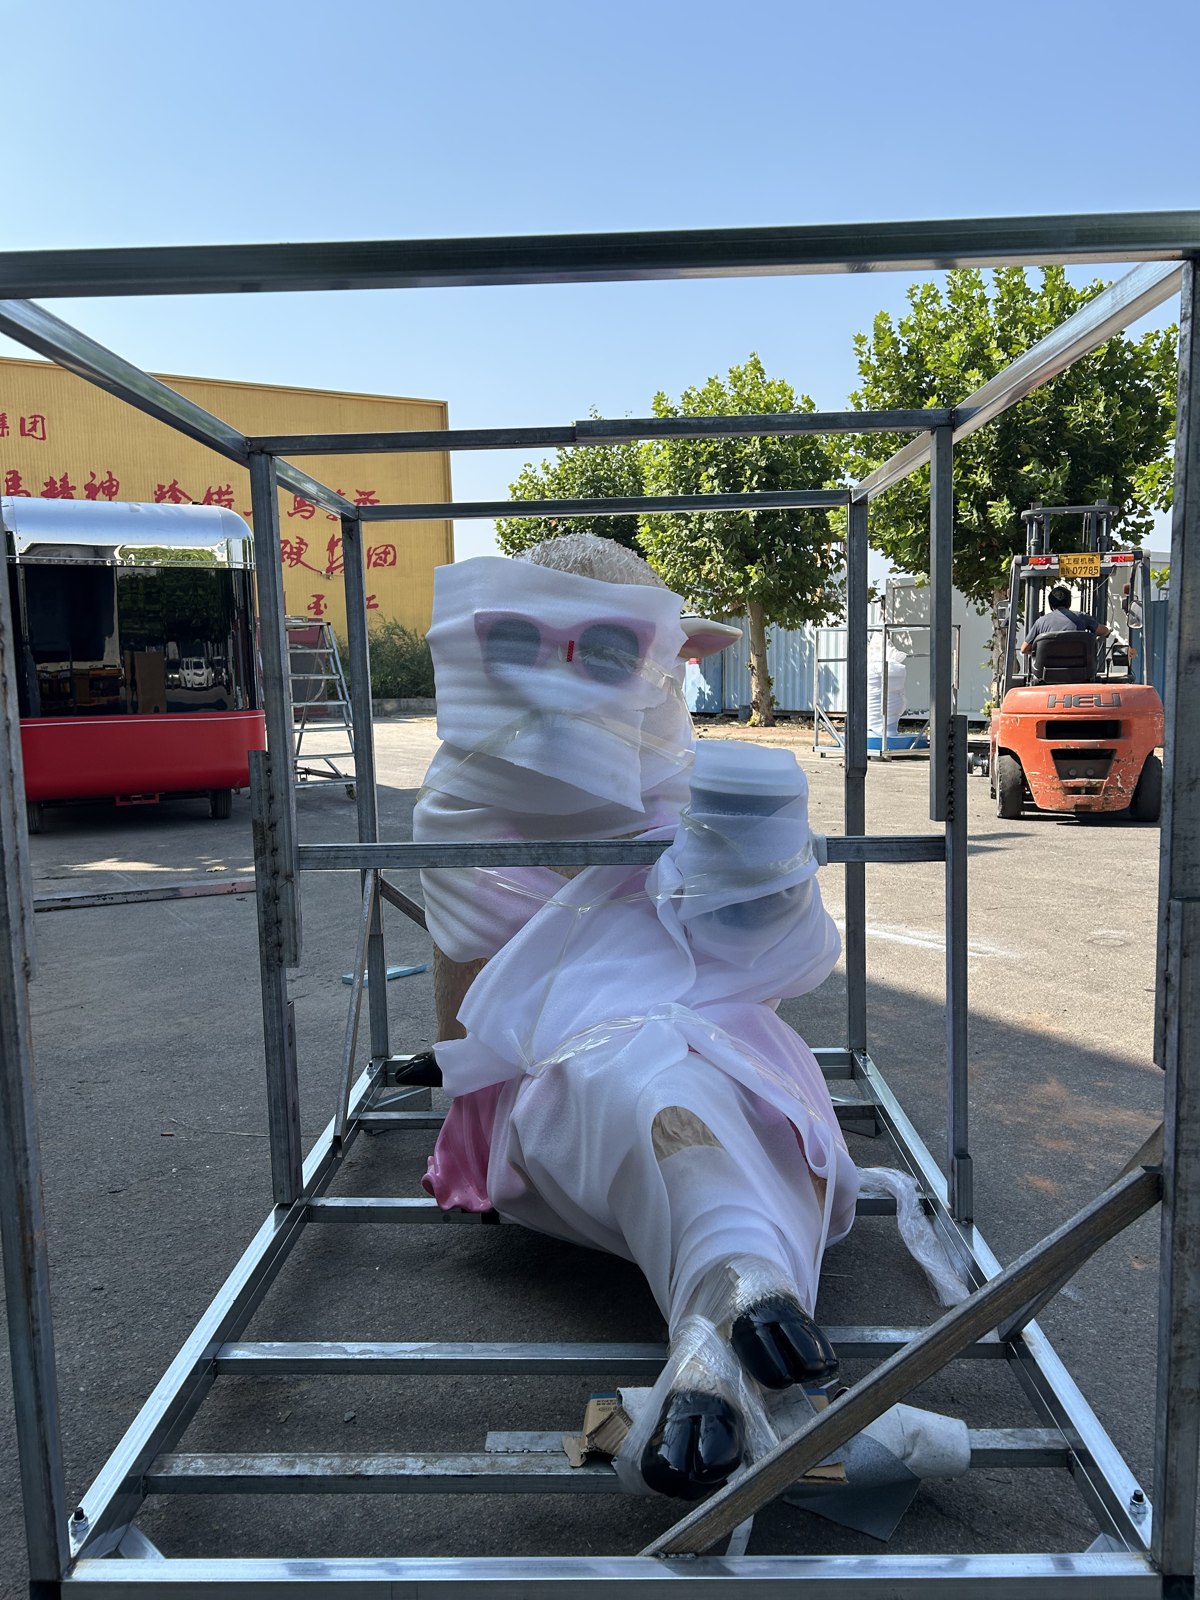
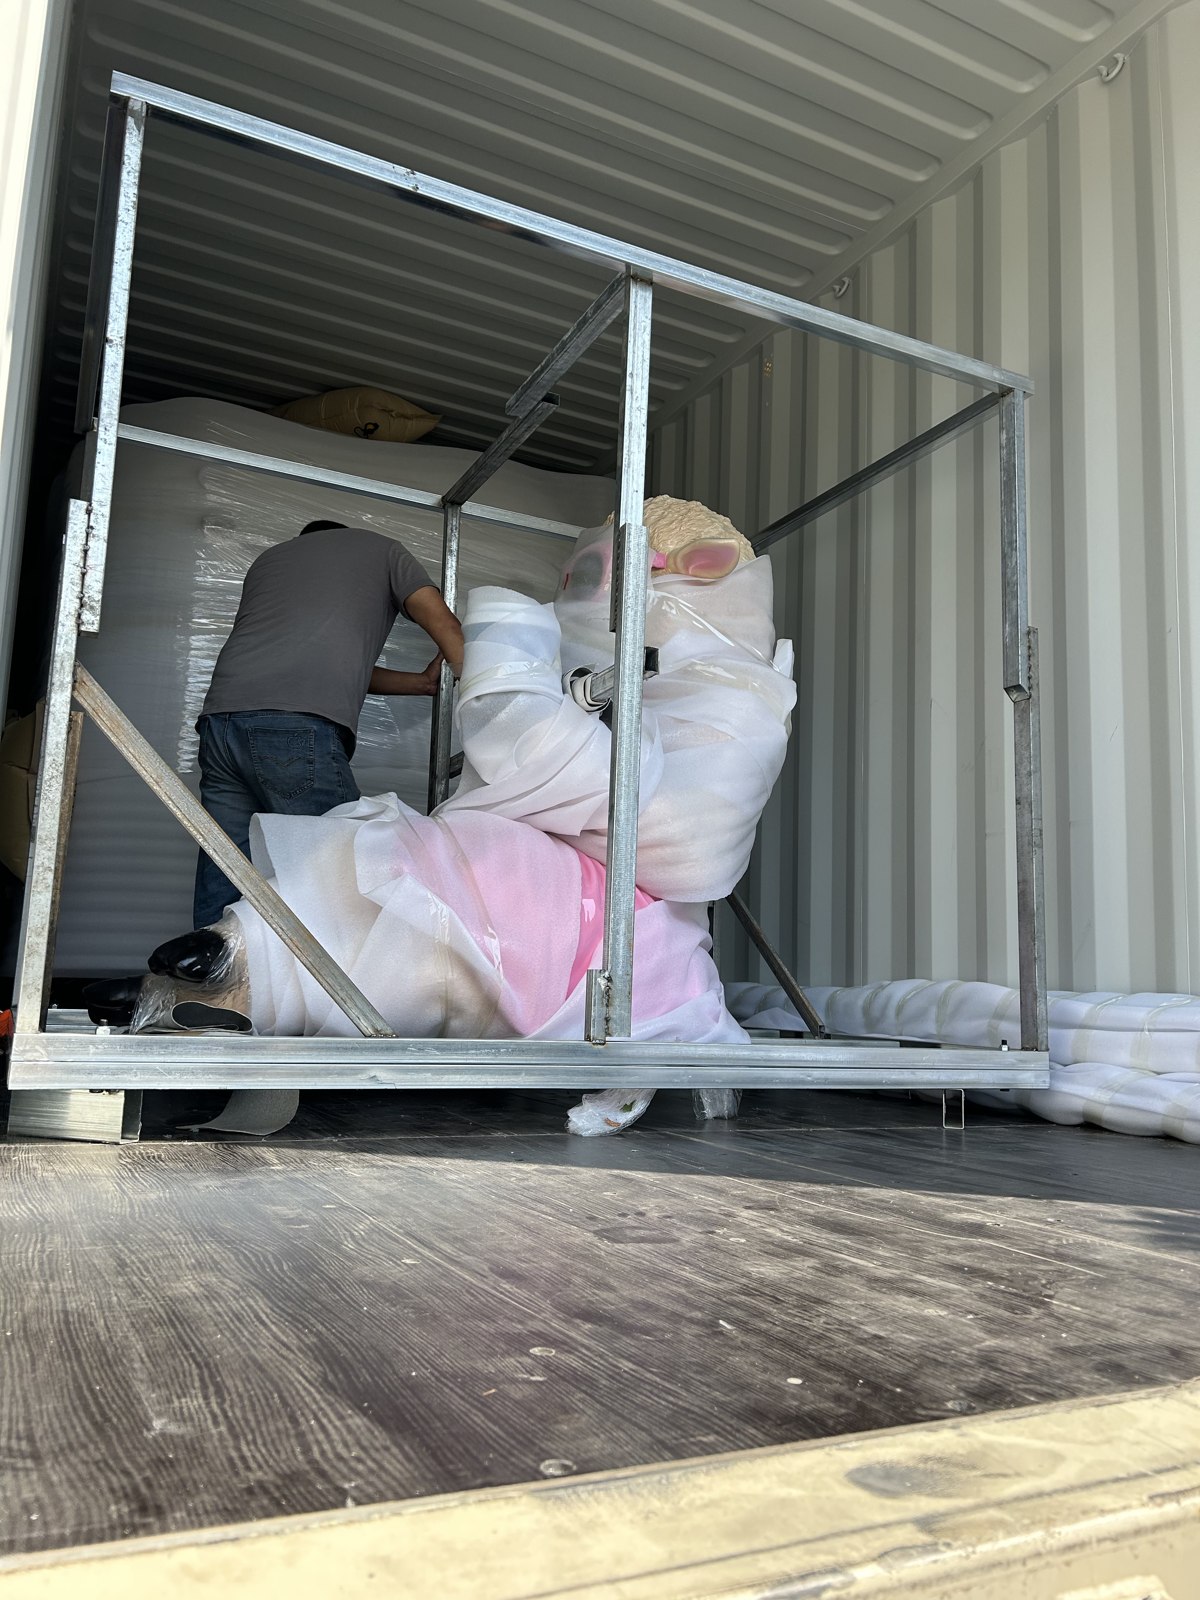
We considered timber packaging, but arranging the necessary treatment would have taken time, and the dispatch schedule was tight. We switched to individual steel frames for custom trailer accessory packaging. That gave each sculpture a surrounding structure to help with placement and securing inside the container.
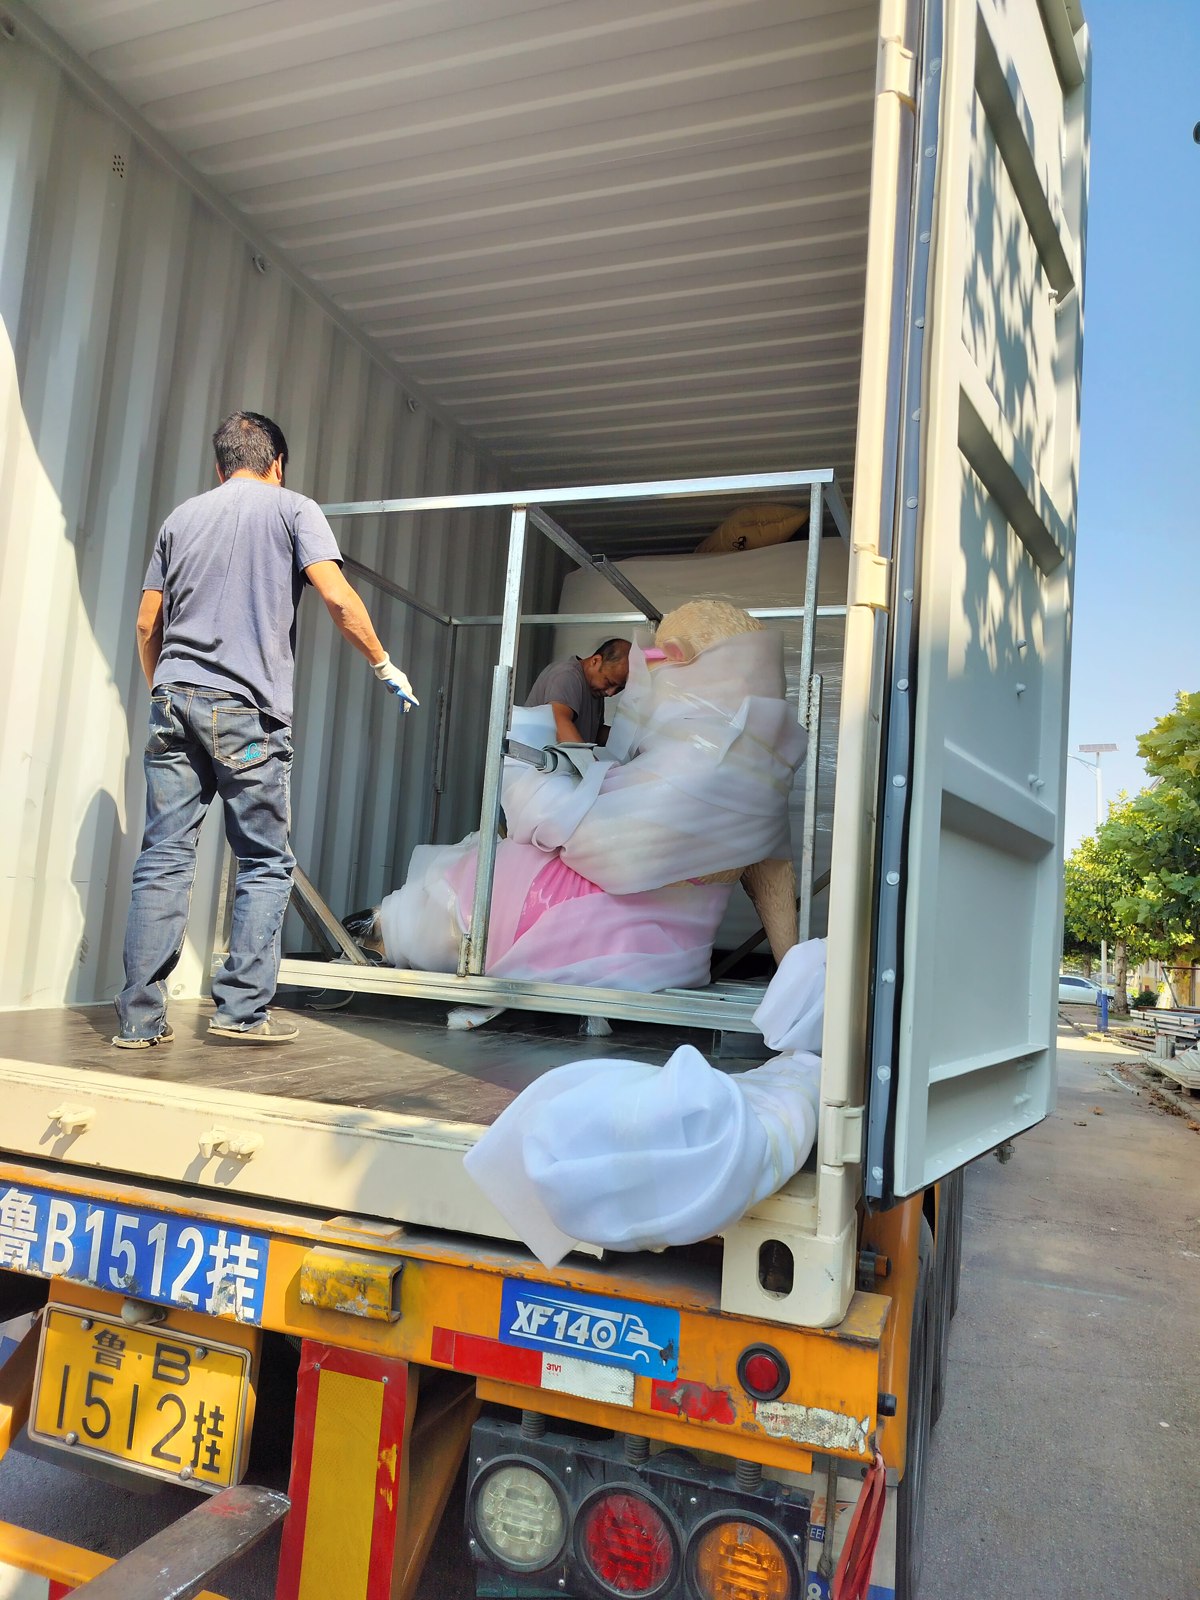
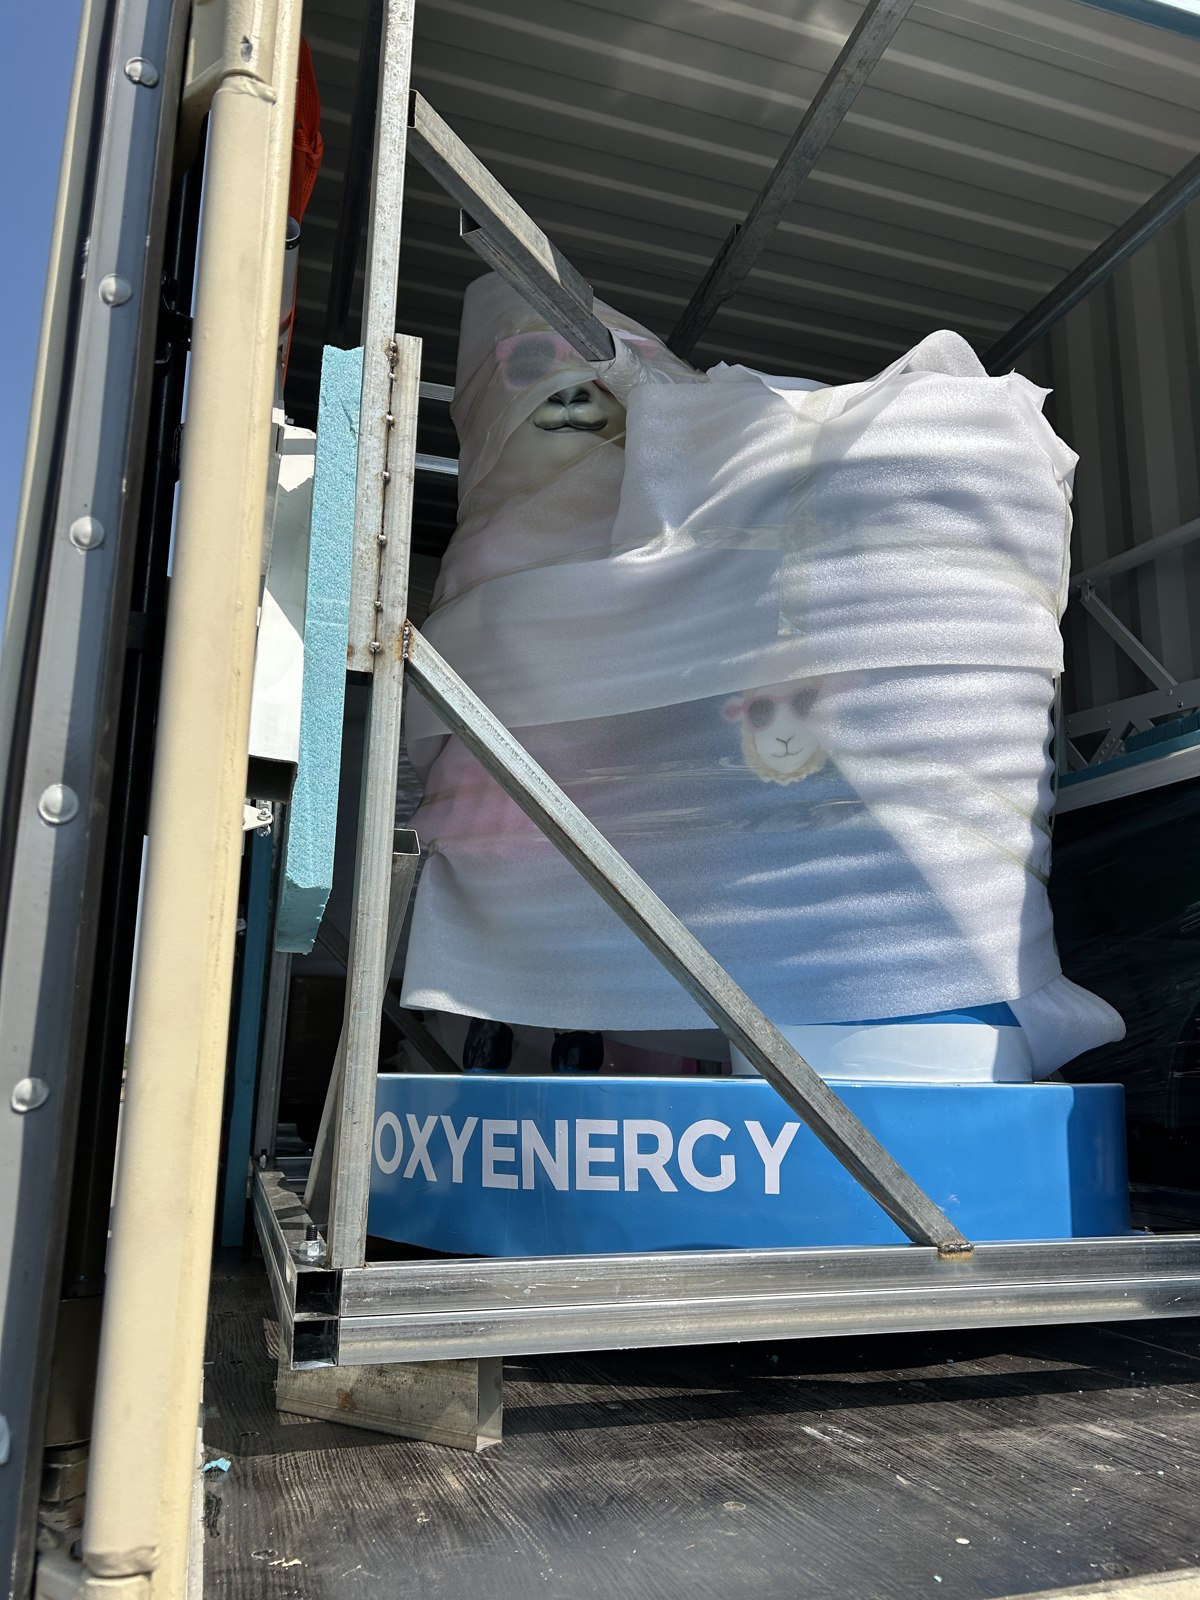
We left clearance around the projecting parts rather than building the frames tightly against the sculptures' outlines. After placing each sculpture inside, we checked the cushioning again. A sturdy frame would not help much if a hard contact point inside it was pressing against an awkward corner.
A missing bag of fittings can hold up a very big trailer
Towards the end, the job seemed to turn into dozens of smaller jobs: boxes, signs, connectors, tabletops and packaged equipment, each needing a place. I kept thinking about how frustrating it would be for the customer to receive the big trailers and then be held up by one little fitting.
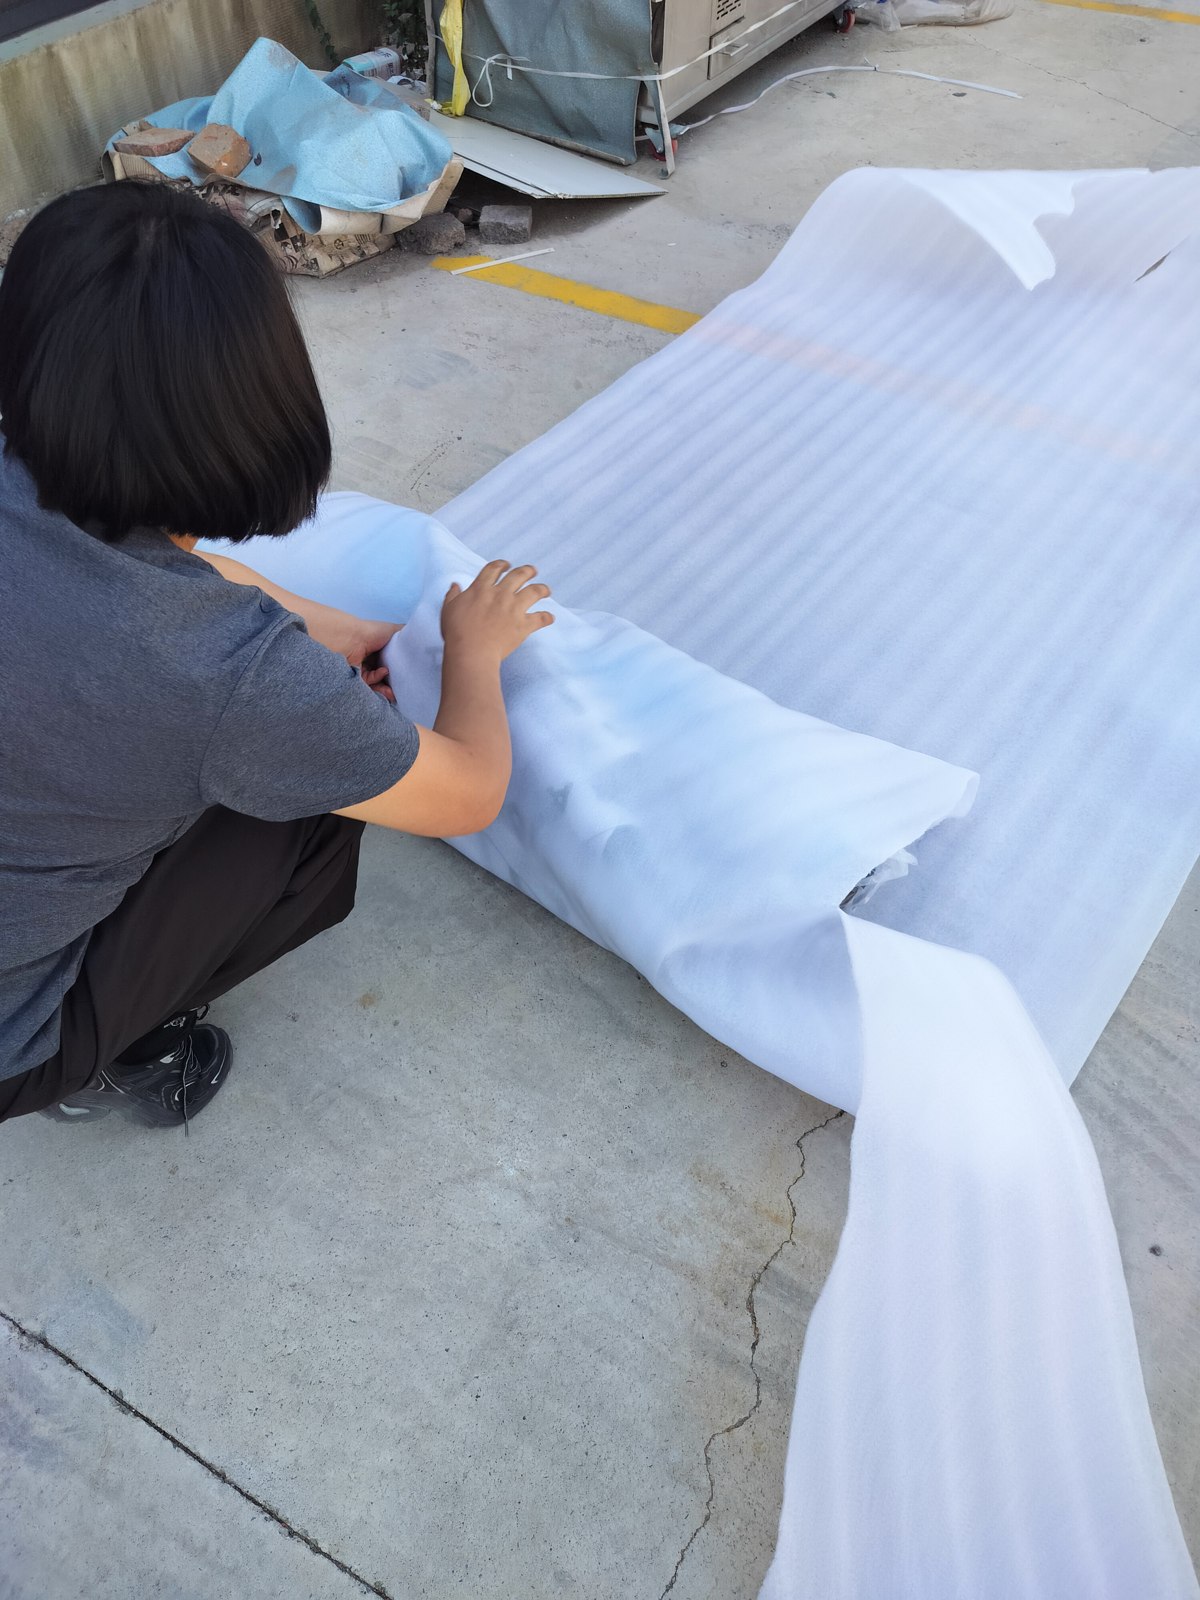
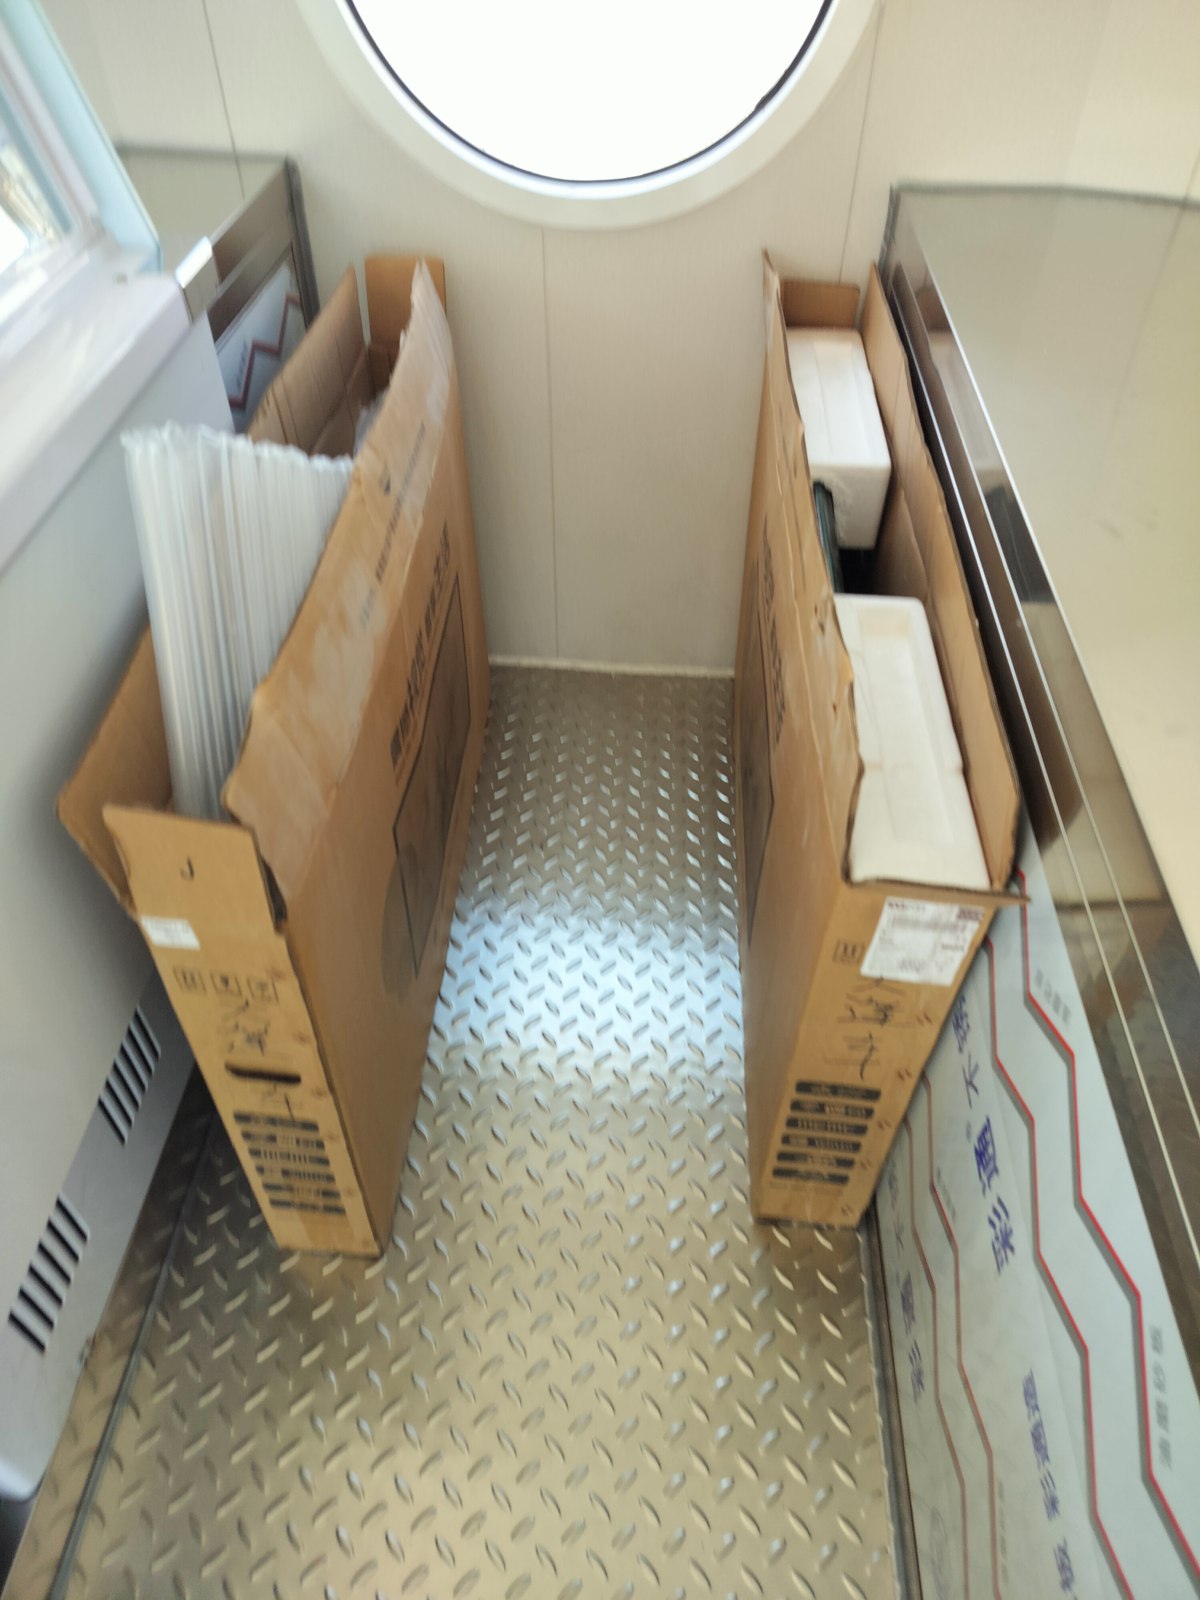
We used suitable space inside the trailers for some boxed equipment and accessories. Tables and external boxes were wrapped separately, with attention to exposed edges. We also photographed the packing and loading stages, so there would be a clear reference for where things had been placed. That is a useful part of preparing a food trailer for shipping.
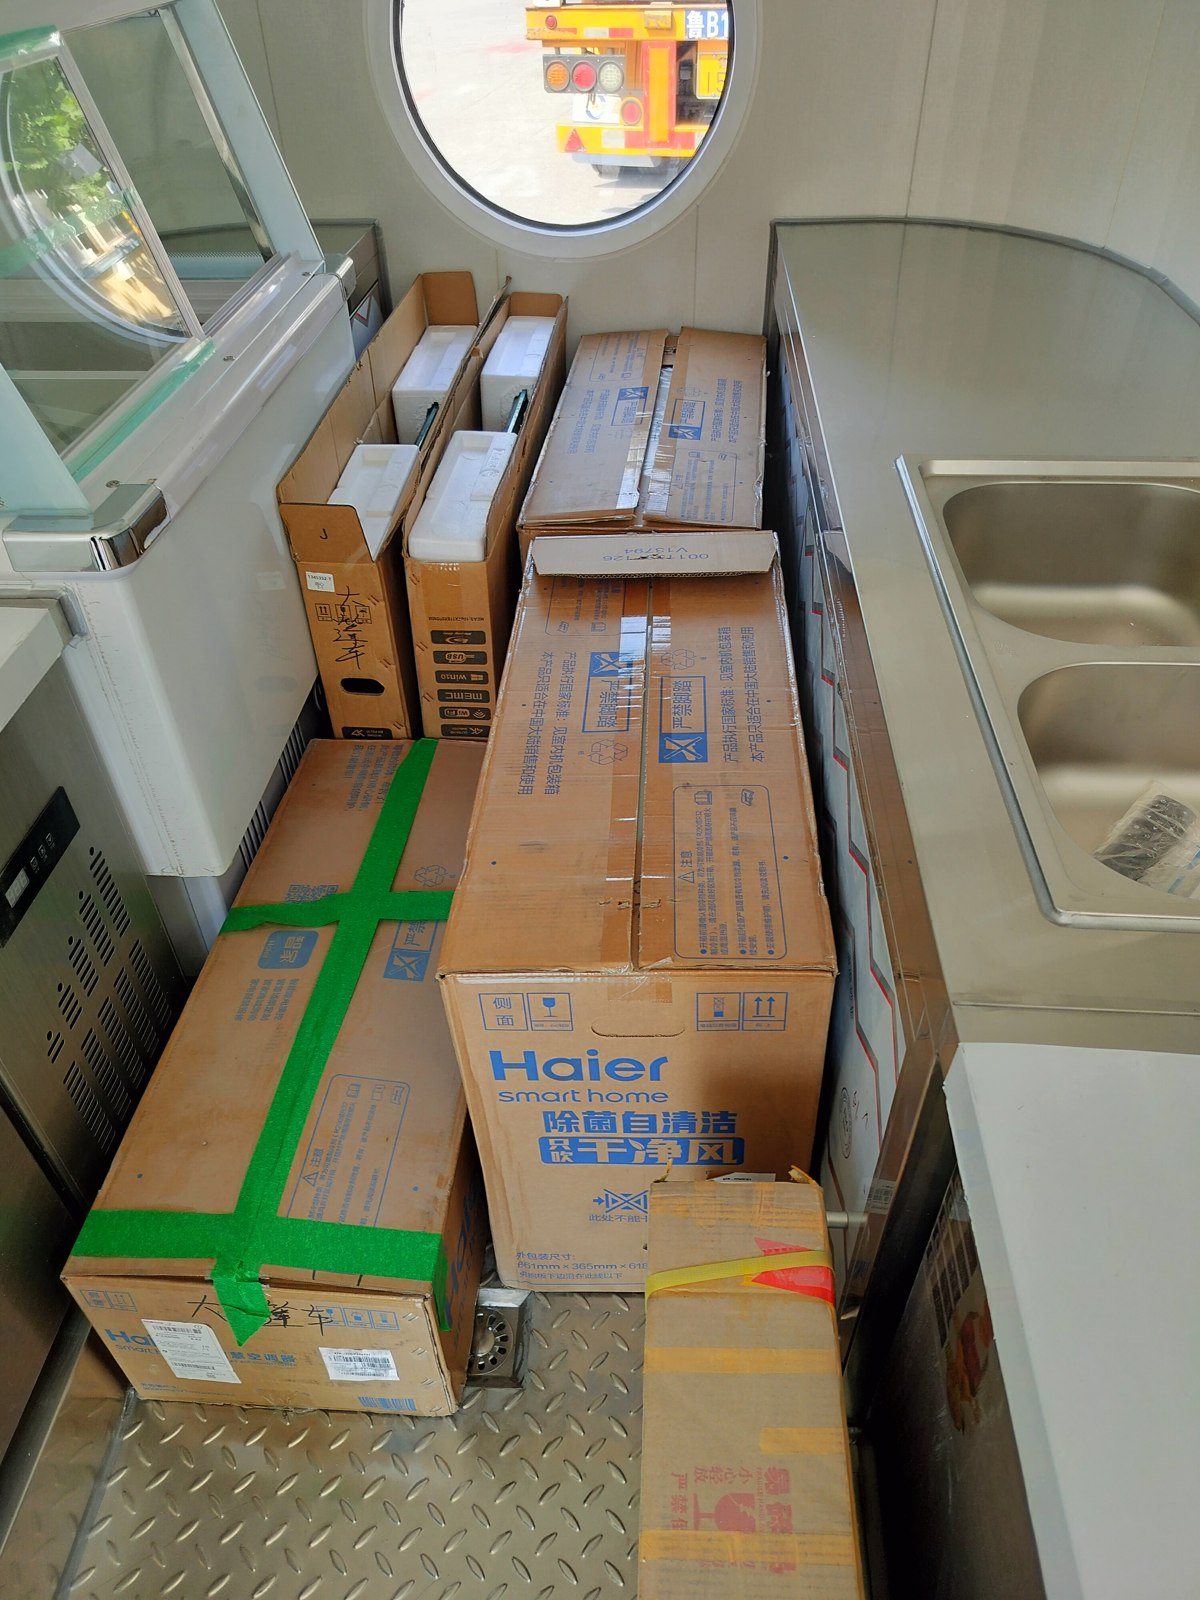
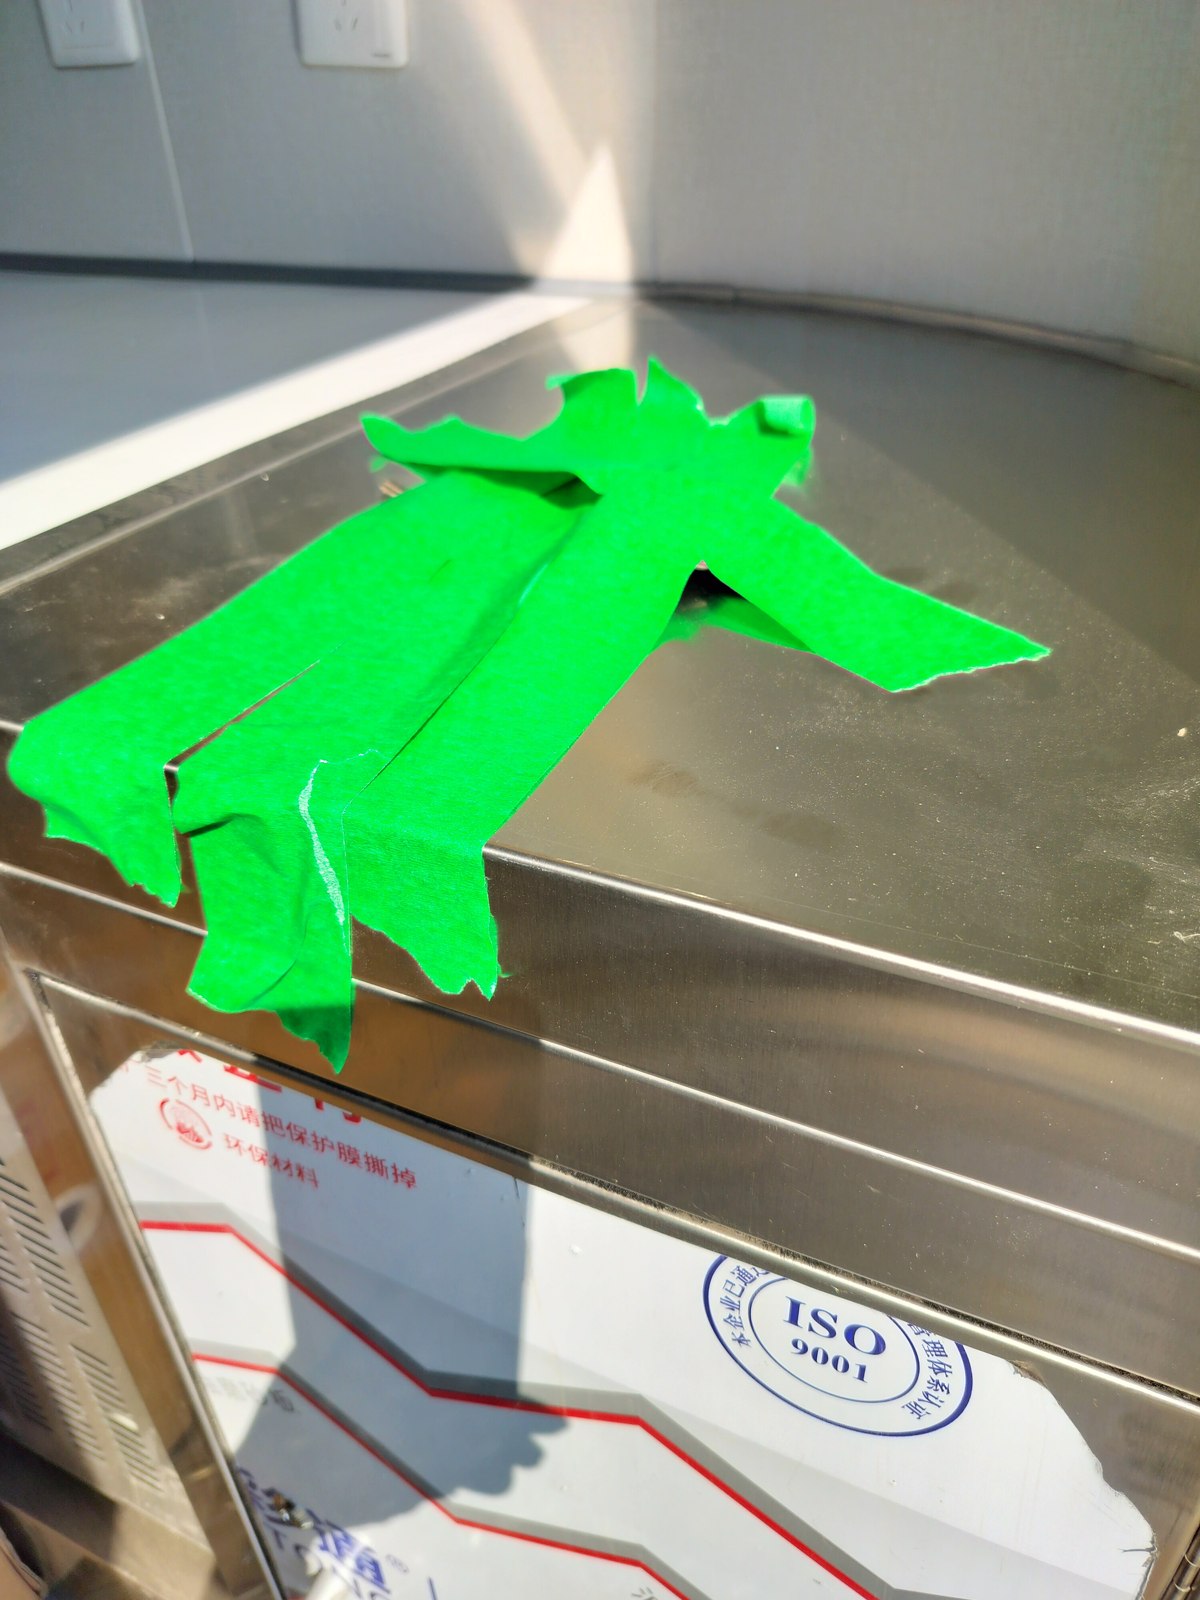
We went through the unpacking and reassembly order as well. Small parts needed early in the setup were grouped where they would be easier to reach. Nobody wants to unpack half a container just to find the bag of screws needed for the first job.
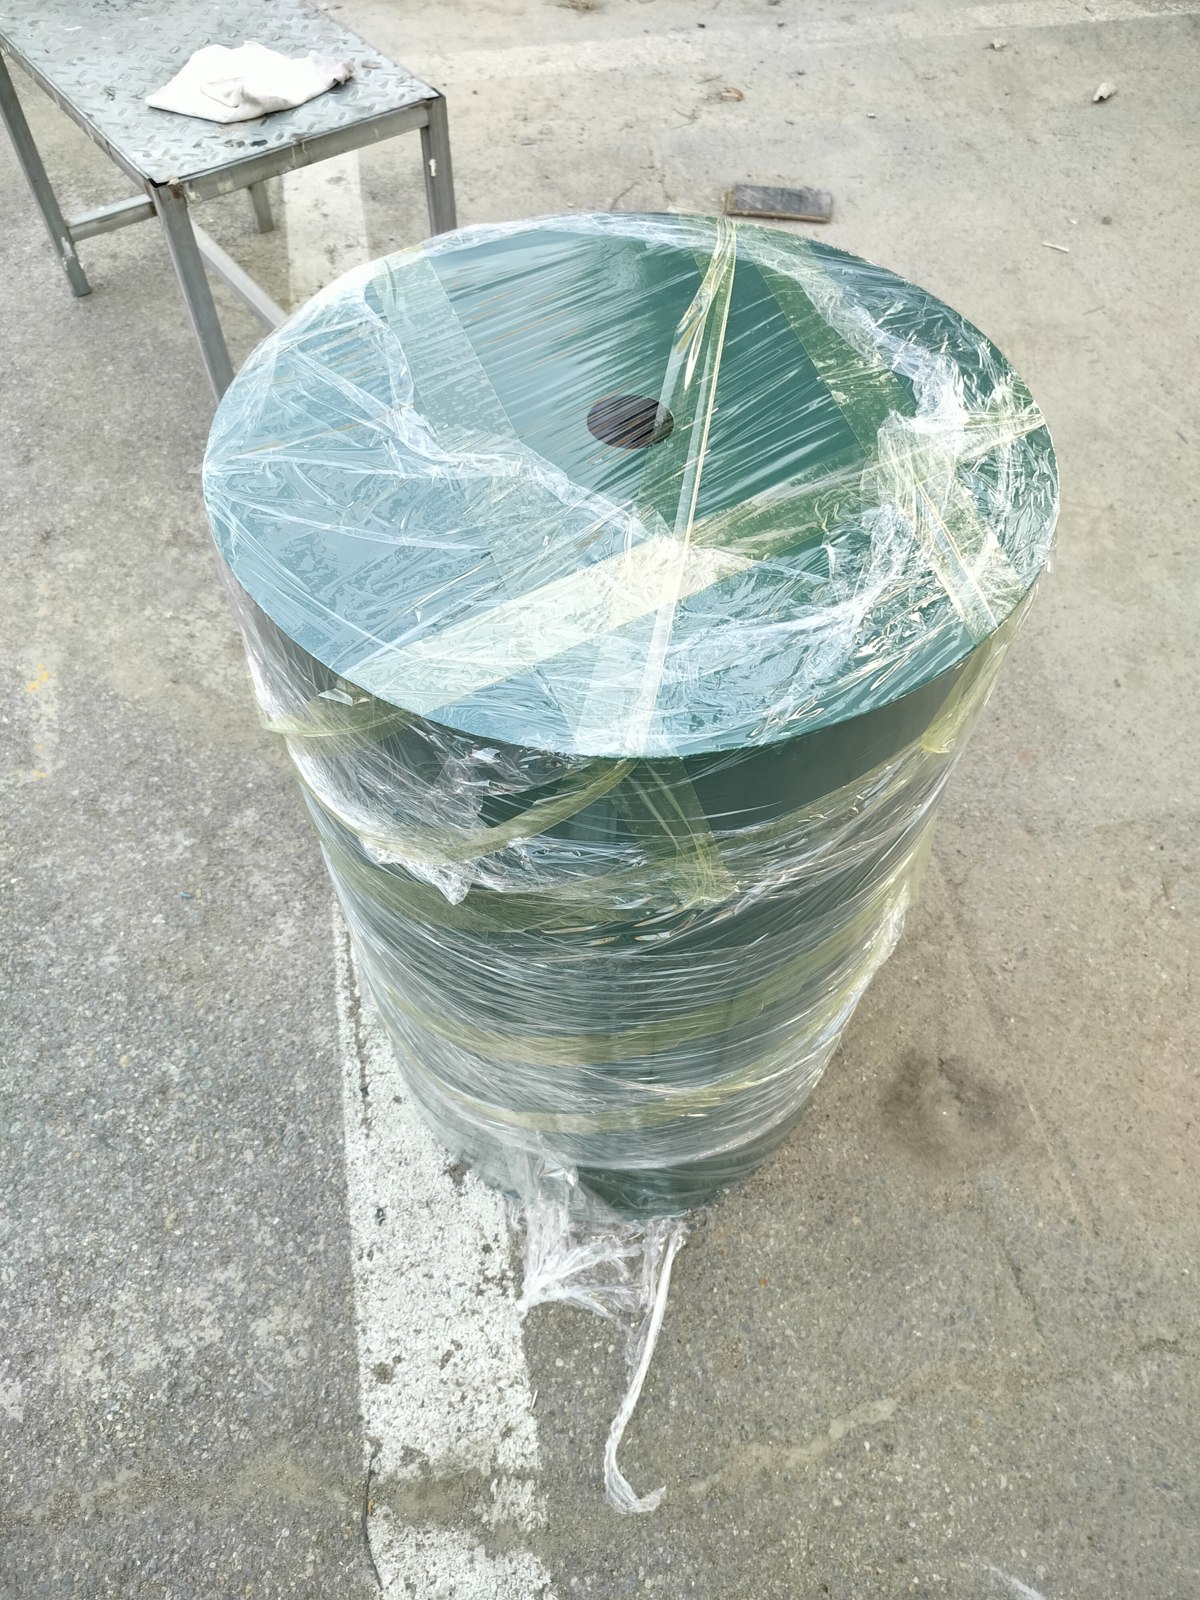
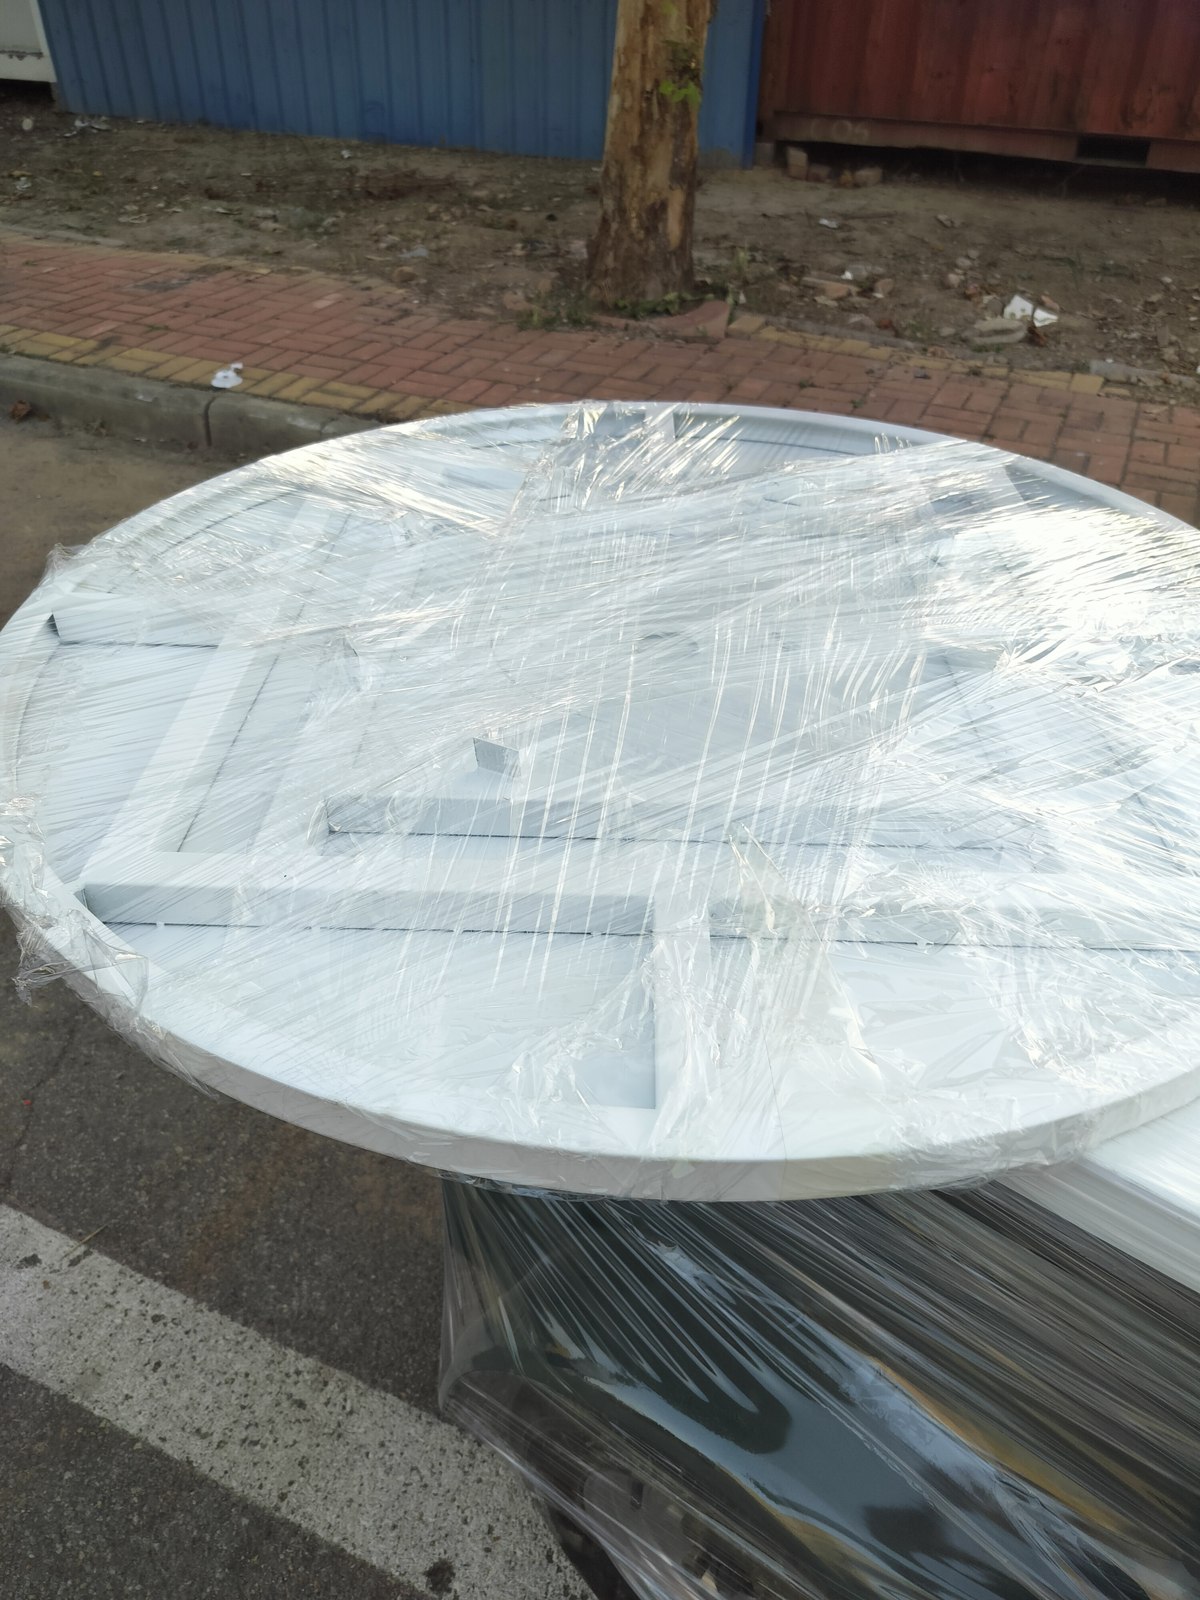
By then, I was paying almost as much attention to the little parts as to the trailers themselves. In the workshop, a missing fitting means a walk across the floor. After dispatch, sorting it out becomes a much longer job.
Container loading felt like fitting an entire pop-up shop into one box
We had arranged a 40-foot high-cube container. That sounds enormous until you list two trailers, ladders, sculptures, sampling carts and the seating accessories. Suddenly, the empty space looks a lot smaller. Getting the vehicles through the doors was only one part of the job.
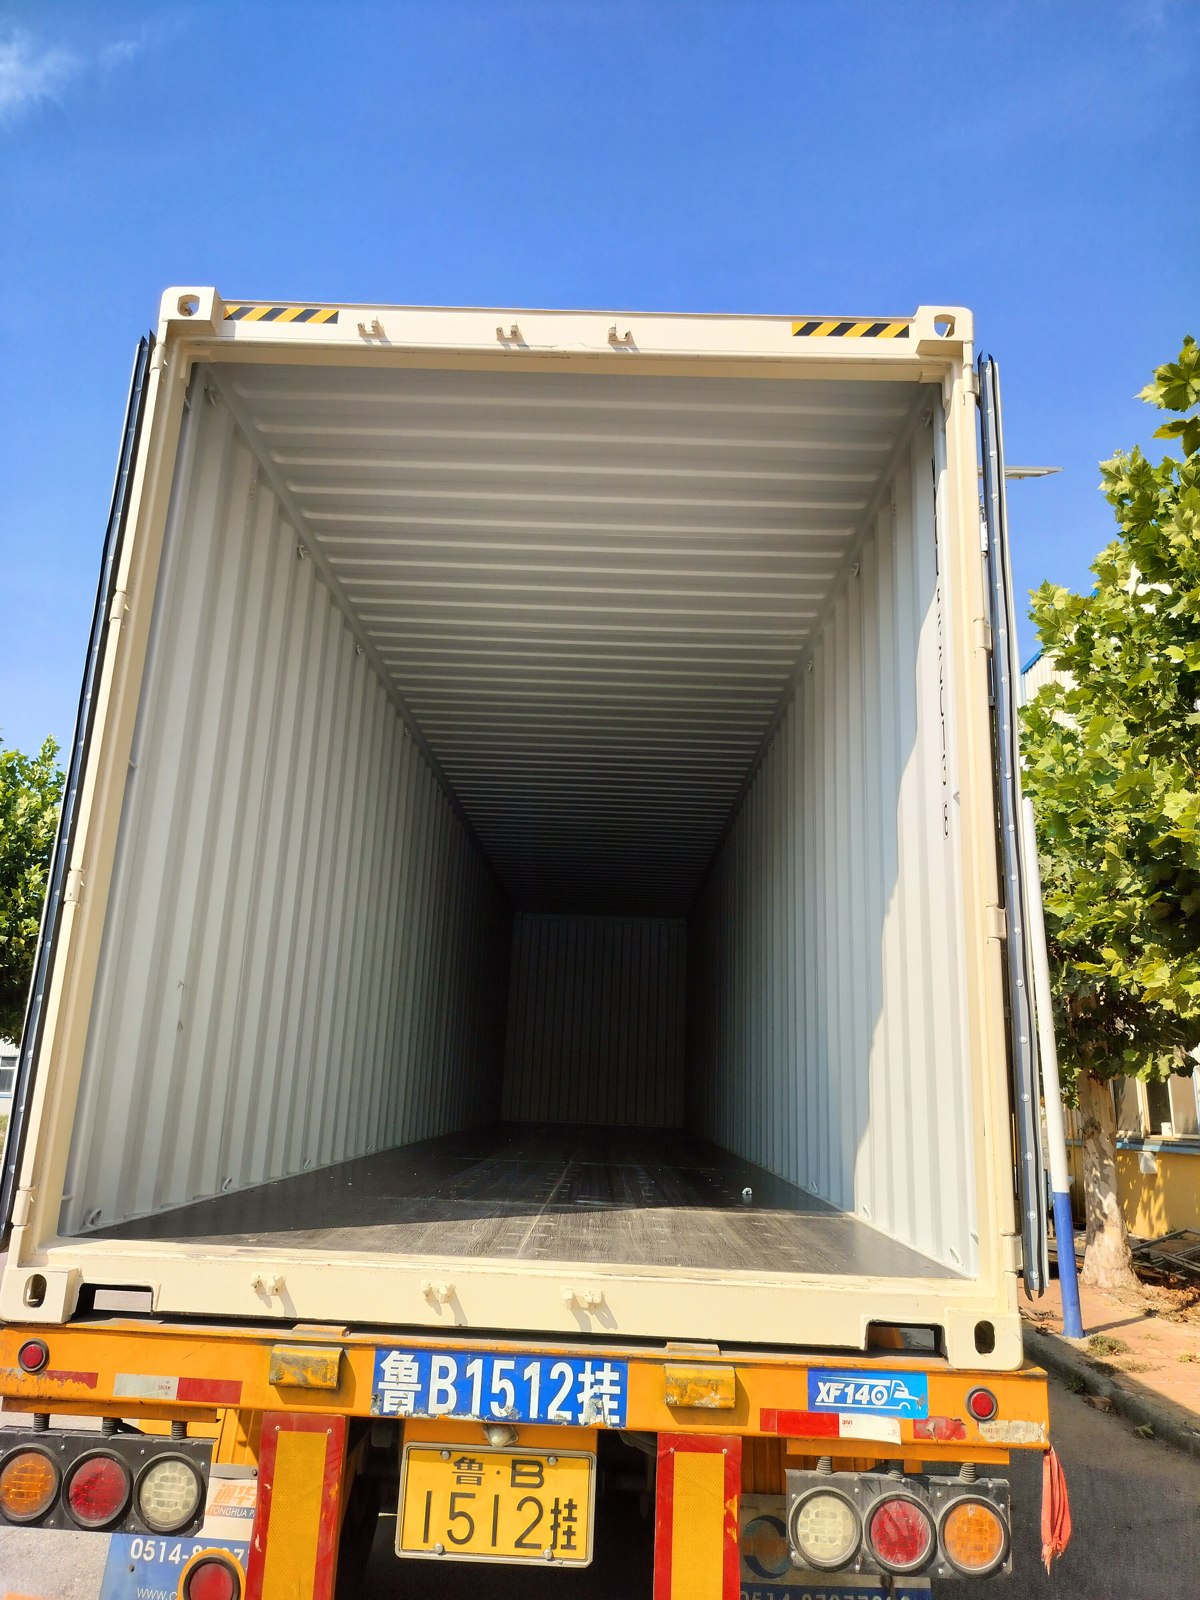
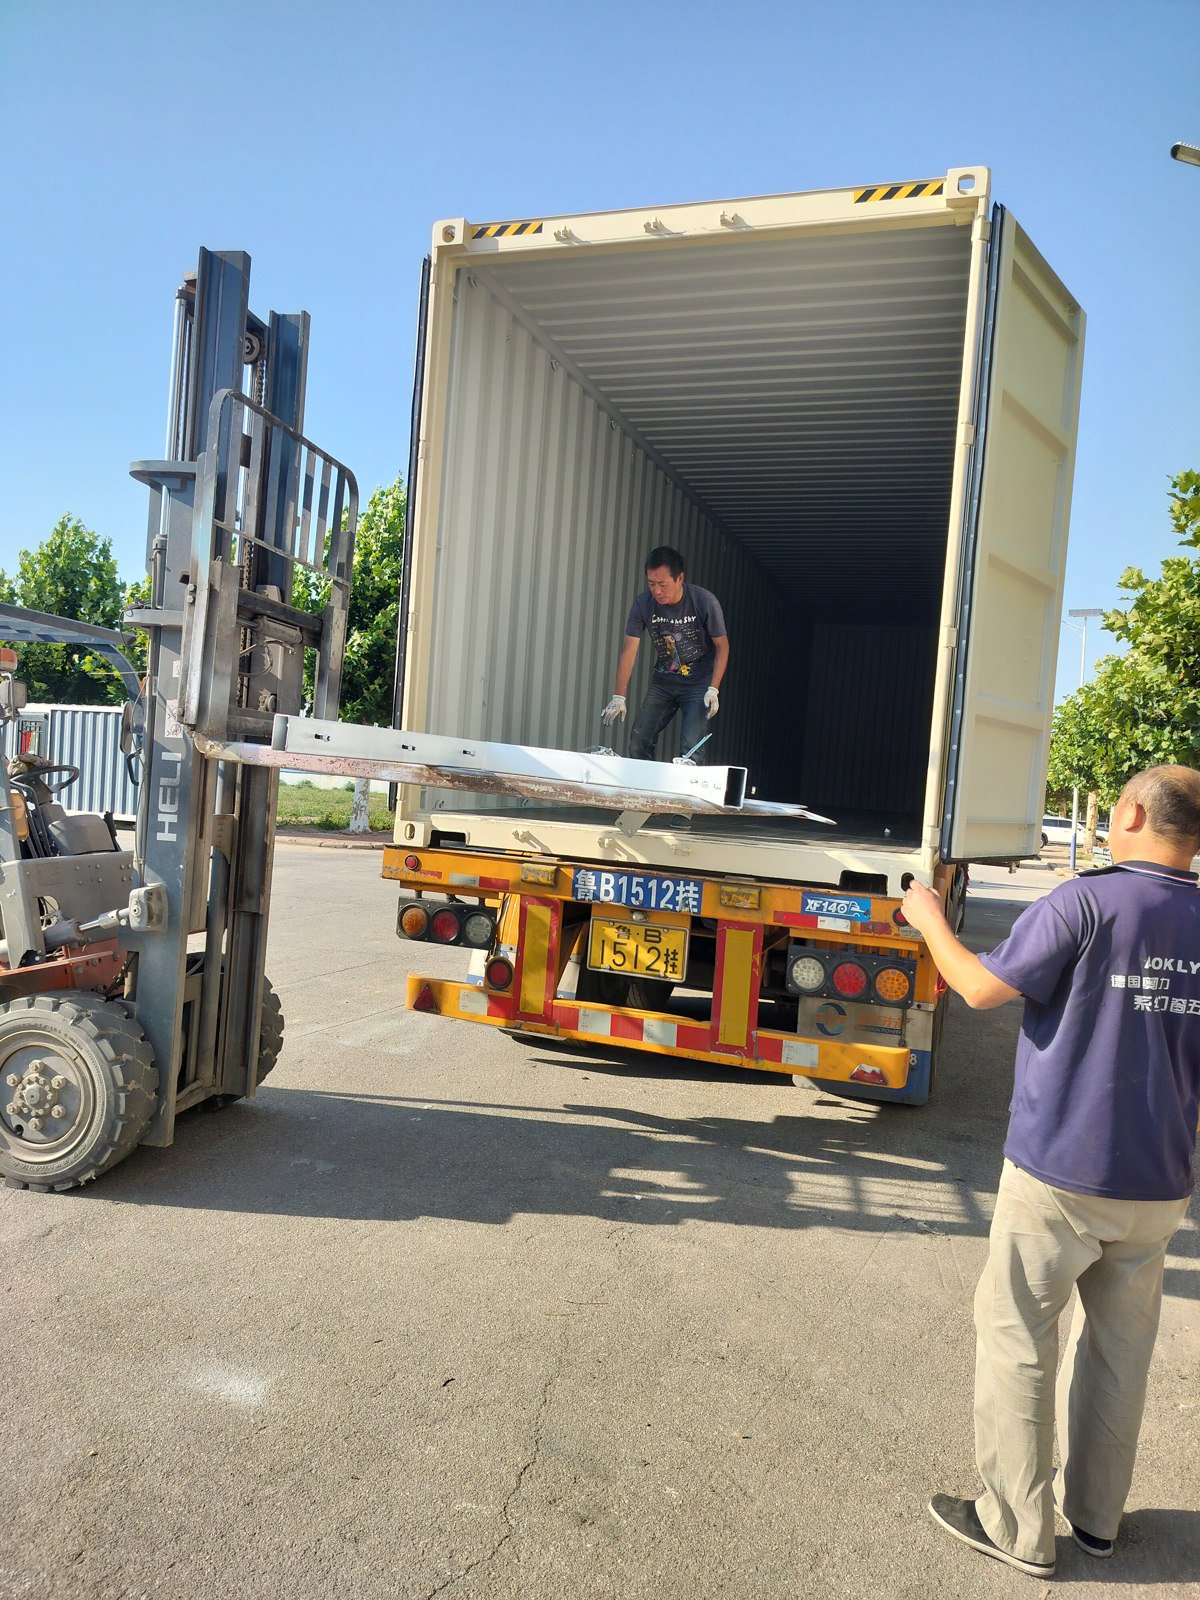
For food trailer container shipping, we worked through the vehicle positions first, followed by the removed parts and individual frames. We had to consider gaps, surface protection and access to the securing points together. Wrapping protects the finish; restraints limit movement. Both needed attention before we could call the loading finished.
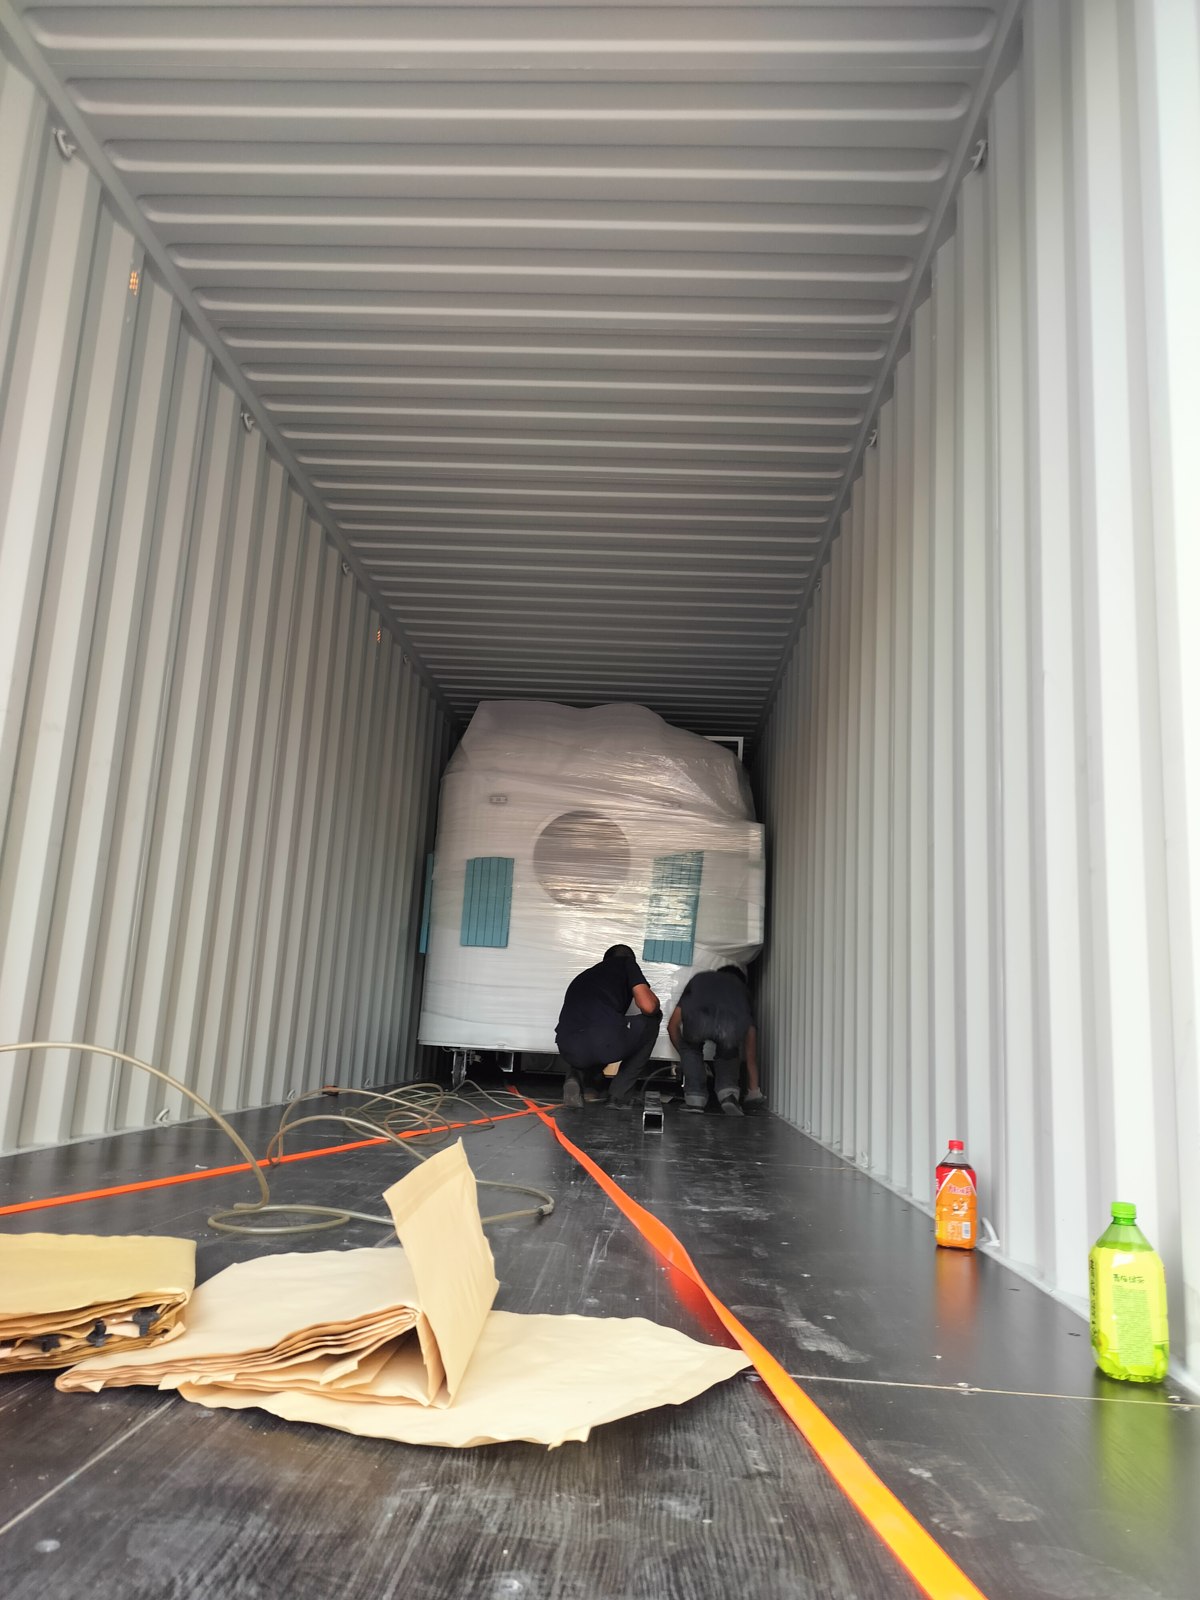
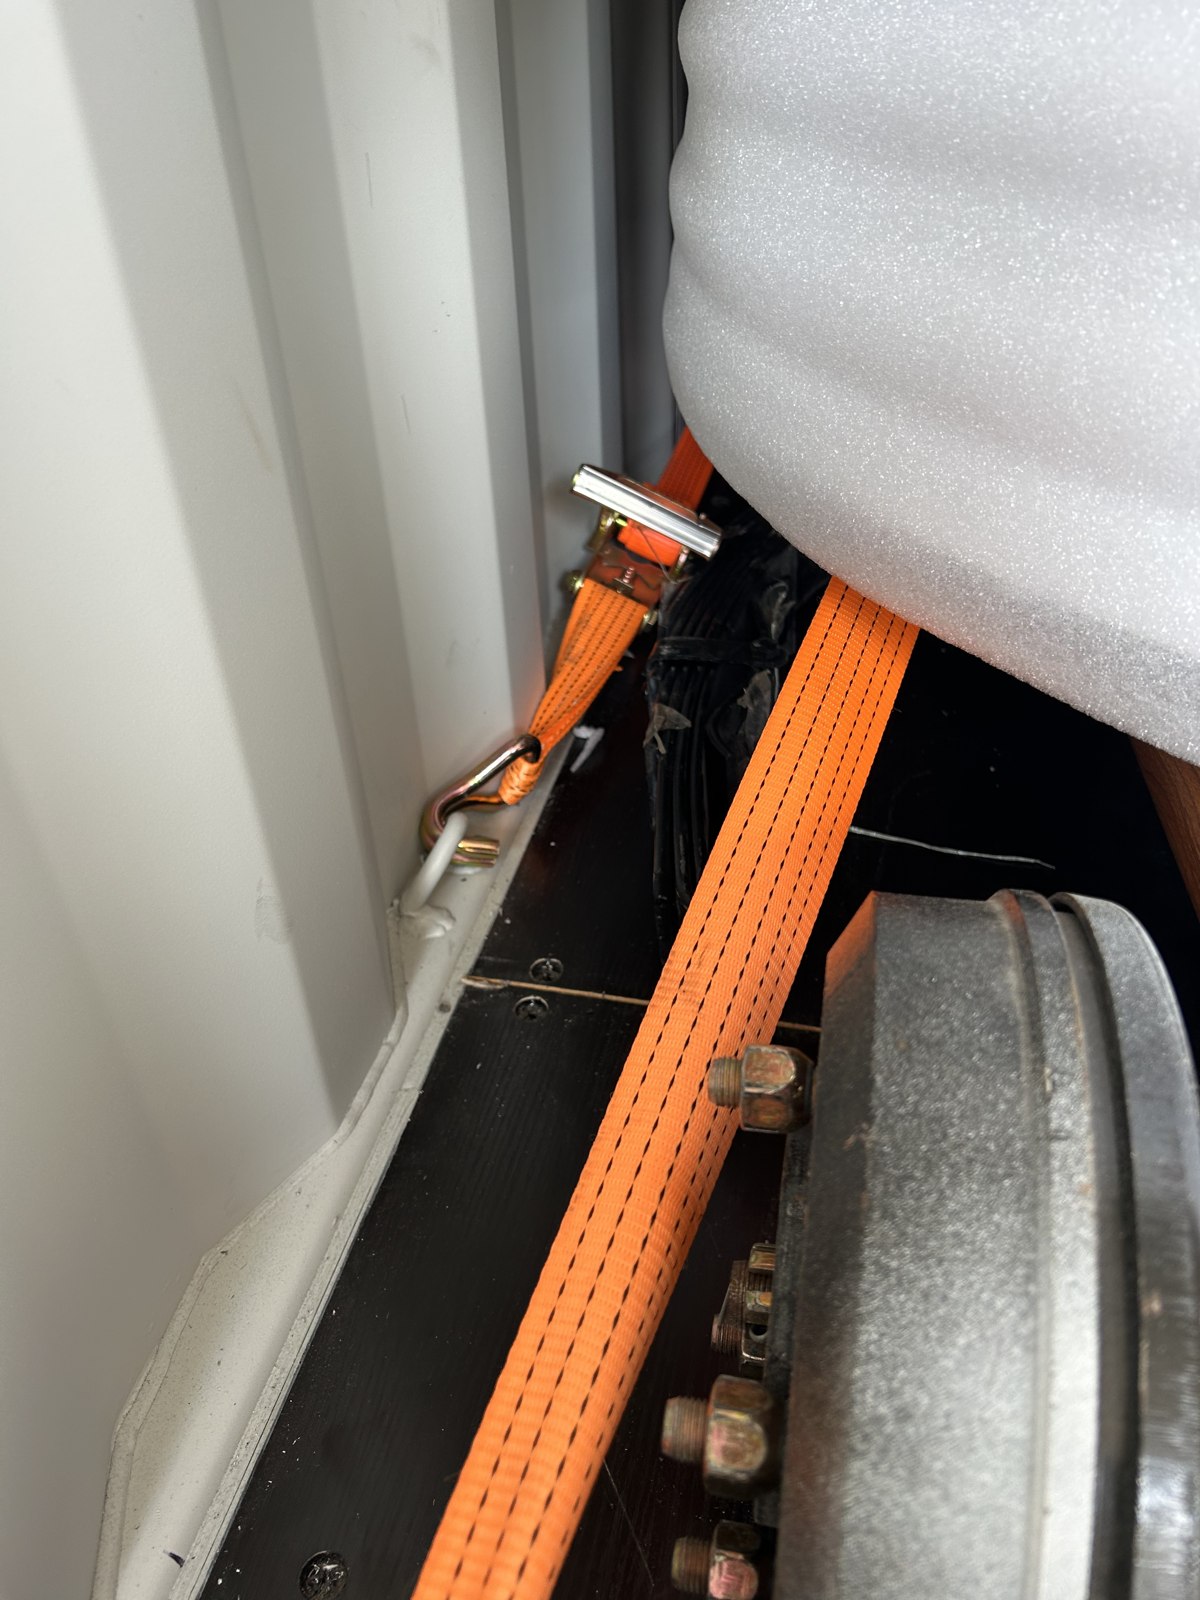
During loading, we pulled one accessory back out and turned it around. It fitted the first way, but blocked access to a nearby securing point. That meant another lift and a little more shuffling, but it left room for the person working on the restraints. Sometimes ‘it fits’ is still not quite good enough.
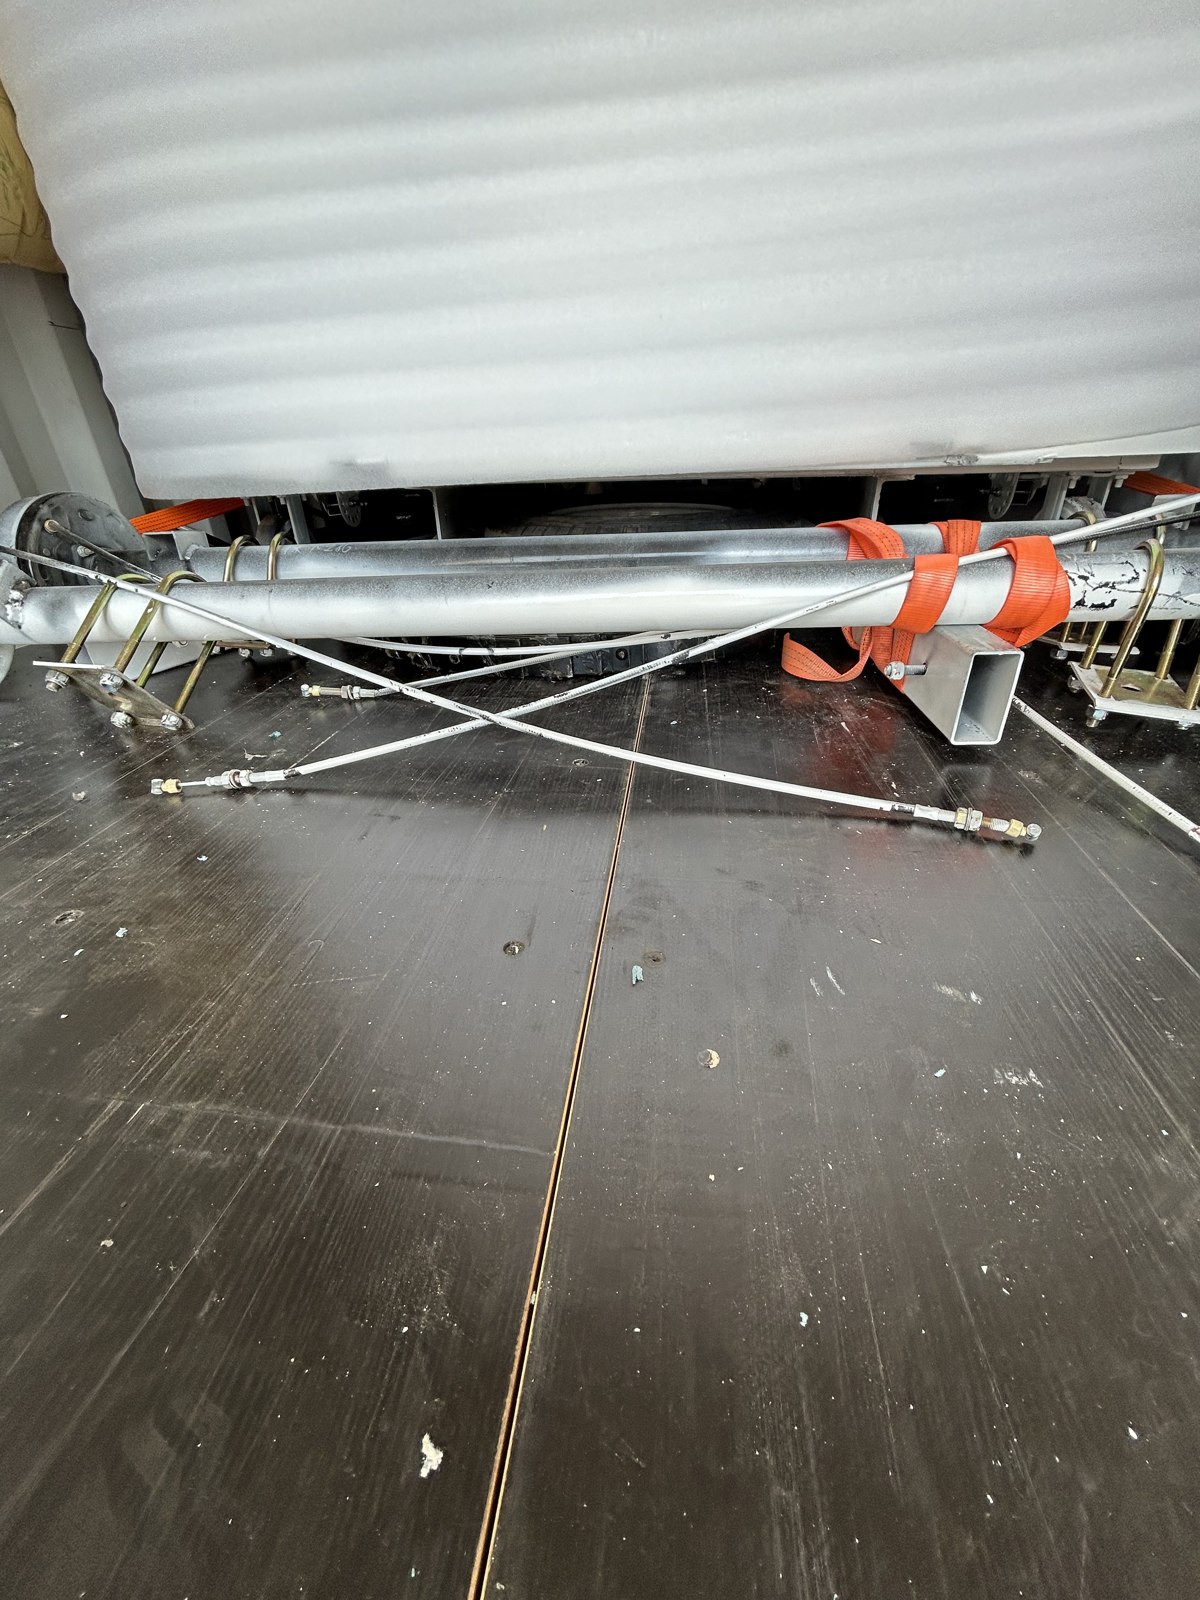
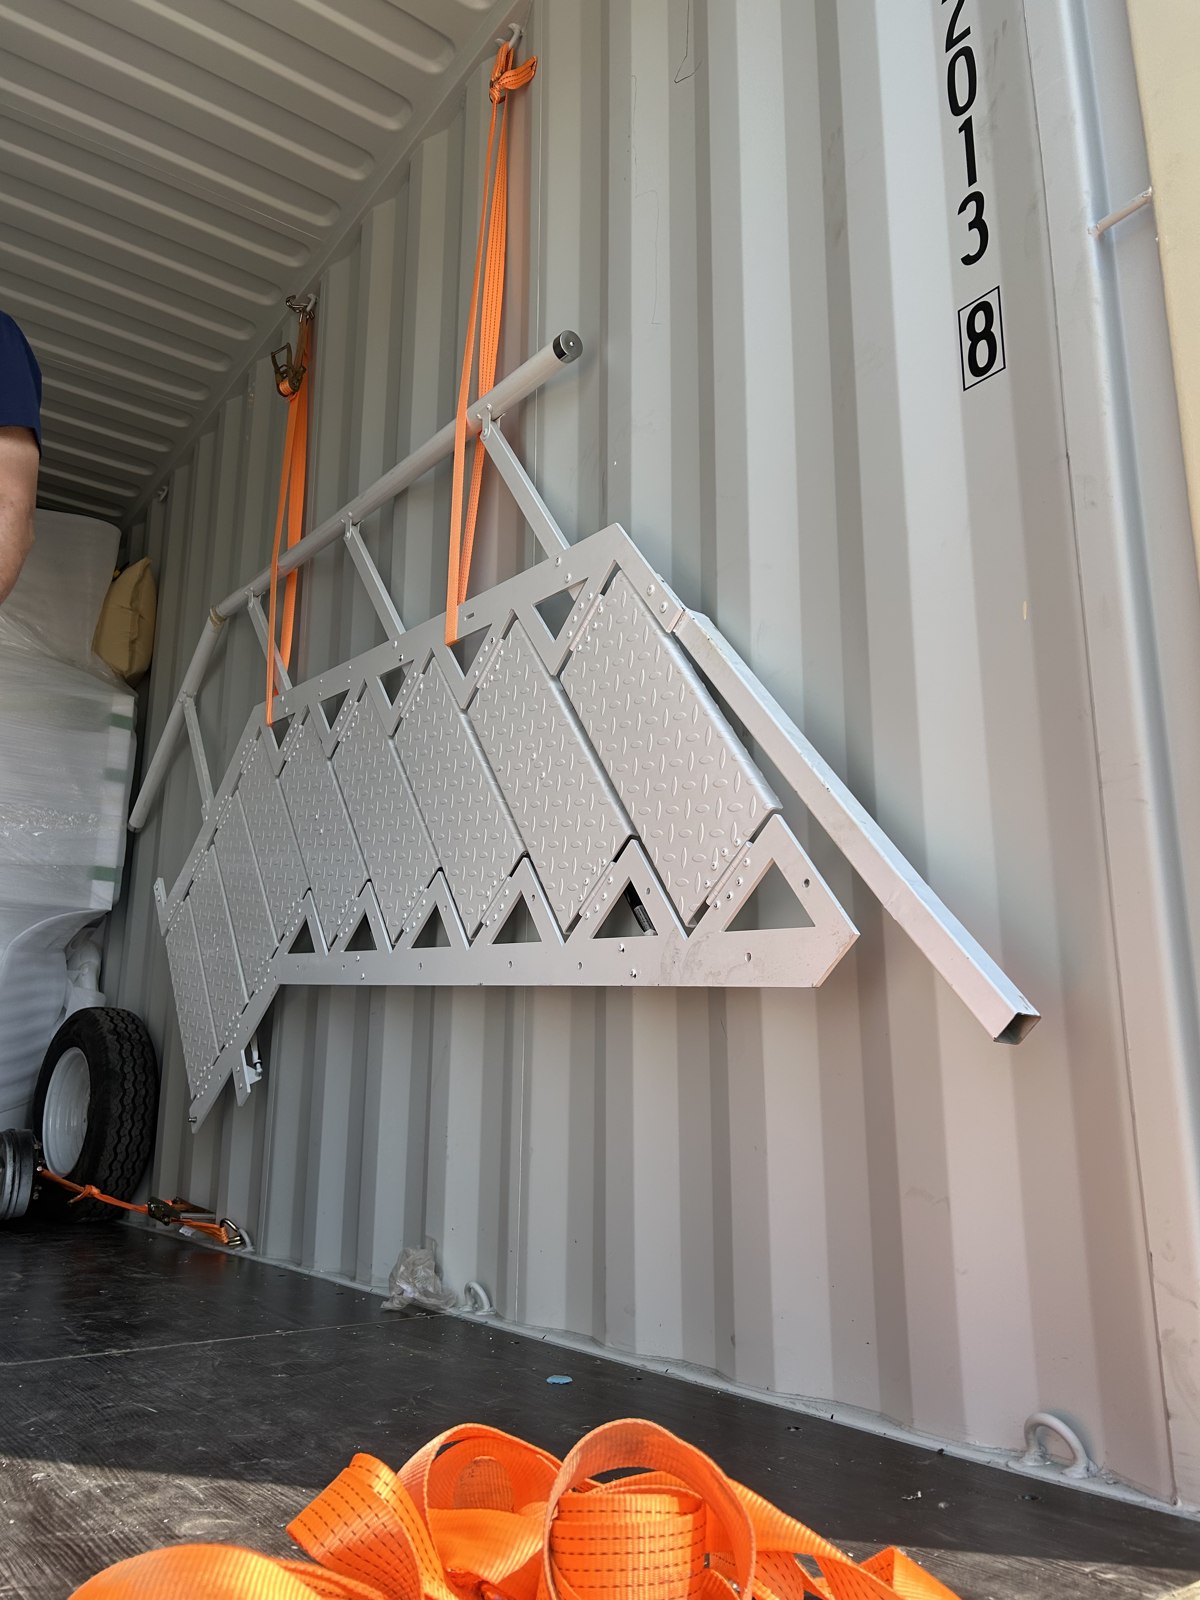
As the trailers, ladders, sculptures and accessories settled into their places, I finally felt myself relax a little. All those earlier decisions were coming together: where the tanks went, how the ladders folded and how the branding came off. The build and the packing had been connected all along.
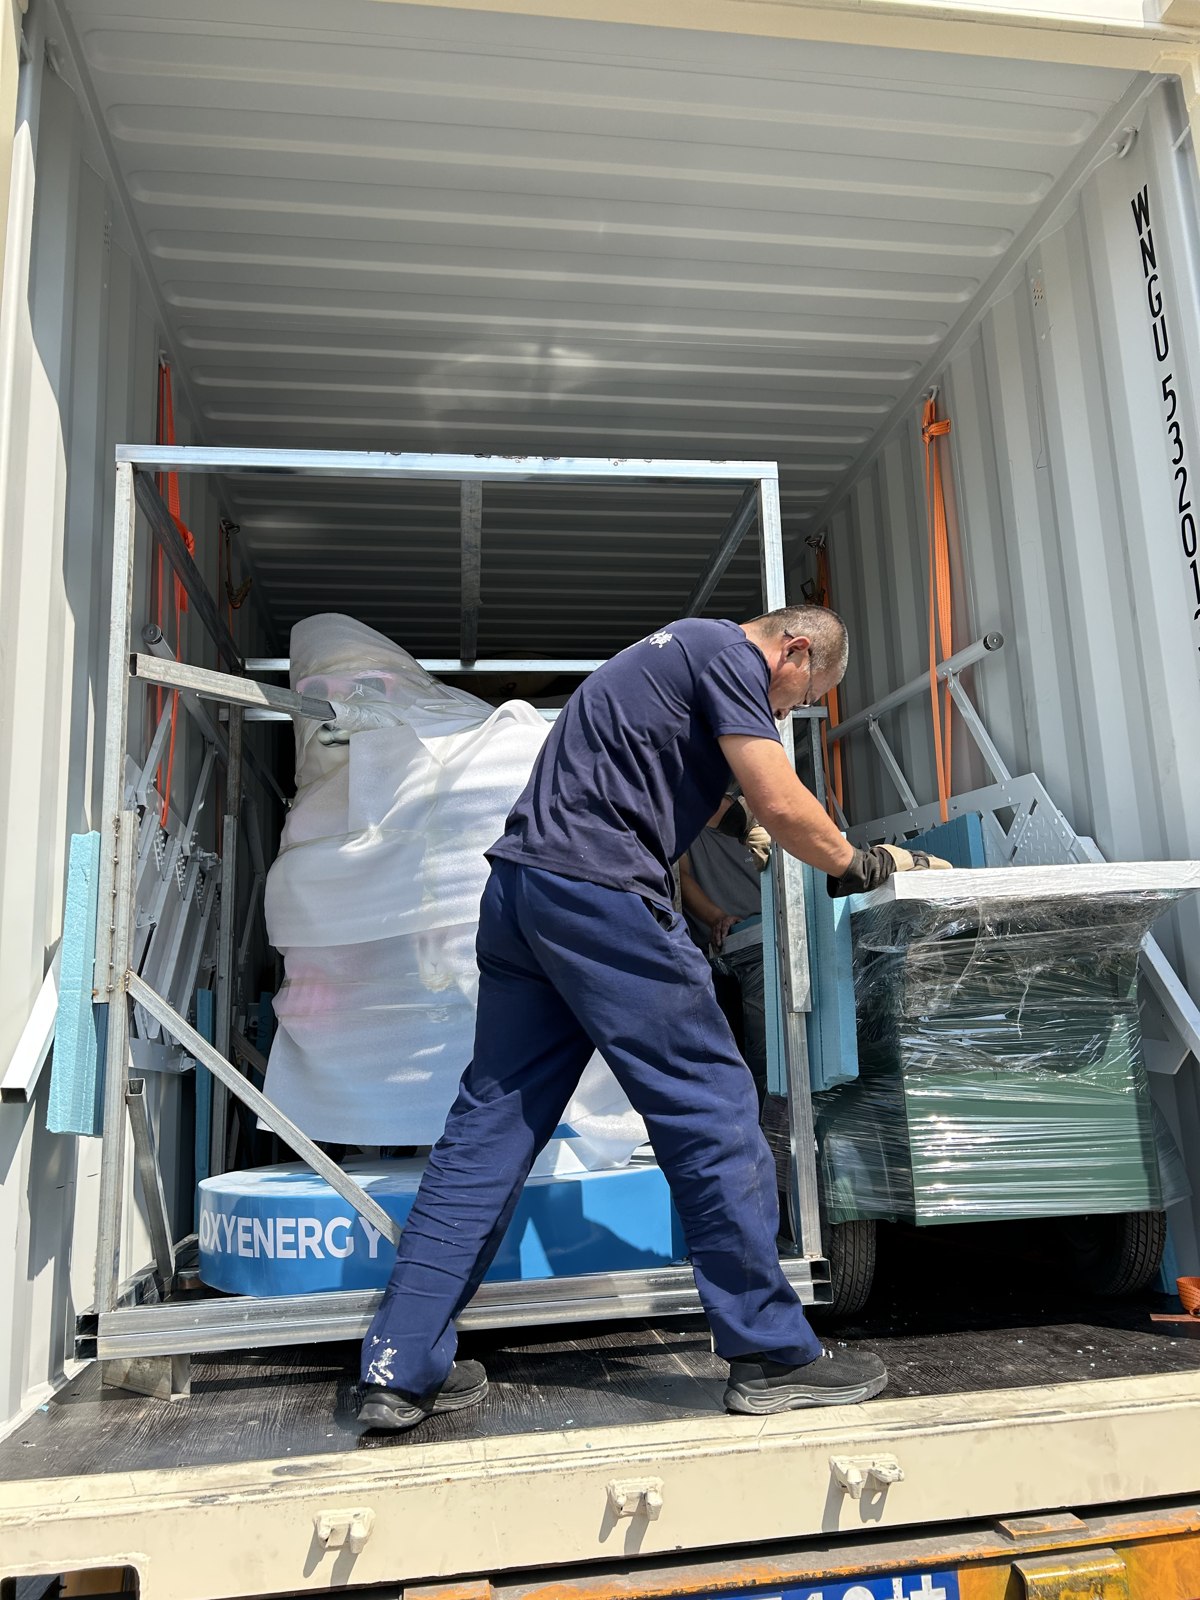
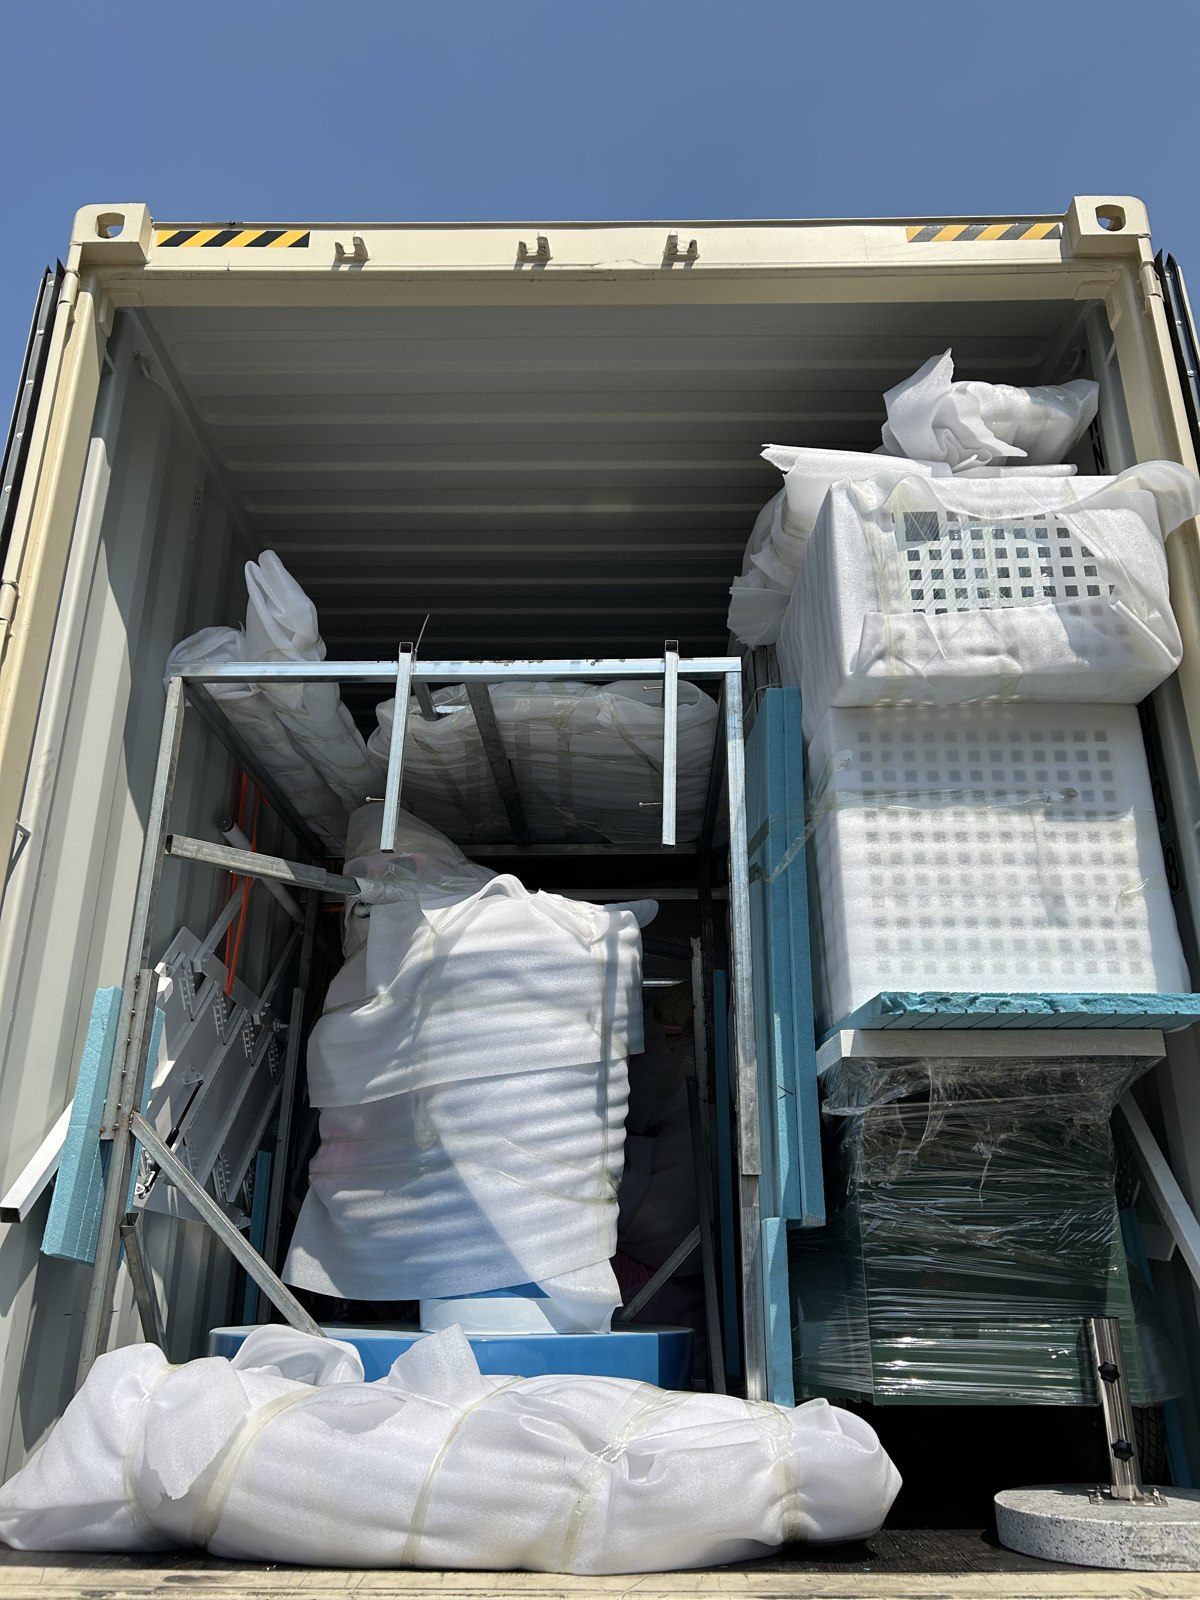
Looking back at these two builds, the part I most want customers to see is how we dealt with the everyday problems. If something would not fit, we rearranged it. If a connection was awkward, we worked on it. If a sculpture was difficult to protect, we made a frame around it. That is how this project moved from a long wish list to two trailers packed for dispatch.
If you are looking at custom food trailers for sale or planning on importing a food trailer to New Zealand, tell us what you want to serve, which equipment you need and where you intend to use it. Whether your idea is a mobile drinks trailer, an ice cream trailer or a branded event setup, those details give us somewhere useful to start. Then we can work through the appearance, interior space, destination requirements and transport arrangements together.
I'll finish with the completed trailer walkthrough below. After all the fitting, adjusting and packing, I think it is even more satisfying to see everything set up and looking its best.